contact us at w w w .DRpow er.com 25
Removing and Replacing the Front Wheels
Tools needed:
Blade Screwdriver
Eye protection
Jack Stands
Pliers
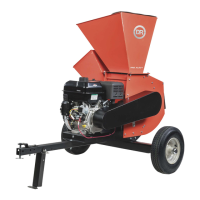
1. Block the machine up off the ground so that the Front Wheels spin freely
(Figure 49).
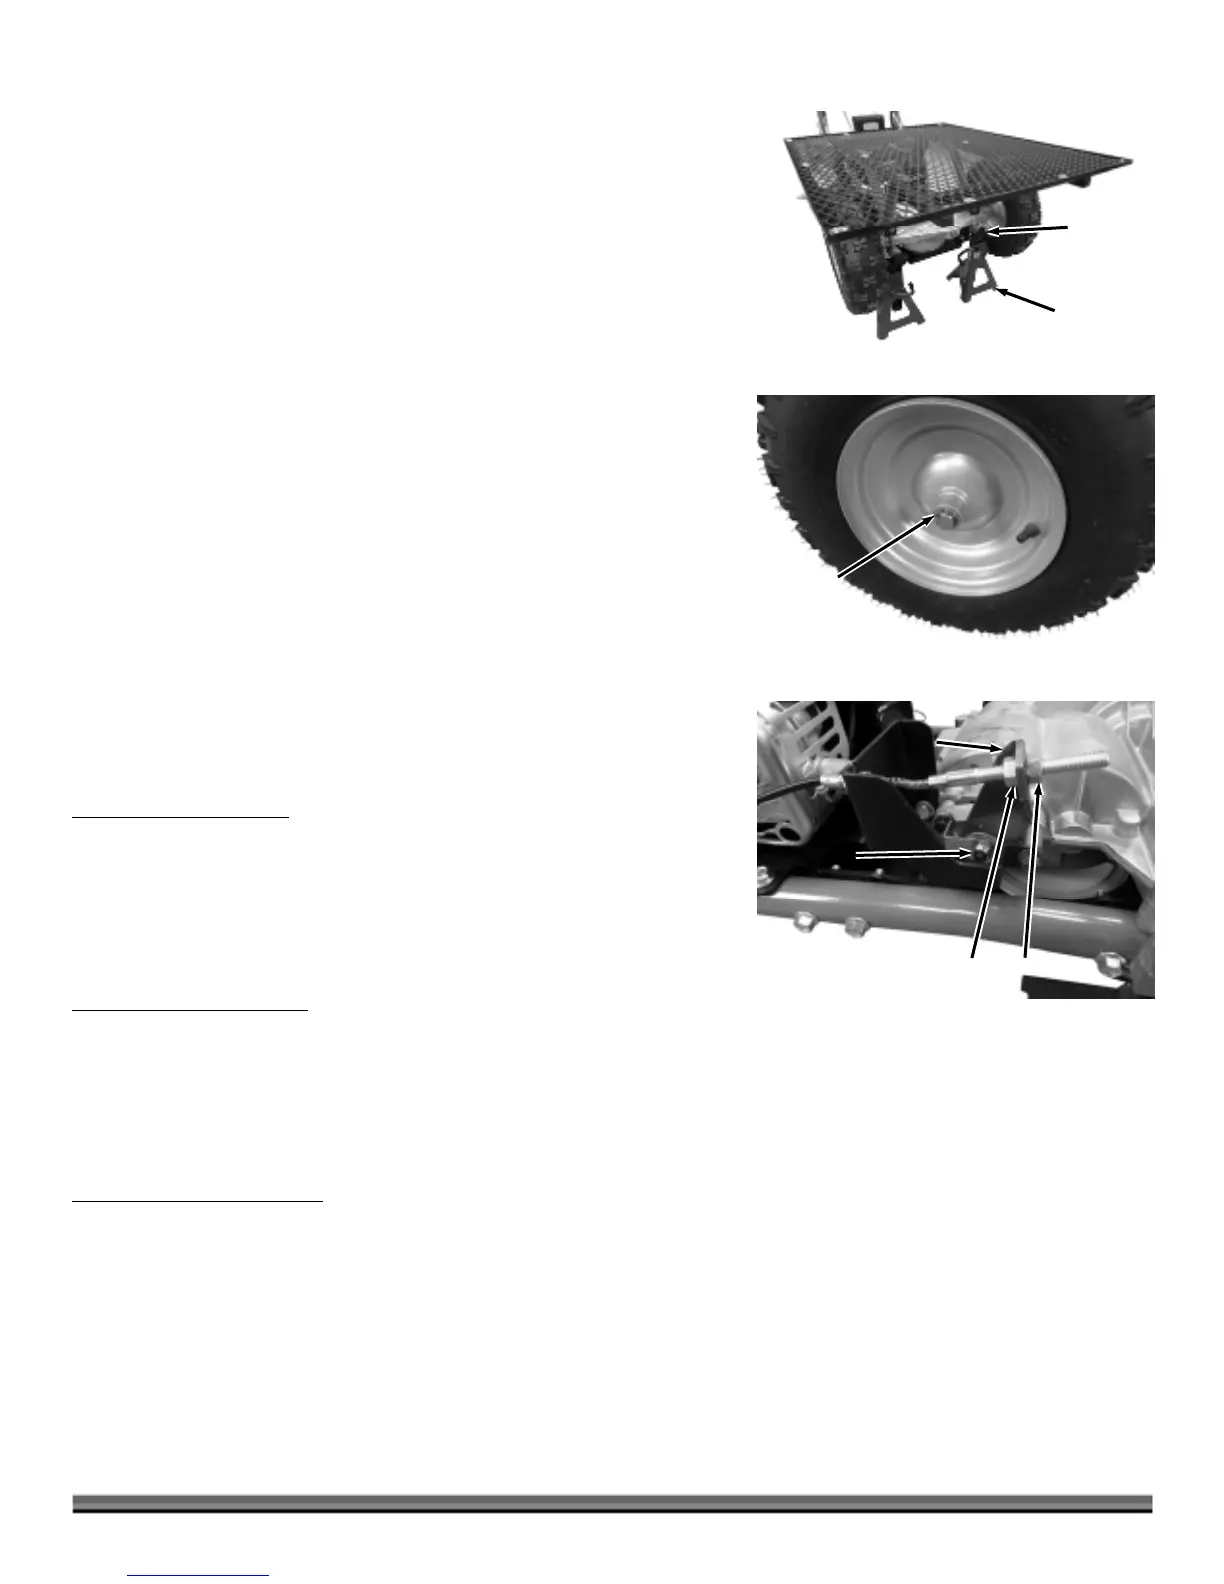
2. Pry off the Wheel Lock Ring with a Screwdriver (Figure 50). Remove the
Washer and slide the Wheel off the Axle. Check the Axle to ensure the Key
stayed in the Axle.
3. To replace the Wheel, align the groove in the Wheel Hub to the Key and slide
the Wheel onto the Axle.
4. Reinstall the Washer and Wheel Retaining Ring.
Tip: Pliers may work better to seat the Retaining Ring.
Checking and Adjusting the Brakes
The Brakes are adjusted at the Factory but may need adjustment over time due
to Brake Pads wearing down. The Brakes can be adjusted at the Brake Arm
Adjustment Nut as well as the Brake Cable Jam Nuts. This section explains both
methods of adjusting your Brakes.
Tools needed:
Two 1/2" Wrenches
CHECKING THE BRAKES:
1. With the machine on a level surface, set the Parking Brake.
2. Move the Shift Lever to the NEUTRAL N position.
3. Test the Brakes by trying to roll the machine. It should not move in either
direction with the Parking Brake set. If it does move, continue to “BRAKE
ARM ADJUSTMENT”. If it doesn’t move, your Brakes are properly adjusted.
BRAKE ARM ADJUSTMENT:
If this adjustment method doesn’t make a difference after a couple of
adjustments, continue to “BRAKE CABLE ADJUSTMENT”.
1. Turn the Adjustment Nut on the Brake Arm
1/4 turn clockwise with a 1/2" Wrench to tighten the Brakes (Figure 51).
2. Test the Brake as described “CHECKING THE BRAKES” above. Repeat the adjustment as needed until the Brake works
properly.
BRAKE CABLE ADJUSTMENT:
If this adjustment method doesn’t improve braking after a couple of adjustments, continue to “CHANGING THE BRAKE PADS”.
1. Turn the inside Jam Nut a full turn away from the Brake Arm (Figure 51).
2. Turn the outside Jam Nut against the Brake Arm and inside Jam Nut.
3. Test the Brakes as described “CHECKING THE BRAKES” above. Repeat the adjustment as needed until the Brake works
properly.
Brake Cable
djustment Jam Nuts
– Inner - Outer
Figure 51
Brake Arm
djustment
Bolt
Brake
rm
Frame
Tubes
Figure 49
ack
Stands
Retaining
Ring and
Washe
Figure 50
Wheel
 Loading...
