EasyManua.ls Logo

Dream On Me 620 User Manual

Dream On Me 620
20 pages
To Next Page IconTo Next Page
Page #1 background imageLoading...
Page #1 background image
Adult assembly required.
Small parts may present choking hazard prior to assembly.
Enclosed are step by step instructions to help you.
quickly assemble your product.Before you begin we recommend
that you follow the steps below:
1. Please read the instructions thoroughly.
2. Identify all parts and hardware.
3. You will need the following tools:
Philips head screw driver
Flat head screw driver
Hammer
Do Not Use Power Drills or Drivers
To protect parts during assembly please place them on a soft
surface.
To clean surface use only water on a damp cloth. Do not use
window cleaners or cleaning abrasives as it will scratch the surface
and could damage the protective coating.
ASSEMBLY INSTRUCTIONS
ITEM NO: 620
1
s
Read all instructions before assembling crib.
Save instructions for future referrence.
NUMÉRO DU MODÈLE : 620
INSTRUCTIONS D'ASSEMBLAGE.
Lisez toutes les instructions avant l'assemblage du lit.
Gardez le manuel pour une utilisation future.
L'assemblage par un adulte de ce meuble est nécessaire.
Les petites pièces non-assemblées présentent le risque d'étouffement.
Pour vous aider pendant l'assemblage de votre produit, veuillez trouver en
bas des instructions simples, en étape. Avant de commencer l'assemblage,
les étapes suivantes sont vivement recommandées :
1. Lisez attentivement les instructions.
2. Identifiez toutes les pièces et la quincaillerie.
3. Vous avez besoin des outils suivants :
Tournevis cruciforme
Tournevis plat
Marteau
N'utilisez pas d'outils électriques.
Dream On Me Inc.
1532 S WASHINGTON AVE
PISCATAWAY TWP NJ 08854
OFFICE: 732-752-7220
CUSTOMER SERVICE: 732-366-1788
Question and Answer IconNeed help?

Do you have a question about the Dream On Me 620 and is the answer not in the manual?

Dream On Me 620 Specifications

General IconGeneral
BrandDream On Me
Model620
CategoryBaby & Toddler Furniture
LanguageEnglish

Summary

General Safety Guidelines

Comprehensive Safety Guidelines

Crucial safety advice covering assembly, usage, and child protection.

Connection Hardware and Parts

Connection Hardware Details

Lists and illustrates all bolts, screws, dowels, and tools required for assembly.

Parts List

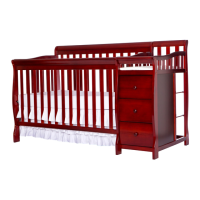
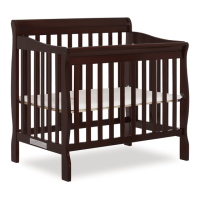
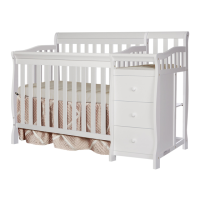
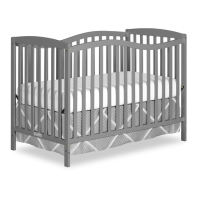
Identifies and labels all furniture components included in the carton.

Crib Assembly Instructions

Assembly Steps 1-2

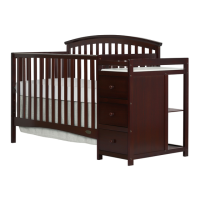
Initial steps for assembling the changer section and attaching panels.

Assembly Steps 3-4

Connecting changer components and attaching left side legs.

Assembly Steps 5-6

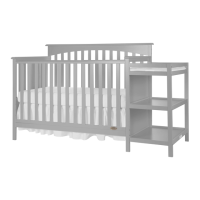
Attaching rails and installing the mattress support.

Assembly Steps 7-8

Attaching rails to headboard and assembling side panels.

Assembly Steps 9-10

Installing bottom panel and attaching front panel with knob.

Assembly Step 11

Installing shelf supports and the changer middle shelf.

Assembly Step 12

Inserting drawers, attaching belt, and securing child with restraint system.

Crib Conversion Guide

Toddler Bed Conversion

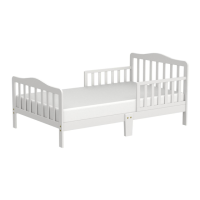
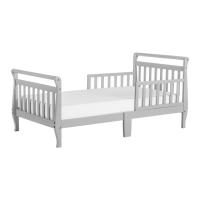
Instructions and warnings for converting crib to a toddler bed.

Day Bed Conversion

Steps to convert the crib into a day bed.

Full Size Bed Conversion I

Converting crib to a full size bed using specific rails and kits.

Full Size Bed Conversion II

Details parts and steps for converting crib to a full size bed (II).

Furniture Tipping Deterrent

Install Anti-Tip Hardware

Step-by-step guide for installing furniture tipping restraint hardware.

Limited Warranty Information

Warranty Terms and Conditions

Outlines the warranty coverage, limitations, and exclusions for the product.

Related product manuals