EasyManuals Logo

DRIFT GHOST-S Quick Guide

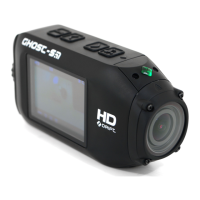
DRIFT GHOST-S
11 pages
To Next Page IconTo Next Page
To Previous Page IconTo Previous Page
Page #3 background imageLoading...
Page #3 background image
43
About your camera Initial setup
MENU / Tag / Back Button
LEFT Button / Zoom Out
RIGHT Button / Zoom In
ACTION Button
(On/O/Rec/Stop)
Status LED
Rear Hatch
2.0” LCD Screen
300° Rotating Lens
USB Port (Mini-B)
HDMI Port (Mini-C)
3.5mm Microphone Input
-MONO
Micro SD Card Slot
Battery Slot Cover
A
D
CB E
F G
H
I
J
K L
1. Unscrew and remove the
rear hatch
2. Insert a Class 10 or higher
Micro SD/HC/XC card (up
to 64GB) Format before
first usage!
3. Lift the hinged battery
slot cover and insert the
battery as shown (below)
4. Connect the camera
via mini USB cable to a
powered USB port and
charge the battery for 4
hours before first use
5. Charge the remote via
mini USB cable
6. Replace the rear hatch
and screw shut to secure

Other manuals for DRIFT GHOST-S

Questions and Answers:

Question and Answer IconNeed help?

Do you have a question about the DRIFT GHOST-S and is the answer not in the manual?

DRIFT GHOST-S Specifications

General IconGeneral
BrandDRIFT
ModelGHOST-S
CategoryAction Cameras
LanguageEnglish

Related product manuals