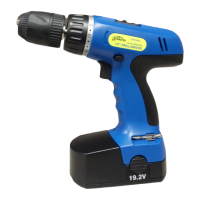
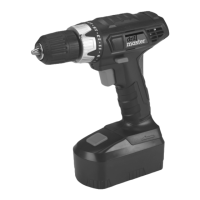
Page 12SKU 91396 For technical questions, please call 1-800-444-3353.
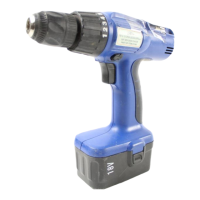
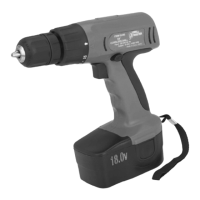
Release the Trigger (18A) to stop the Drill. Then, remove the Battery (11A) and 15.
Drill Bit, Driver Bit, or Hex Driver Extension from the Drill.
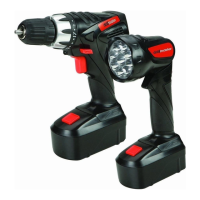
To Operate The Flashlight:
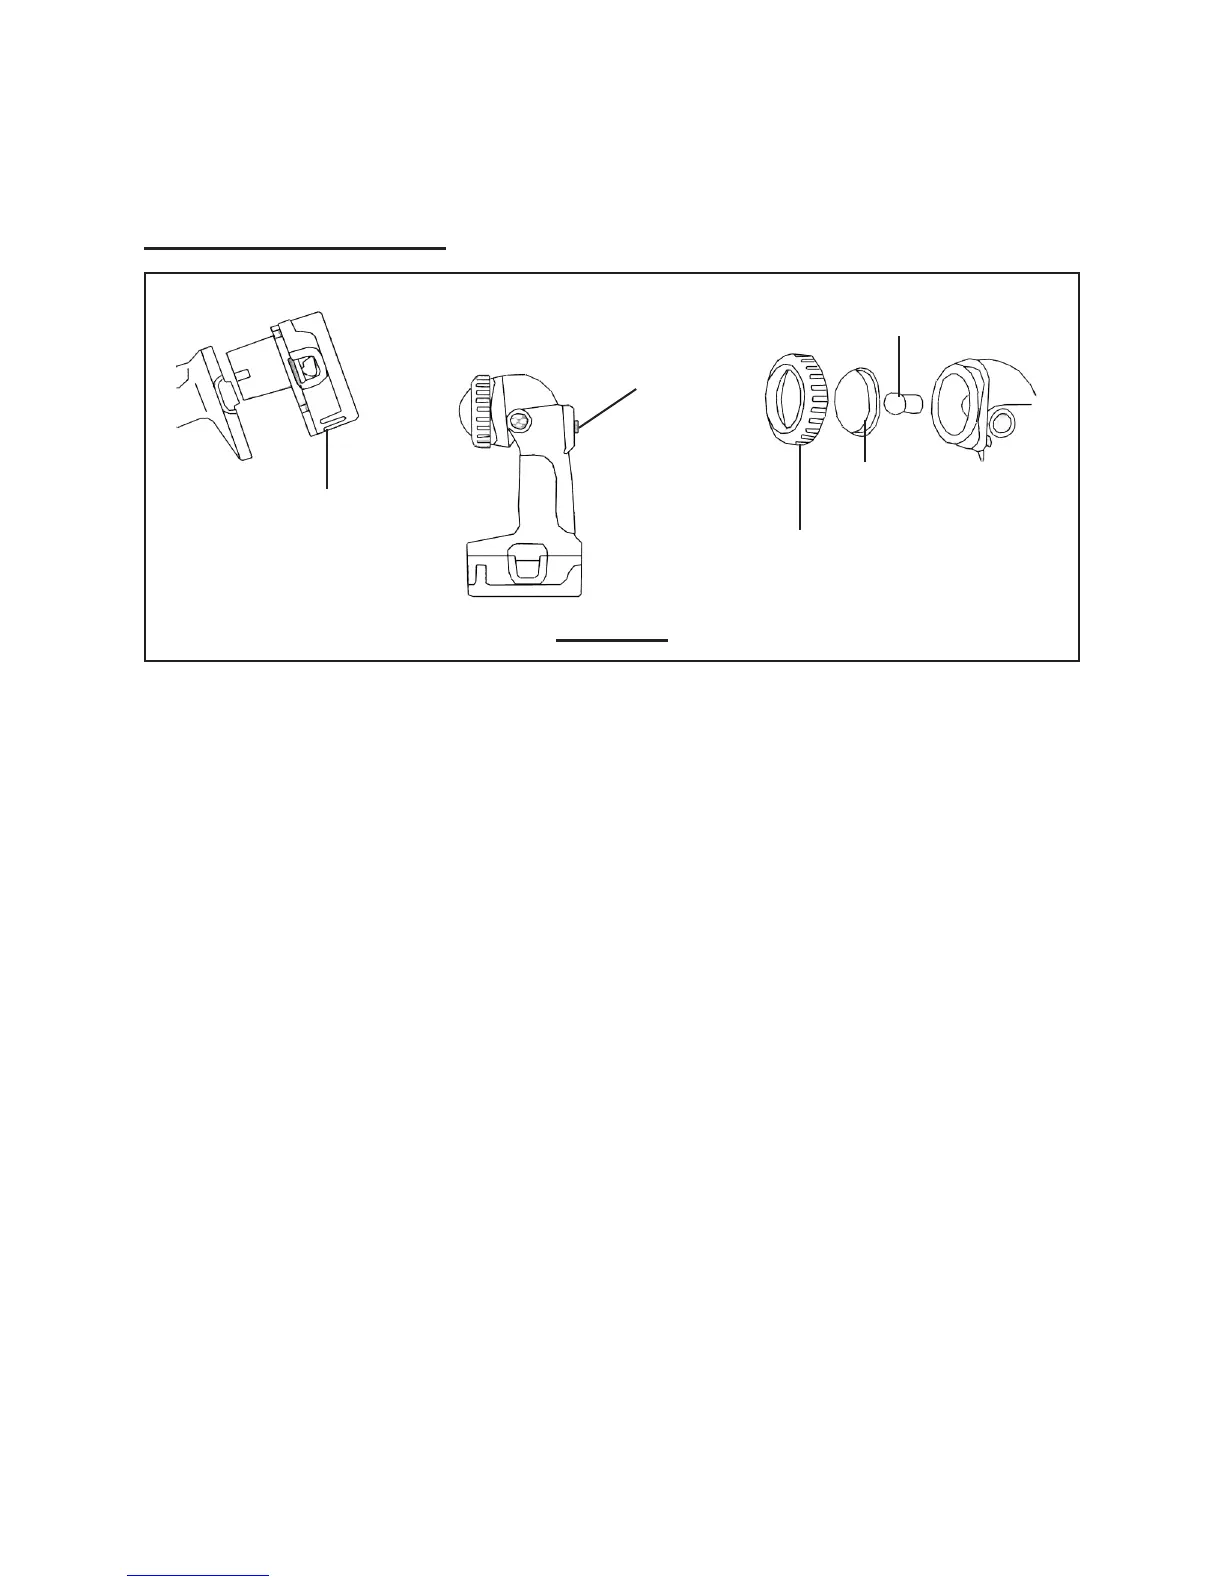
FIGURE F
BATTERY
(11A)
LAMP COVER RING
(3B)
BULB
(5B)
LAMP SCREEN
(4B)
SWITCH LEVER
(23B)
1. Insert the fully charged Battery (11A) in the Flashlight’s Handle, and make sure
the Spring on the Battery snaps into place on the Handle. (See Figure F.)
Slide the Switch Lever (23B) on the Handle to the ON position. 2. (See Figure F.)
To turn off the Flashlight, slide the Switch Lever (23B) to its OFF position. 3.
(See Figure F.)
To change the Bulb (5B), unscrew the Lamp Cover Ring (3B) and remove 4.
the Lamp Screen (4B). Remove the old Bulb by pushing in on the Bulb while
turning it clockwise. Insert a new Bulb by aligning the tabs on the Bulb with
the slots in the Lamp Reector (6B). Push in on the new Bulb while turning it
counterclockwise. Then, re-attach the Lamp Screen and Lamp Cover Ring.
(See Figure F.)