1 2
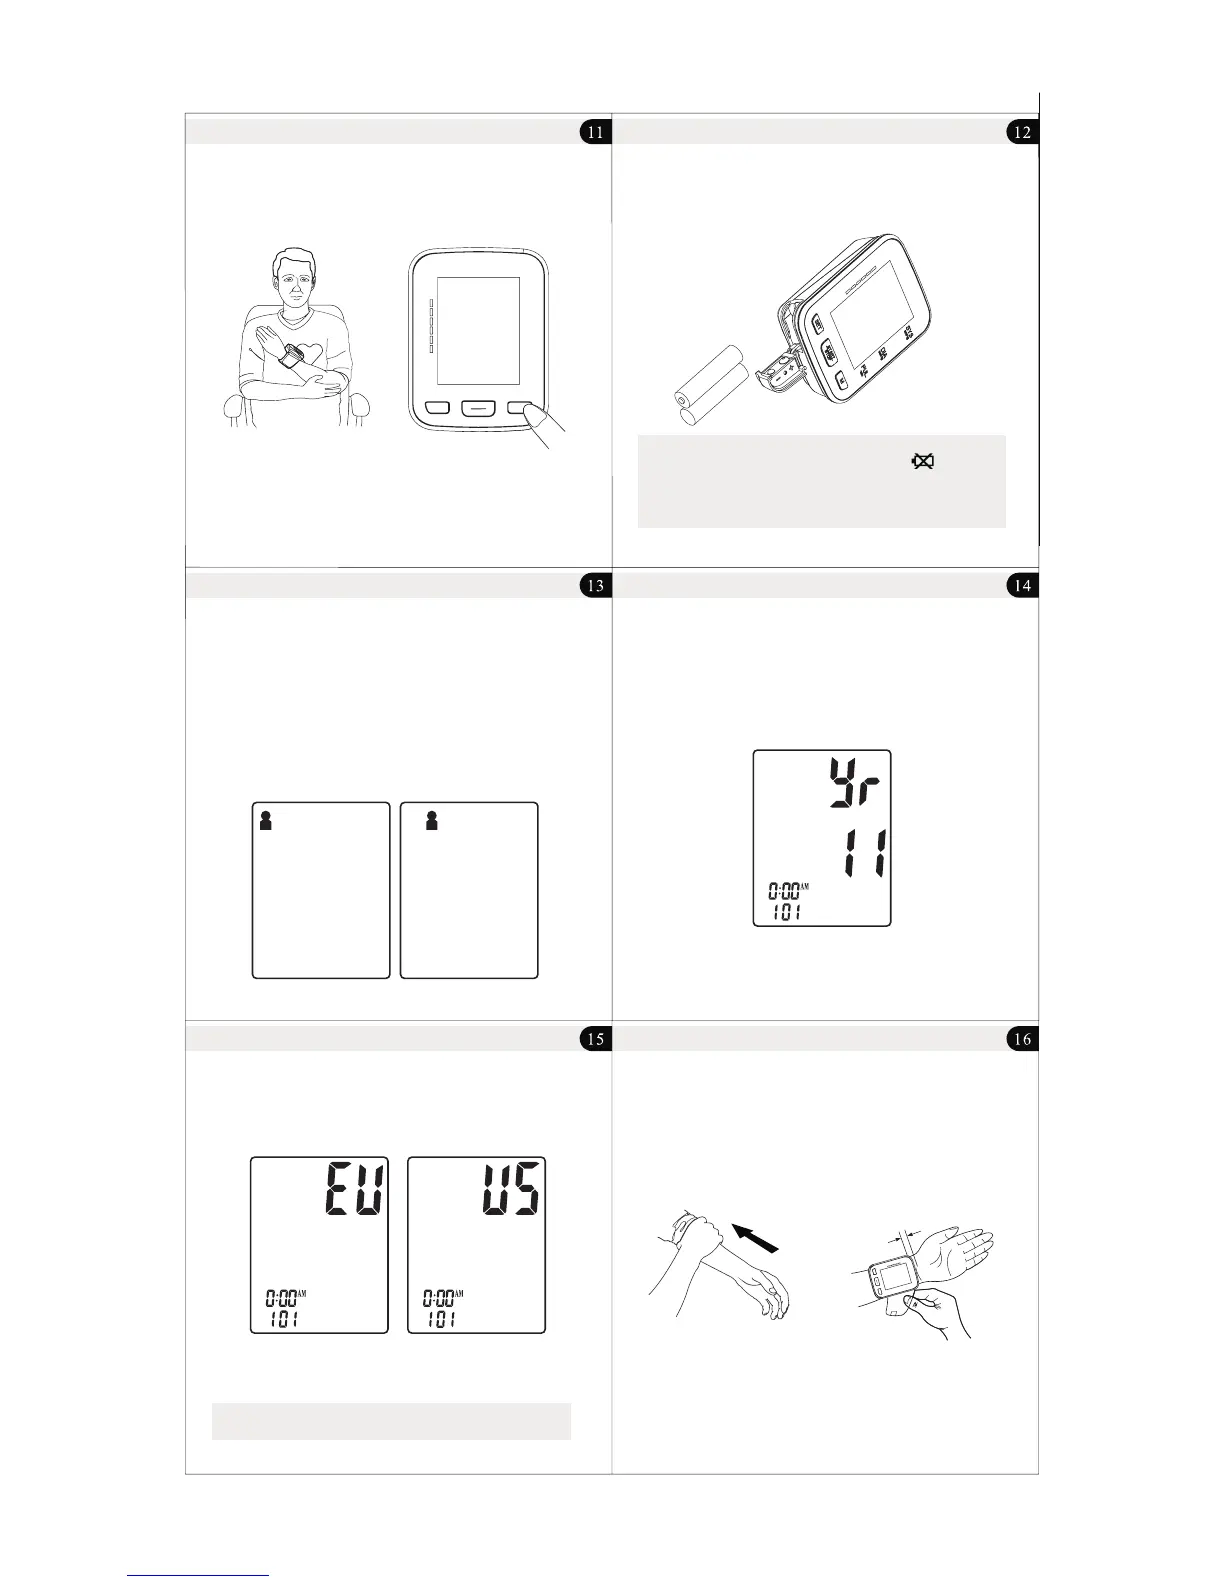
4. Sit in a comfortable position and place wrist level with heart.
(See Figure D)
5. Press “ START/STOP ” button to start testing. (See Figure E)
Figure D Figure E
Quick Start
Battery Installation
Slide battery cover off as indicated by arrow.
Install 2 new AAA alkaline batteries according to polarity.
Close battery cover.
Note:
1) Replace batteries when Low Battery Indicator “ ”
appears on screen.
2) Batteries should be removed from device when not in
operation for an extended period of time.
System Settings
With power off, press "SET” button to activate System Settings.
The Memory Group icon flashes.
1. Select Memory Group
While in the System Setting mode, you may accumulate test results
into 2 different groups. This allows multiple users to save individual
test results (up to 60 memories per group.)
Press “ M ” button to choose a group setting. The test results will
automatically store in each selected group.
3. Time Format Setting
Press “ SET “ button again to set the time format mode. Set the time
format by adjusting the “ M “ button.
EU means European Time. US means U.S. Time.
4. Save Settings
While in any setting mode, press “ START/STOP “ button to turn the
unit off. All information will be saved.
Note: Unit will automatically save all information and shut off
if left for 3 minutes.
Applying The Wrist Monitor
Do not apply over clothing. If wearing a long sleeved shirt, be sure to roll
sleeve back to forearm.
Apply monitor to wrist as illustrated. Tighten cuff firmly as not to wiggle.
2. Time/ Date Setting
Press "SET” button again to set the Time/Date mode. Set the year first
by adjusting the " M " button. Press " SET " button again to confirm
current month. Continue setting the day, hour and minute in the
same way. Every time the " SET " button is pressed, it will lock in your
selection and continue in succession (month, day, hour, minute.)
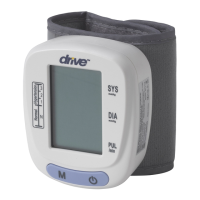
Unit Operation
Unit Operation Unit Operation
Unit Operation
Unit Operation
SET
M
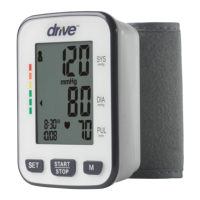
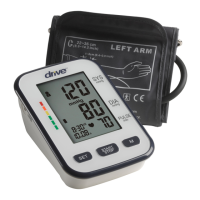
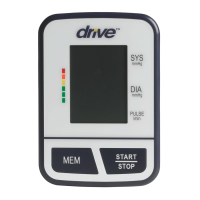
SYS
PU L
/mi
n
DIA
mm
Hg
mmHg
STO P
STAR T
/
//
1-2cm ''(0.4-0 .8 )
SET
M
SYS
P
U
L
/min
D
I
A
mmHg
mmHg
S
TOP
ST
ART