Royale By Drive Owner’s Handbook Page 7
(a) Braking
The scooter has an electromagnetic brake
which operates automatically when the
speed lever is released. It also features a
cable brake which can be operated by the
user. To operate the cable brake, squeeze
the lever on the left hand side of the
handlebars.
(b) Speed Lever (Throttle)
The user moves the scooter by squeezing
the lever on the right hand side of the
handlebars. The more the user squeezes
the lever, the faster the scooter will travel.
Release the lever to stop the scooter.
(c) Forward / Reverse
To allow the scooter to move forward press
the „F‟ side of the Forward / Reverse button
(located on the right hand side of the
handlebar).
To allow the scooter to reverse press the
„R‟ side of the button. When the „R‟ side is
pressed the scooters indicators will flash
and a buzzer will sound to alert people that
the scooter is reversing. Always ensure that
you check behind you and use your mirrors
when reversing.
(d) Speedo Operation
The speedo will show speed the scooter is
currently travelling at in miles per hour
(mph) or kilometers per hour (kph).
To change the speedo to show mph or kph:
1. Hold down the MODE and SET
buttons until the clock starts flashing.
2. Then press the MODE button until
the kph or mph is flashing
3. Then press SET to change to the
required setting.
3. Leave the scooter until the display
stops flashing, or hold down the
MODE and SET buttons for 2
seconds.
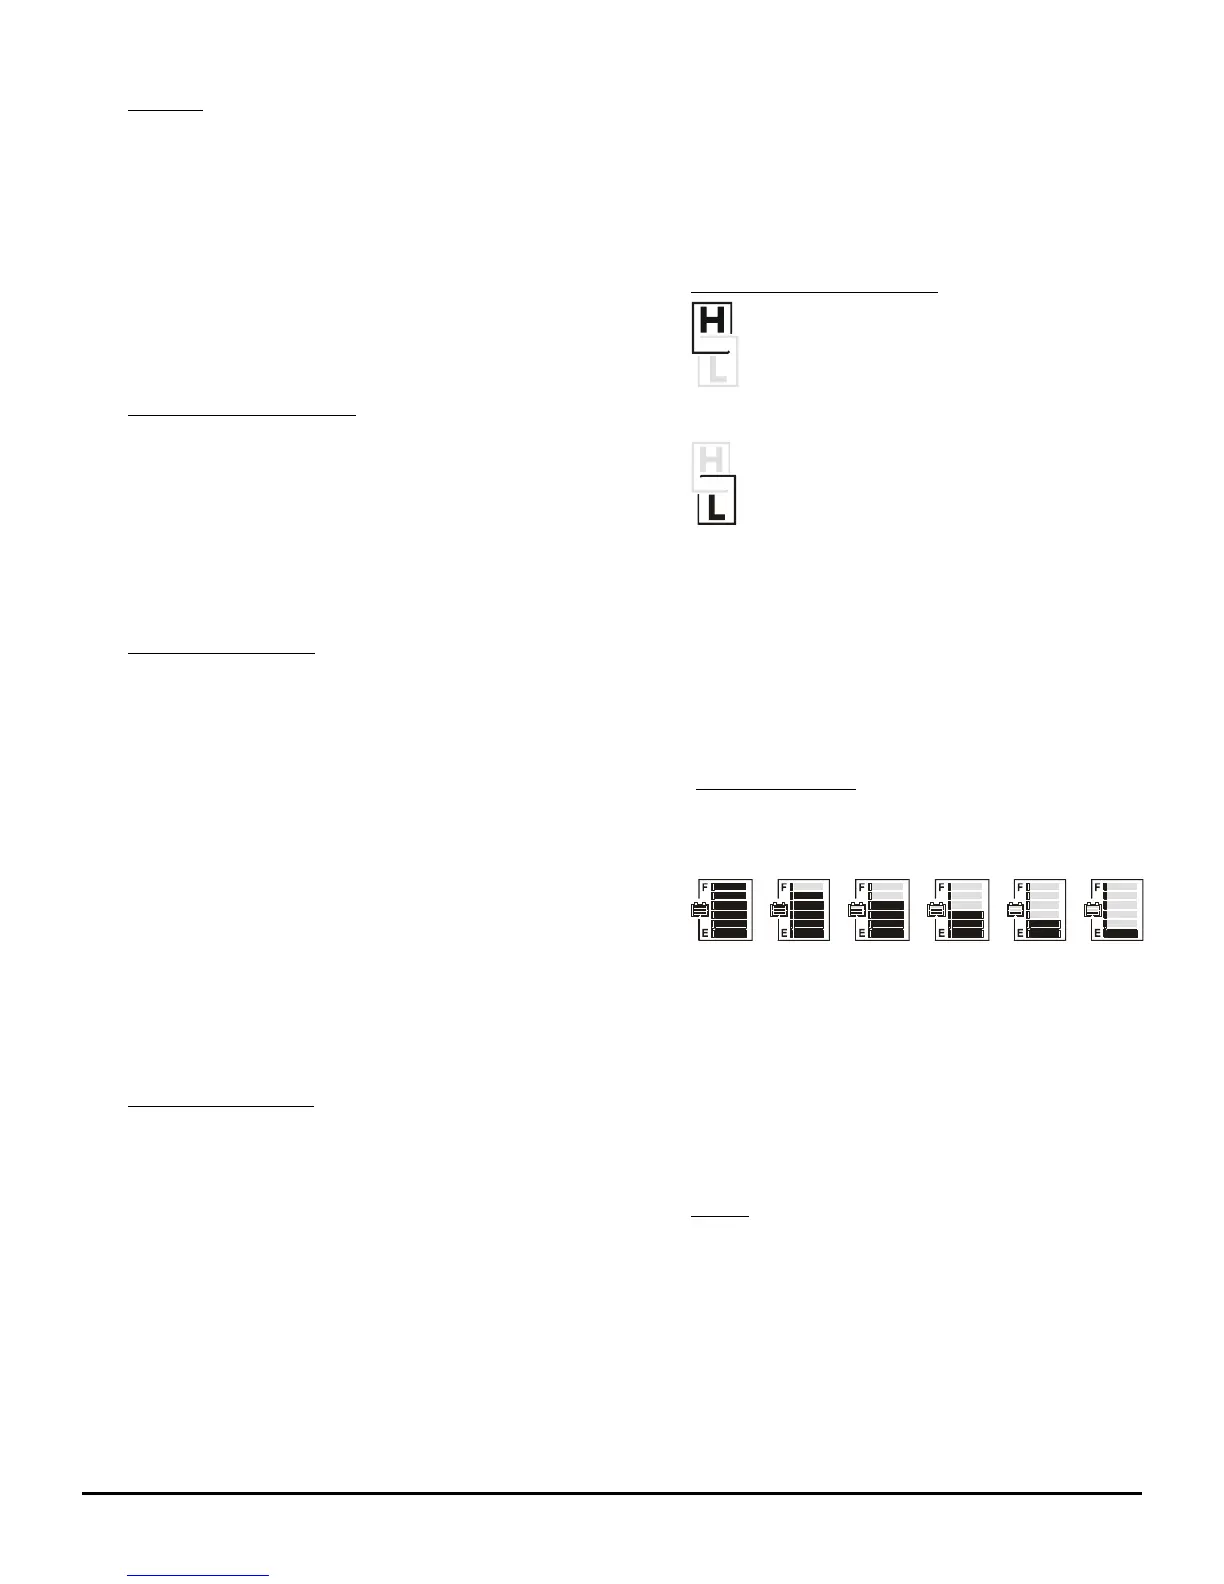
(e) High / Low / Turn Speed
To select high speed, press the
HIGH / LOW button until the
display shows „H‟ (as shown)
To select low speed, press the
HIGH / LOW button until the
display shows „L‟ (as shown)
If the display is flashing „L‟, then scooter is
automatically limiting its speed. As a safety
feature the scooter will automatically limit
it‟s speed when cornering.
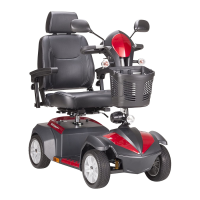
(f) Power Indicator
The remaining power in the battery is
shown by the display status below:
Once the power level drops below 30%,
the gauge will flash and the warning sound
will beep at 5 second intervals, informing
the user to recharge the batteries as soon
as possible.
(g) Clock
To change the clock:
1. Hold down the MODE and SET buttons
until the clock starts flashing.
2. Then press the MODE button until the
hour is flashing.
3. Then press SET to change until the
hour is at the required setting