DriveCam Standard Installation
Installing the DriveCam
®
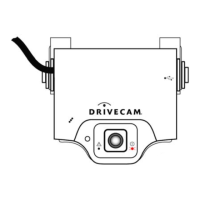
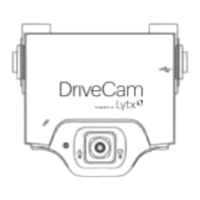
DC3/DC3P Video Event Recorder (VER) using the Standard
Power Cable. This is the most basic installation type, connecting the VER with no
additional components.
Start Here …………………………. 3
Mounting Information …………….. 4
Electrical Connections …………… 6
VER Testing Procedures ………… 7
Vehicle to VER Association……… 8
Finishing Up ………………………. 8
Additional Information ……………. 9
Hardware (provided)
DC3/DC3P Kit
DC3/DC3P Video Event Recorder (VER)
Standard (Windshield) Mounting Bracket
Torx Screws (2); Torx Wrench; Alcohol Wipe
Standard Power Cable Kit
DC3/DC3P Standard Power Cable (14 ft.)
Additional items you may need (not provided)
Felt-tip marker Voltmeter
Wire cutter / crimper
Wire connectors & extra wire (18 gauge)
Flat blade screwdriver or panel removal tool
Installation & How To Guides: Available online at: http://www.drivecam.com/resource-center/installation-how-to-guides
DriveCam Mounting Guidelines (DRC 340)
DriveCam Standard Installation Guide (DRC 303) * This Document
DriveCam 5-Port HUB Installation Guide (DRC 304)
DriveCam 5-Port HUB Installation with Universal Module (DRC 305)
Optional DriveCam Components: Remote Pushbutton, External GPS Antenna, Fuel Efficiency Display, Universal Module
(UM05). All connect through the DriveCam 5-Port HUB. Refer to the 5-Port HUB guides for installation instructions.
Order DriveCam Parts & Equipment: http://drivecam.force.com/partsorders
Hardware (ordered separately)
Alternate Mounting Brackets
Extended (Bulkhead) Bracket
RAM-Mount (Articulating) Bracket
Contact Lytx for assistance with any issues
related to how or where VERs should be
mounted.