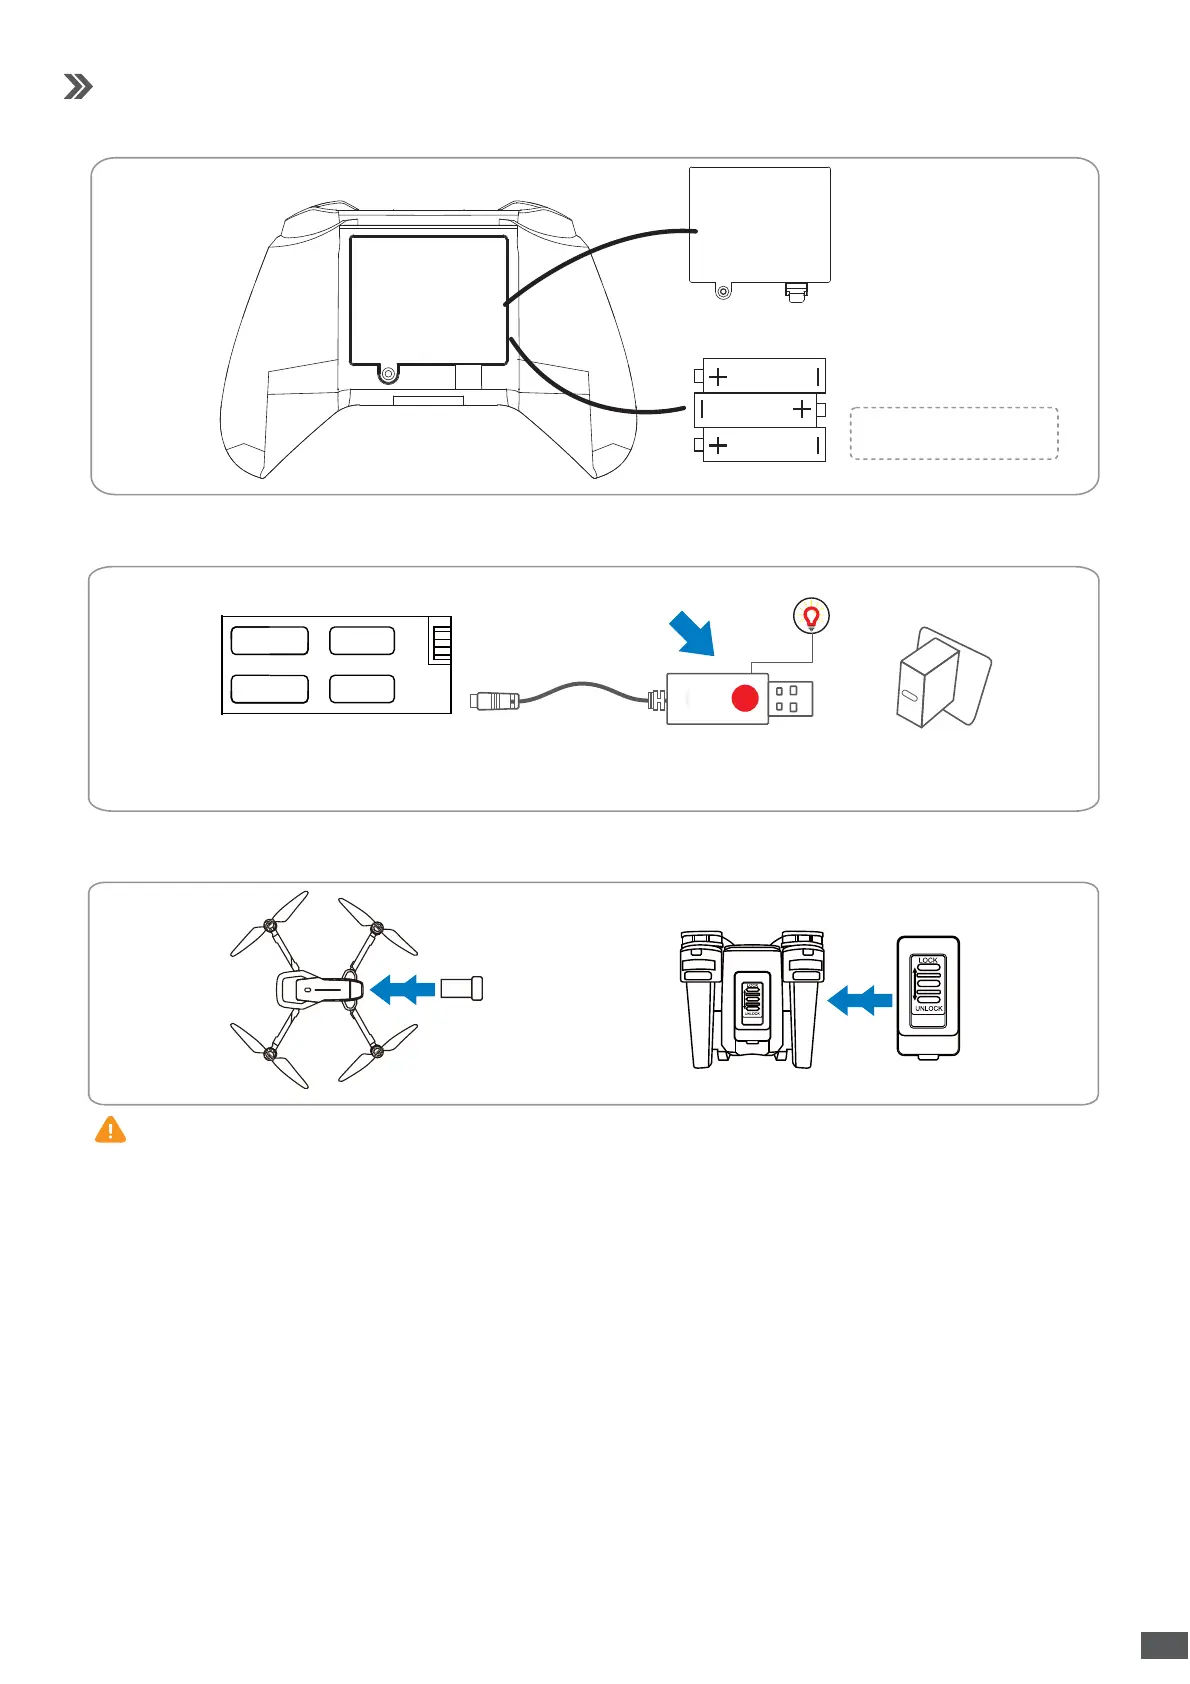
5.1 Install the remote battery
5.2 Change the battery of the drone
5.0 FLIGHT PREPARATION
5.3 Install the battery into the drone after it’s fully charged.
① Insert the battery into the rear of the drone in the right direction (the tab on the battery
should be facing up) ② Slide the battery all the way in, until it securely slots into place.
③ Press 'LOCK' to lock the battery with drone; press 'UNLOCK' before taking out the battery.
5V 1-2A
LOCK
UNLOCK
Charging: LED light on USB is on
Fully Charged: LED light goes off
USB Adapter
3 X 1.5V AA
(Batteries not included)
Tips:
① For your safety, please use the original battery and USB cable.
② If use fast charge, the electric current may increase sharply and the rubber part may melt.
③ Plug the USB charging cable into a USB charging port on the computer, power bank or
USB adapter(5V/0.5-2A).
④ Free the battery of any sharp objects that could puncture into the battery to avoid risks of
explosions and fire.
⑤ There is continuous beeping sound from the remote when the battery of the remote is low.
⑥ The LED on the drone will flash quickly when the battery of the drone is low. About 30
seconds, the drone will land automatically.
⑦ To extend the battery’s lifespan, recharge it at least once every three months if not using it
for long periods of time.
04