17
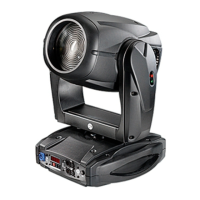
13- OPENING THE PROJECTOR HOUSING
It is possible to inspect the inside of the projector by removing the cover as indicated below.
ATTENTION
REMOVE MAINS POWER PRIOR TO ACCESSING THE PROJECTOR’S INTERNAL COMPONENTS.
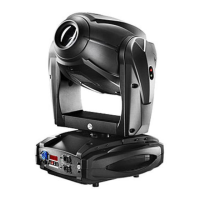
1) Loosen the 3 screws which fix the head covers (photo 1) .
2) Once unscrewed, simply lift the covers to access the internal components (photo 2).
14- REPLACING GOBOS
XR9 uses a mechanical system which allows the fixture's gobos to be removed without the use of special
tools. Replacement gobos should be made of either heat resistant glass or metal.
An ever-increasing range of gobos is available from your DTS sales network.
Gobo dimensions are as follows:
ø external = 27.9 mm
ø of image with defined edge = 24 mm
thickness = from 0.2 to 4 mm (see catalogue)
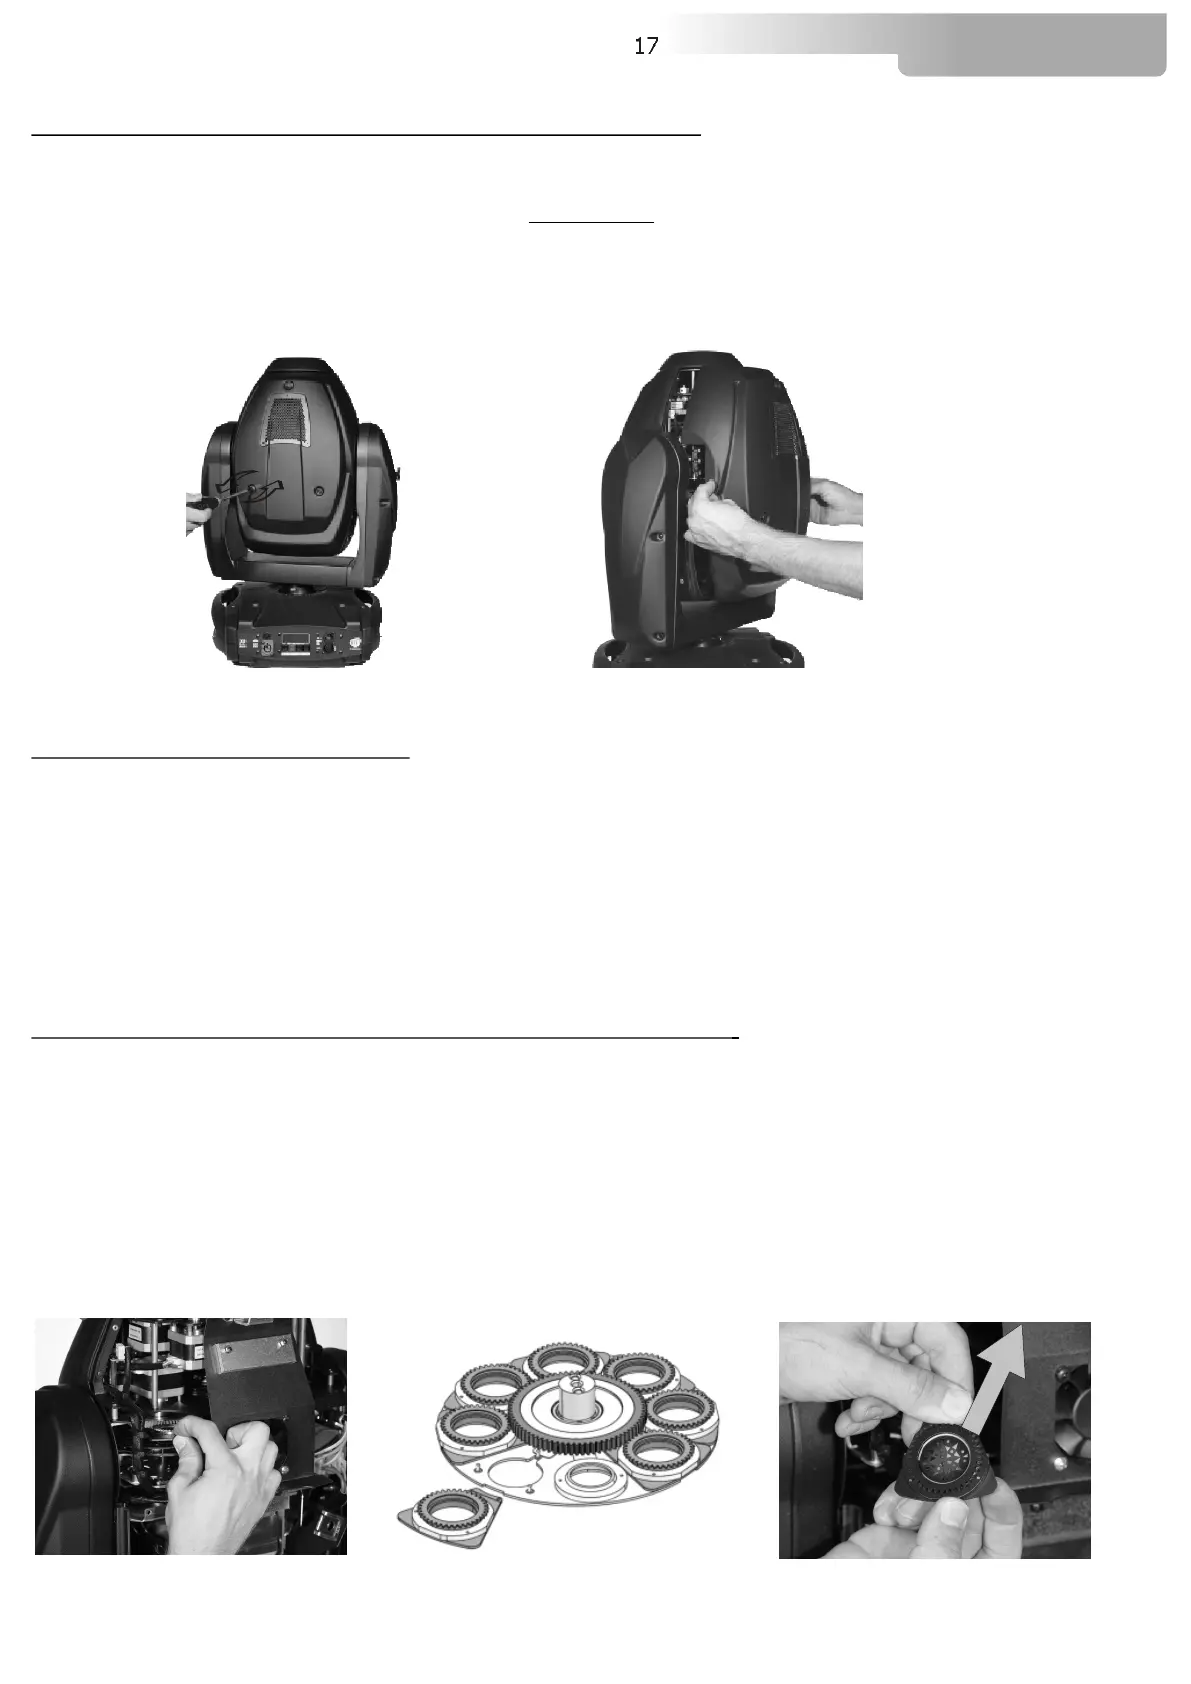
Replacing gobos on the rotating gobo wheel
When replacing gobos, ensure that the projector is switched off.
1) Open the projector housing as described above.
2) Remove the gobo holder to allow easier access to the gobo(photo 1 and 2).
3) Release the gobo retaining spring and carefully remove the gobo (photo 3).
4) Reverse the procedure to install a replacement gobo.
Photo 1
Photo 3
Photo 1
Photo 2
XR 9 SPOT
Photo 2
 Loading...