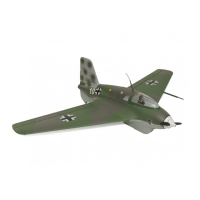
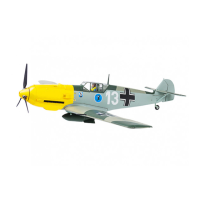
Note:
* All wing and fuselage roundels are made of standard sticker type decals and cut exactly to
the right size and simply need lifting from the backing paper and applying in place.
* All other markings are of the vinyl type decal and are supported on a clear adhesives
fronting film. These will need more care and attention when applying.The below guidelines
apply to both decal types where noted:
1. Study the scheme reference sheet carefully and understand fully where each decal should be
applied (sticker/vinyl).
2. Both decals types have been die cut so there is no need to cut the decals out.
3. Vinyl decal use a clear front cover/film that is used to remove the decal from the paper backing.
The ‘EB-G’ and ‘D-AZ’ markings are already correctly spaced for the fuselage roundal to fit in
between them, hence these 3 letter should be applied as one (vinyl).
4. Before lifting from the paper, rub the surface of the clear protective film to ensure all of the decal
sticks to this fronting. This will ensure the marking lifts fully off the backing paper (vinyl).
5. Position the decals carefully on the model according to the decal reference sheet then gently rub
(using a dry cloth) the decal in place rubbing from the center of the decal out to avoid wrinkles and
air bubbles (sticker/vinyl) See picture A.
6. If air bubbles are present, use the tip of a sharp blade to make a small hole in the bubble then rub
over it again to push the air out (sticker/vinyl).
7. Once the decal is firmly rubbed down and any air bubbles are removed, you can slowly remove
the front clear protective film. DO NOT pull this clear film upwards to remove it, instead pull the
film slowly off to the side. This will ensure the decal doesn’t lift up from the surface of the model
when you remove the clear film. (vinyl).
14