DECAL TIPS
● Rub the clear front film before you remove the decal from the paper back to ensure it lifts fully from
the backing (vinyl type).
● Remove the clearing fronting by pulling it off to the side once positioned , DO NOT pull this film
directly upwards, this could cause the decal to rip (vinyl type).
● To avoid bubbles under the larger decals, use a sharp blade to remove the small molding marks
from the surface of the foam where the decal is to be applied, see image below (vinyl/sticker
type).
● Scale ‘maintenance’ decals found on ‘DA-Z’ sheet can be used on either scheme (vinyl type).
● Position all decals carefully. Once applied, it can not be removed without lifting the paint from the
model (vinyl/sticker type).
● Be patient and take your time applying decals and you will be left with a perfect finish (vinyl/sticker
type).
● It is strongly recommended that a covering iron be used to seal the edges of the decals. If not,
changes in temperature can result in lifting at these edges (vinyl/sticker type).
8. Very gently rub the decal again with a cloth now that the clear film is removed to ensure all edges
are firmly stuck down (sticker/vinyl).
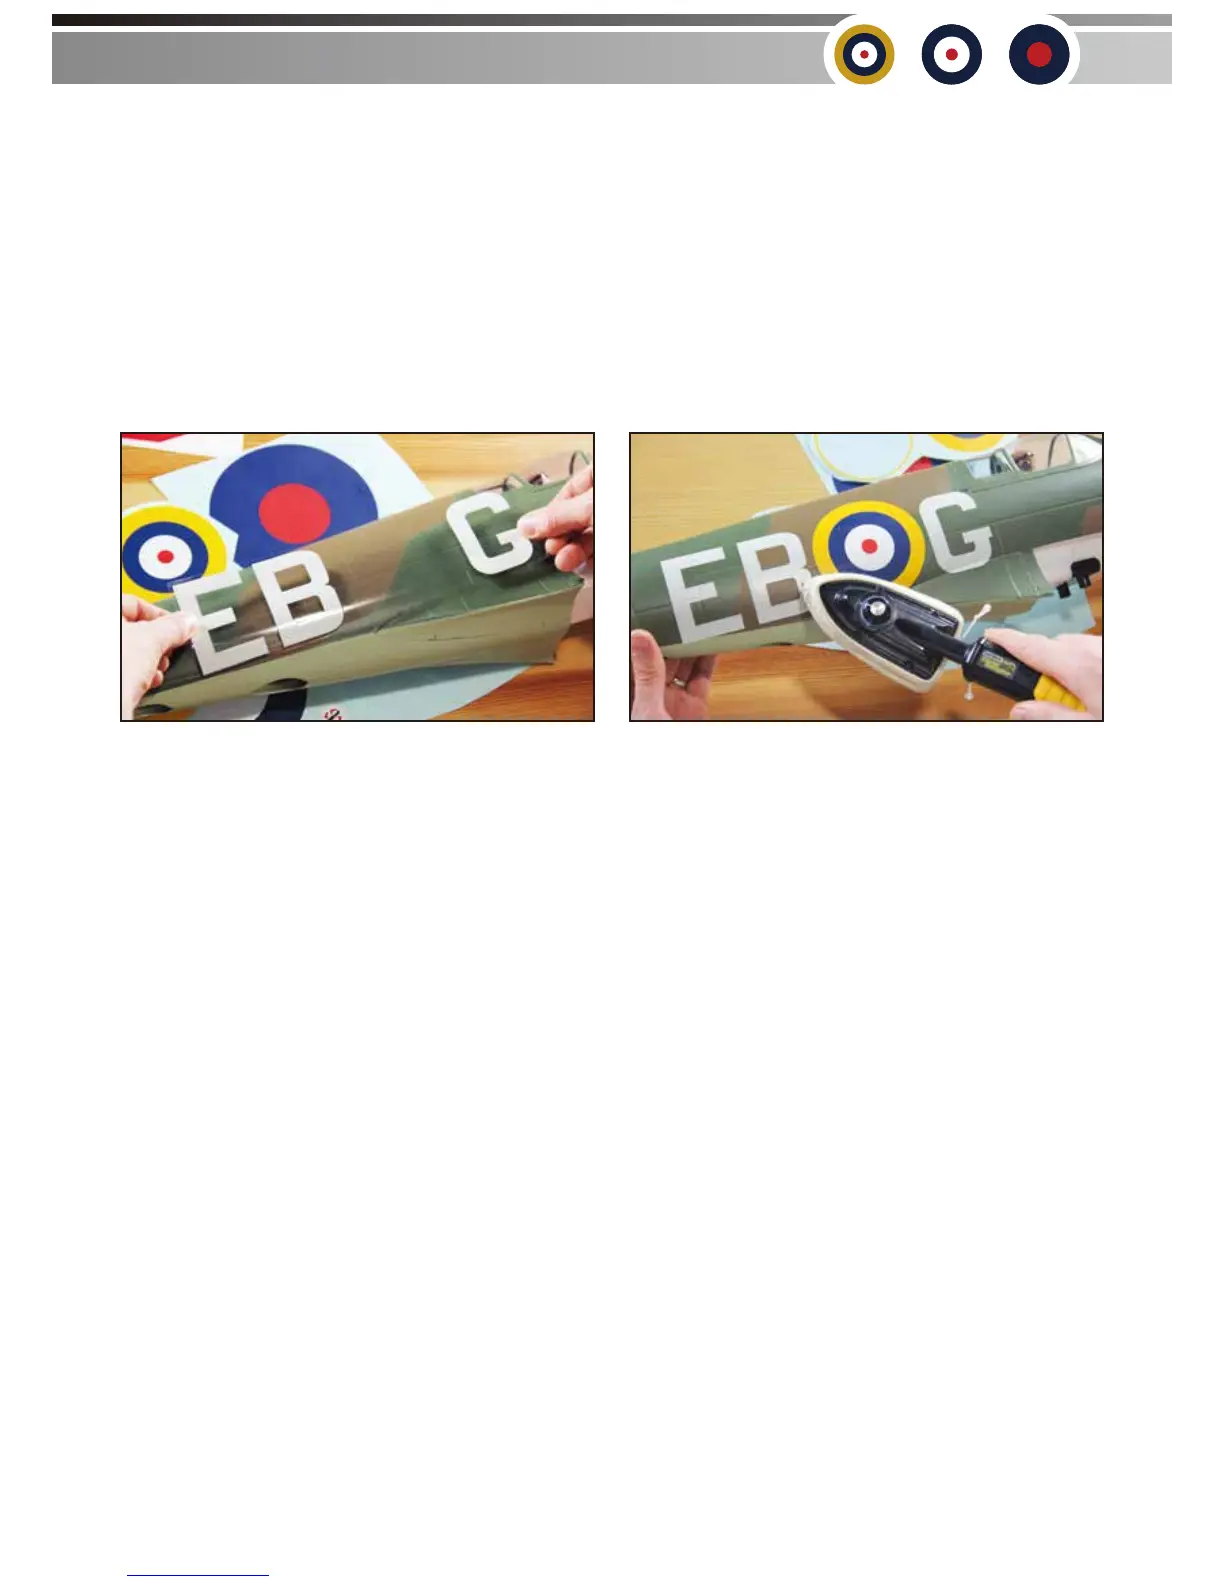
9. Finally the use of a covering iron is STRONGLY recommended to seal the decals to the painted
foam surface and prevent them from lifting at the edges over time. Set the iron to a low temperature
and gently run the iron lightly over the surface of the decal as illustrated on the following page. Use
of a cloth to cover the head of the iron is recommended to help prevent damage to the foam and the
decal. A house hold iron can be used if no covering iron is available (sticker/vinyl). See picture B.
15
A. B.
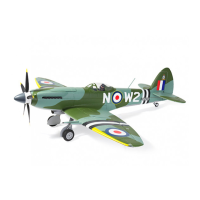
Durafly 1100mm Supermarine
Spitfire Mk1a