99
Chapter 14
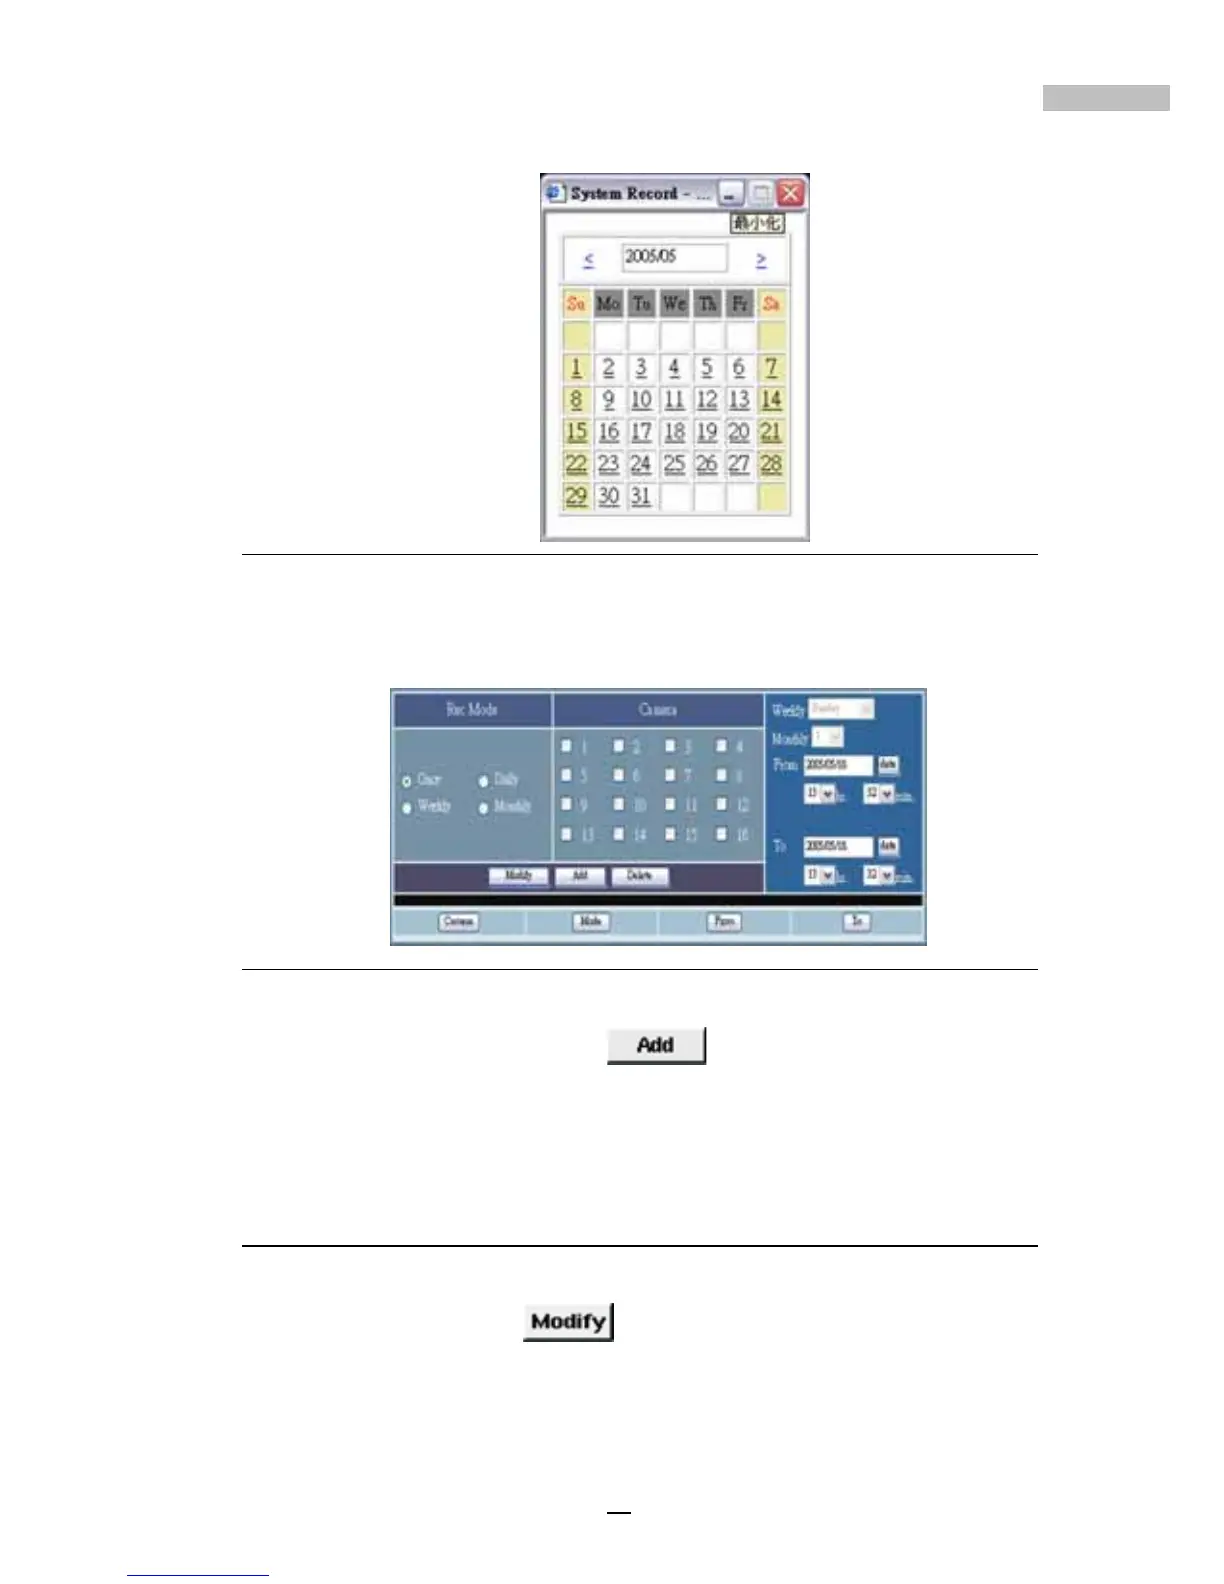
Figure 14-28: date
2.Then click to choose the right Hour and Minute.
Figure 14-29: Remote Schedule Window
3.Once complete, click “Add” to activate the settings. After
you have completed all schedule settings you can view a log of all
changes at the bottom of the window.
Modifying Scheduled Settings
1.Click the data you wish to modify
2.Click the “Modify”
button after having changed the
scheduled settings.