Do you have a question about the Dwyer Instruments TSW Series and is the answer not in the manual?
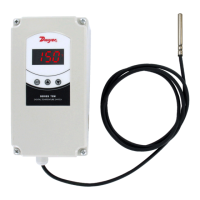
Always plug your Dwyer Controller into a GFCI protected circuit.
Enter setup mode by pressing SET for 8 seconds, then press SET again to set SP1.
Set the differential for SP1 (heating element) to adjust sensitivity, fine-tuning to 0.1 degrees.
Configure the differential for SP2, used for cooling devices like solenoids.
Adjust settings for Alarm Probe 1 (A6) and Alarm Probe 2 (A7), recommended to turn off.
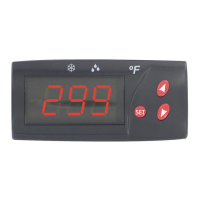
Change relay operational direction (C1) to 'inv' and select temperature units (PO).
Input mash temperature and fermentation/pitching/fridge temperature after setup.
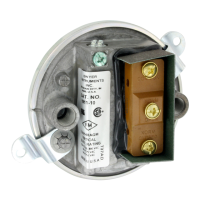
Cooling output max 8A; Heating output max 15A/1650W. Do not exceed to prevent damage.
| Brand | Dwyer Instruments |
|---|---|
| Model | TSW Series |
| Category | Switch |
| Language | English |