4. Turn the Power Switch to the on position.
5. Allow the bulb to warm up (about 5 minutes). The unit is warmed-up when the blue Unit Ready LED
illuminates and two beeps sound. The Shutter will be inoperable until the warm-up is complete and a
Lightguide is installed.
Note: If the unit is coming on from an extreme cold condition (<0ºC), the system fan will turn on to initiate
a warming cycle and the Unit Ready LED will pulse as ambient air (>2ºC) is being circulated through the
unit. Once the internal temp is >2ºC, the bulb will ignite and the normal warm-up cycle will commence.
6. Operate the Shutter by pressing the Footswitch. With the Shutter Selector Switch in the manual position,
the Shutter operates directly from the Footswitch and will remain open as long as the switch is depressed.
In the timed position, the open duration of the Shutter is determined by the setting on the electronic
Shutter Timer. A momentary depression of the Footswitch will initiate the timed cycle and the Shutter
will remain open for the duration of the cycle (the counter will count down the time until the Shutter
closes).
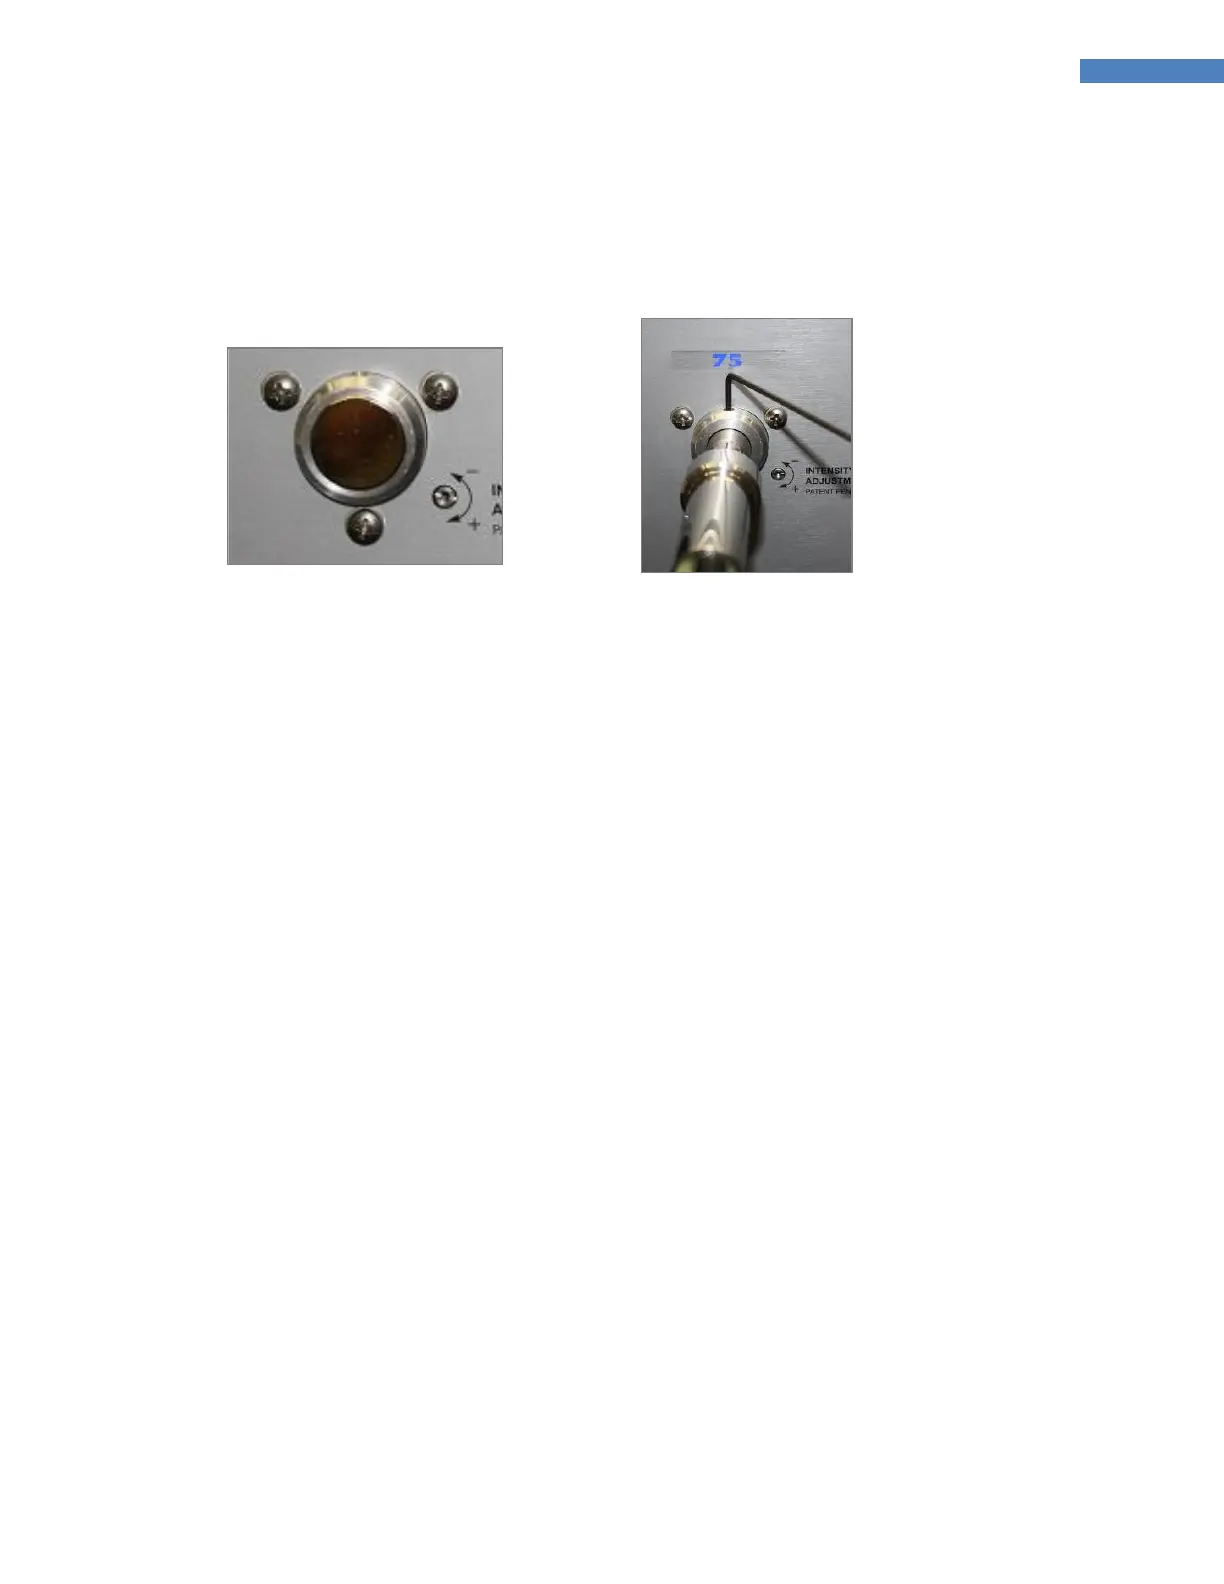
7. With the Shutter open, adjust the Intensity Adjustment Screw as required to achieve the desired output
intensity. The output intensity can be measured using an ACCU-CAL™ 50 Radiometer or equivalent.
CAUTION: This unit uses an arc bulb, not a filament bulb. Once ignited, the unit must be left on for a
minimum of 10 minutes to vaporize elements in the bulb. If the unit is not left on for the required time, re-
ignition of the bulb may be difficult or unreliable.
Note: The bulb must cool before it can be re-ignited. Turn the unit off and allow 20 minutes for it to cool
down. If the bulb fails to ignite, refer to the “Troubleshooting” section of this manual. Bulb life is reduced
each time the unit is switched on. Avoid repeated cycles that shorten bulb life by leaving the unit on
through breaks.