4
About Your New Label Maker
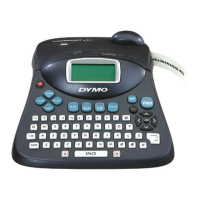
With the DYMO® LabelManager 420P electronic label
maker, you can create a wide variety of high-quality, self-
adhesive labels. You can choose to print your labels in
many different fonts, font sizes, and styles. The label maker
uses DYMO D1 label cassettes in widths of 1/4” (6 mm),
3/8” (9 mm), 1/2” (12 mm), or 3/4" (19 mm). These label
cassettes are available in a wide range of colors.
Visit www.dymo.com for information on obtaining labels
and accessories for your label maker.
Product Registration
Visit www.dymo.com/register to register your label
maker online.
Getting Started
Follow the instructions in this section to print your first label.
Connecting the Power
The label maker is powered by a rechargeable, Lithium-
ion battery pack. To save power, the label maker
automatically turns off after ten minutes of inactivity.
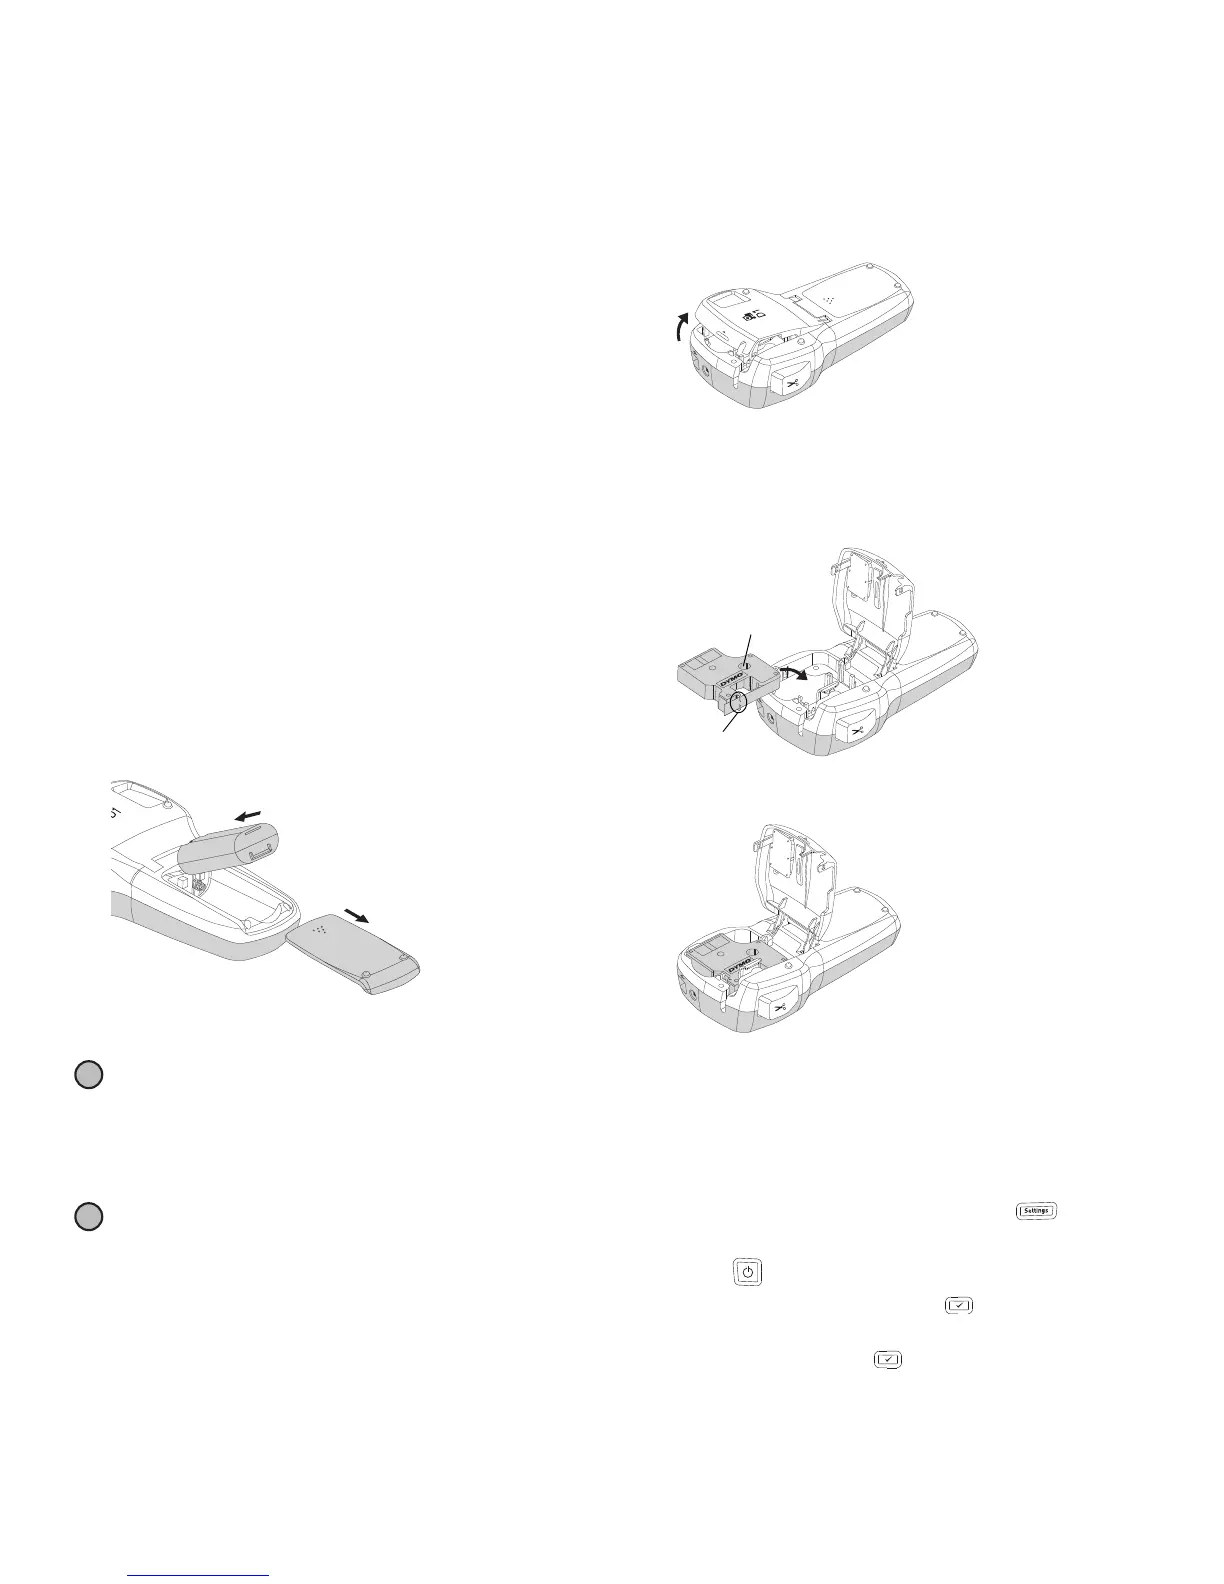
Inserting the Battery
The battery pack included with your label maker comes
partially charged.
To insert the battery
1 Slide the battery compartment cover away from the
label maker. See Figure 2.
2 Insert the battery pack into the battery compartment.
3 Replace the battery compartment cover.
Remove the battery pack if the label maker will not be
used for a long period of time.
Recharging the Battery
A charging adapter is included with your label maker for
recharging the battery pack.
The charging adapter is only used for recharging the
battery pack; the charging adapter cannot be used to
power the label maker.
To recharge the battery
1 Plug the charging adapter into the power connector on
the top of the label maker.
2 Plug the other end of the charging adapter into a
power outlet.
Inserting the Label Cassette
Your label maker uses DYMO D1 label cassettes. Visit
www.dymo.com for information about purchasing
additional label cassettes.
To insert the label cassette
1 Lift the label cassette cover to open the label
compartment. See Figure 3.
2 Make sure the tape and ribbon are taut across the
mouth of the cassette and that the tape passes
between the label guides. See Figure 4.
If necessary, turn the ribbon rewind spool clockwise to
tighten the ribbon.
3 Insert the cassette and press firmly until the cassette
clicks into place. See Figure 5.
4 Close the label cassette cover.
Using the Label Maker for the First Time
The first time you turn on the power, you are asked to select
the language and label width. These selections remain set
until you change them.
You can change these selections using the key.
To set up the label maker
1 Press to turn on the power.
2 Select the language and press .
3 Select the width of the label cassette currently in the
label maker and press .
You are now ready to print your first label.
Label
guides
Ribbon
rewind
spool
Figure 4
 Loading...