2
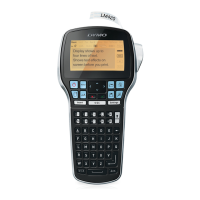
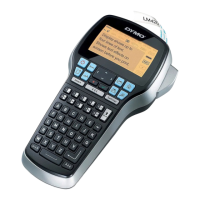
Become familiar with the features shown in Figure 2.
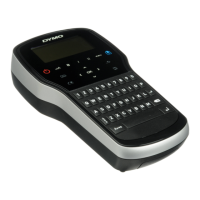
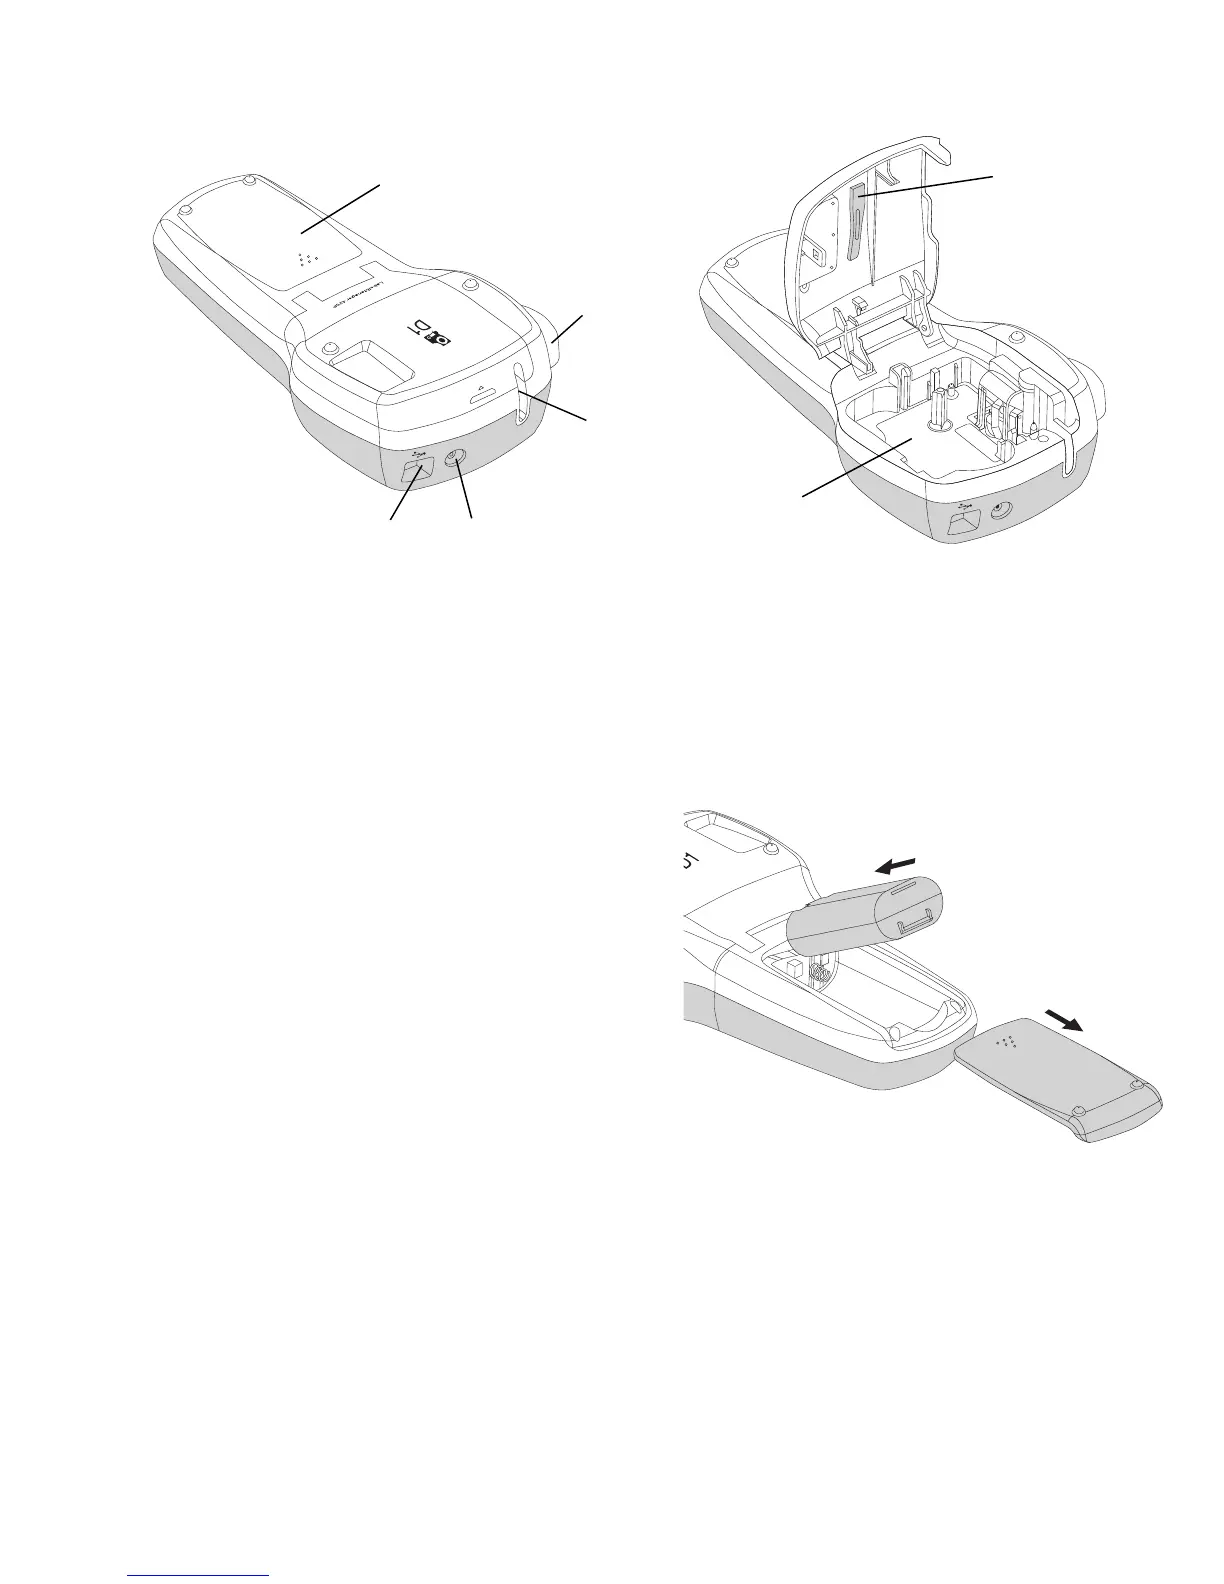
Inserting the Battery
To insert the battery
1 Slide the battery compartment cover
away from the label maker. See Figure 3.
2 Insert the battery into the battery
compartment.
3 Replace the battery compartment cover.
To charge the battery
1 Plug the charging adapter into the power
connector on the top of the label maker.
2 Plug the other end of the charging adapter into a power outlet.
NOTE The charging adapter is only used for recharging the battery; the
charging adapter cannot be used to power the label maker.
1
Battery compartment
4
Power connector
7
Cleaning tool
2
Cutter button
5
USB connector
3
Label exit slot
6
Label compartment