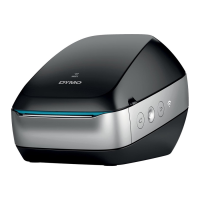
Setting Up the DYMO LabelWriter 400 Printer with Terminal Services 1
Setting Up the DYMO
LabelWriter 400 Printer with
Terminal Services
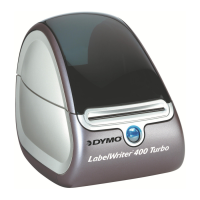
If you are using OfficeMate or OfficeMate Enterprise with Terminal Services, you can
still use your local label printer even though your OfficeMate software is running on
a remote computer. In order to use the DYMO LabelWriter 400 printer with Terminal
Services, you must allow your local USB port to be available during a terminal server
session and install the DYMO Label Software on the remote computer.
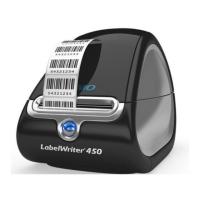
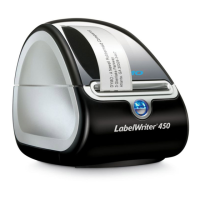
This document describes the steps required set up your DYMO LabelWriter 400 for
use with Terminal Services, including how
• To install the DYMO Label Software on the terminal server, 2
• To install and test the DYMO printer on the local workstation, 4
• To allow your local USB port to be available during a terminal server session, 5
• To test the DYMO printer through a terminal server session, 7




 Loading...