Setting Up the DYMO LabelWriter 400 Printer with Terminal Services
4 Setting Up the DYMO LabelWriter 400 Printer with Terminal
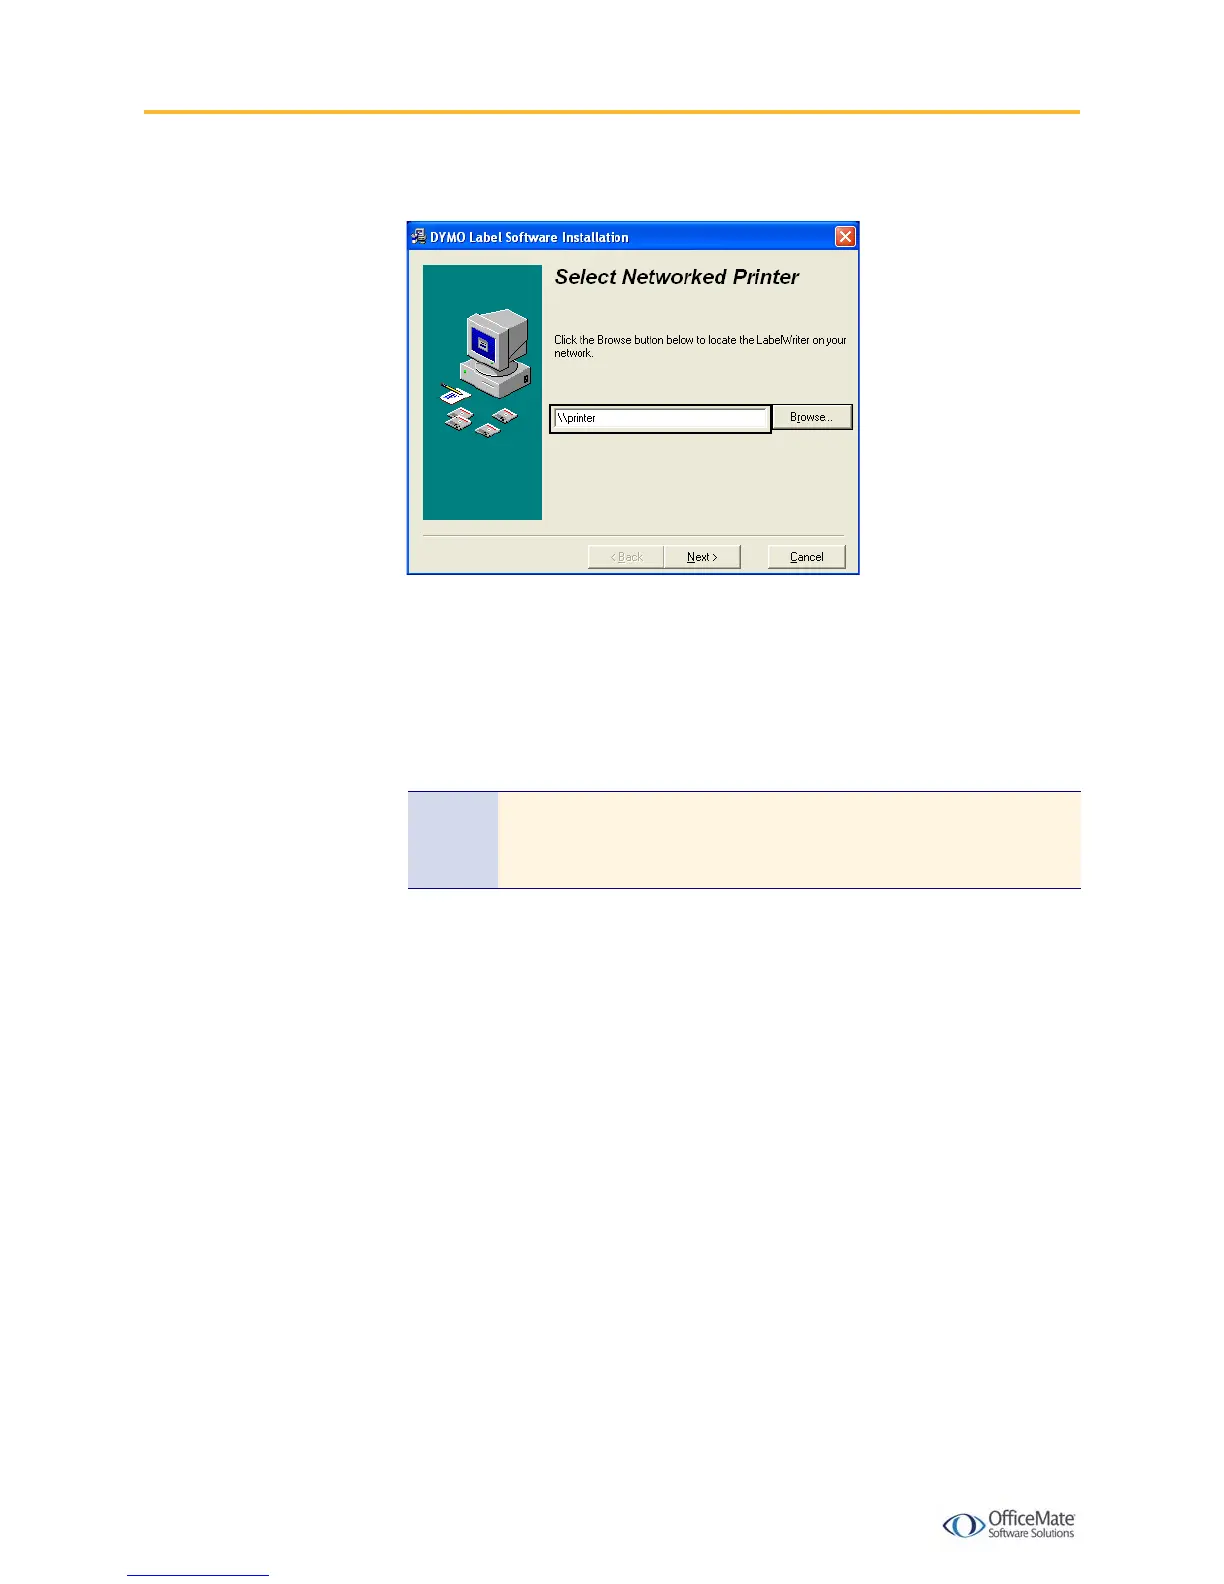
8 When asked to select a networked printer, type \\printer.
9 Click Next to continue until the installation is complete.
X To install and test the DYMO printer on the local workstation
1 Connect the DYMO LabelWriter 400 printer to your local computer’s USB port.
2 Install the DYMO LabelWriter software from the CD that came with your
printer.
When the DYMO Label Software installation launches, the License Agreement
window opens.
3 Select the I Accept radio button and click Next.
4 Click Next to bypass the welcome message.
5 Click Browse, select where to install the DYMO Label Software, and click Next.
6 Click Next to bypass the installation message.
Note If you do not have the DYMO LabelWriter CD, download the
printer drivers and software application from the DYMO Web site
at http://global.dymo.com/enUS/TechSupport/.

 Loading...