Setting Up the DYMO LabelWriter 400 Printer with Terminal Services
Setting Up the DYMO LabelWriter 400 Printer with Terminal Services 7
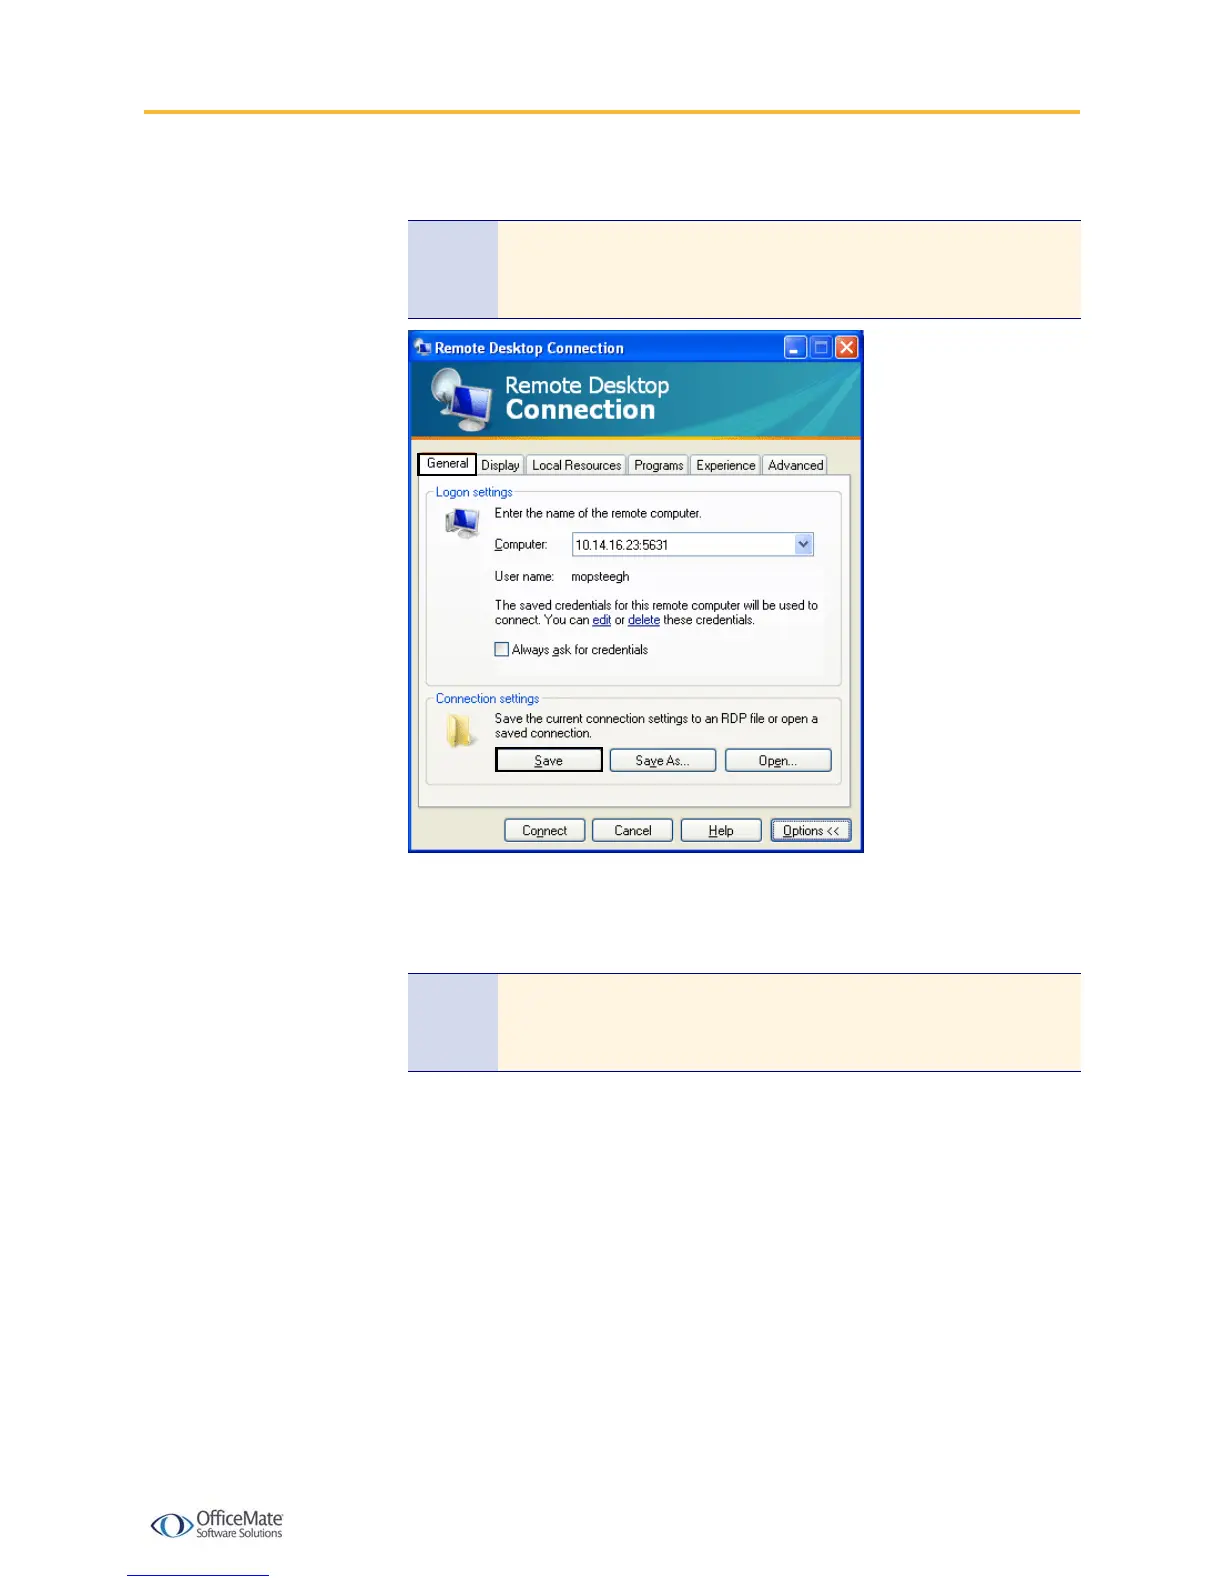
9 Click Save in the Connection settings box.
10 Click Connect to open a terminal server session.
11 Open the DYMO LabelWriter 400 printer properties within the terminal server
session.
12 Select the Ports tab.
13 Select the TS### port that corresponds with the workstation that is attached
to the printer.
14 Click Apply to save your settings.
X To test the DYMO printer through a terminal server session
1 From the computer attached to the DYMO LabelWriter 400 printer, open a
terminal server session.
2 Open OfficeMate or OfficeMate Enterprise Home Office.
3 Click Setup and select Preferences.
4 Select the Label Printer tab.
Note The information that you set up becomes the default setting for all
Remote Desktop connections on this computer and is saved in a
file called Default.rdp.
Note If the DYMO LabelWriter 400 printer is not available within the
terminal server, follow the instructions listed under To install the
DYMO Label Software on the terminal server on page 2.

 Loading...