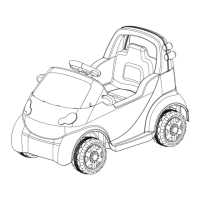
6. Dashboard Assembly
● Insert the tabs on the dashboard into slots at
top of front car body as shown.
● Use four 4x12 round head screws to secure
the dashboard.
9
3. Driving Wheel Assembly
● Slide the gear box through the axle into the
vehicle body, make sure the motor and motor
power wire are inserted into the vehicle body.
Note:
The gear box must be installed onto the
Right side of vehicle (riding position).
● Slide the driving wheel onto the axle and make
it match up with the gear box.
● Slide the wheel cover onto the axle (make sure
that the tabs on the wheel cover are fitted into
the holes on the driving wheel).
● .elxa eht otno rehsaw 01Ø a edilS
● Install the M10 locknut and tighten it.
● .pac elxa eht netsaF
NOTE: Assemble the rear wheel on the other side in the same way that the front wheels are
assembled. Please refer to the front wheel assembly information at page 8.
5. Vehicle Body Support Assembly
● Install the vehicle body support into the
proper position on the the front of vehicle body
mas shown, ake sure the direction is correct.
● Secure the vehicle body support
with seven
.swercs daeh dnuor 21X4
4. Steering Column Assembly
● Turn the vehicle body upside down.
● Slide a Ø10 washer onto the steering column,
then insert a split pin into the hole on the straight
end of the steering column to secure the washer
(by opening the pin ends). <see figure 4-1>
● Insert the straight end of the steering column
through the hole in front of vehicle body until it
sticks out of the hole on the top of the car body
<see figure 4-2>; then insert the bent end into the hole on the steering bracket that
connected to the front wheel axle <see figure 4-3>.
● Slide another 10 washer onto the steering
column and secure it with another split pin
(by opening the pin ends as shown).<see
figure 4-4>
7. View Mirrors
Assembly
● Insert the view mirror into the hole in
the vehicle body and push until you
hear this click into place.
● Repeat for the other side.
Ø

 Loading...