LV-Link A User Manual
©Dyness reserves the copyright of this document.
Installation Preparation
1. Prepare equipment and tools for installation.
2. Check the LV-Link unit and confirm that the device is turned off.
Mechanical Installation
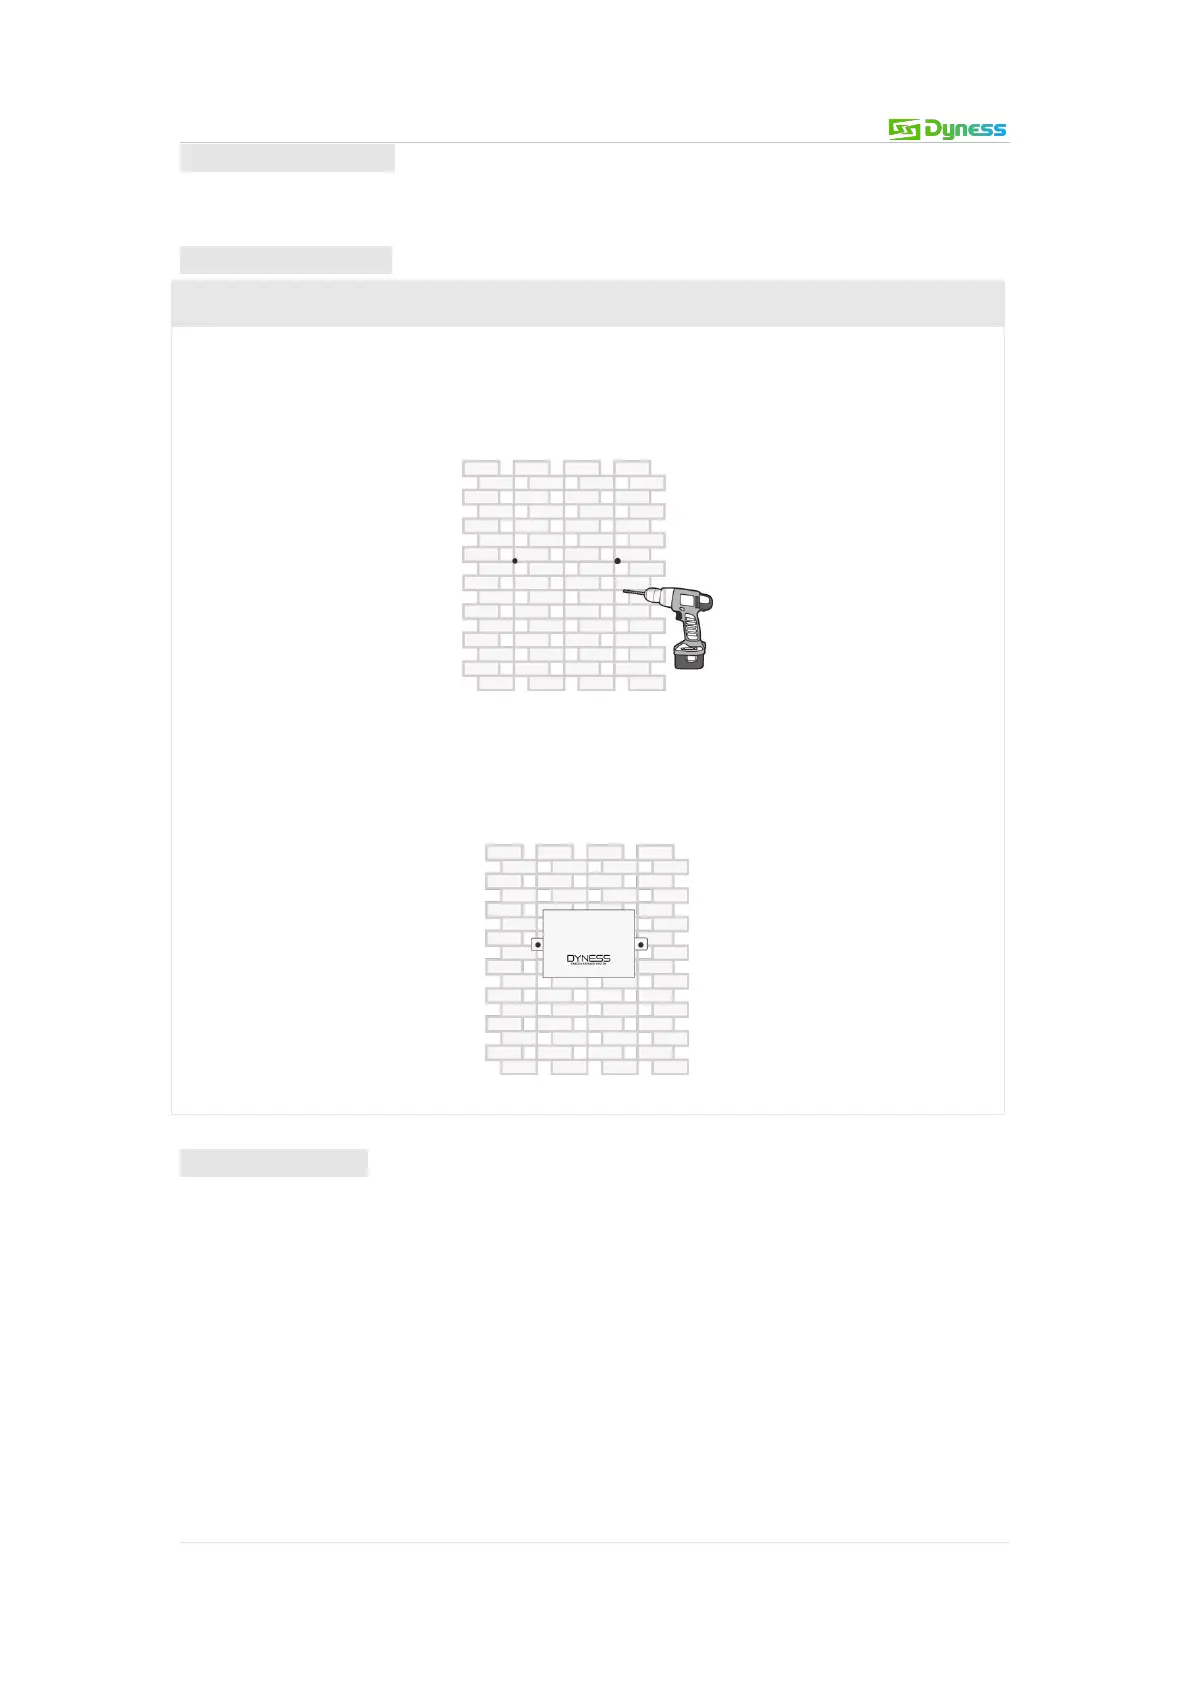
Wall hanging Installation method:
1. Make the LV-Link parallel to the ground using a horizontal measuring instrument.
Mark the screw holes on the wall using the two holes of the LV-Link, and drill the
holes, as shown in Figure 3-4. Use an electric drill to drill two holes with a diameter of
10mm and a depth greater than 70mm on the wall to install M6 expansion bolts.
Figure 3-4
2. According to the position of the mark, 2 holes in diameter 10mm and depth of more
than 70mm are hit on the wall with an electric drill, which are used for fitting
expansion bolt M6.
Electrical installation
Before connecting the power cables, use multimeter to measure cable continuity, short
circuit, confirm positive and negative, and accurately mark the cable labels.
Measuring methods:
Power cable check: select the buzzer mode of multimeter and detect the both ends of
the same color cable. If the buzzer calls, it means the cable is in good condition.
Short circuit judgment: choose multimeter resistor file, probe the same end of positive
and negative pole, if the resistor shows infinity, means that the cable is available.
After visual testing of power line connection, the positive and negative poles of the
battery shall be connected respectively to the positive and negative poles of the opposite
terminal.
 Loading...