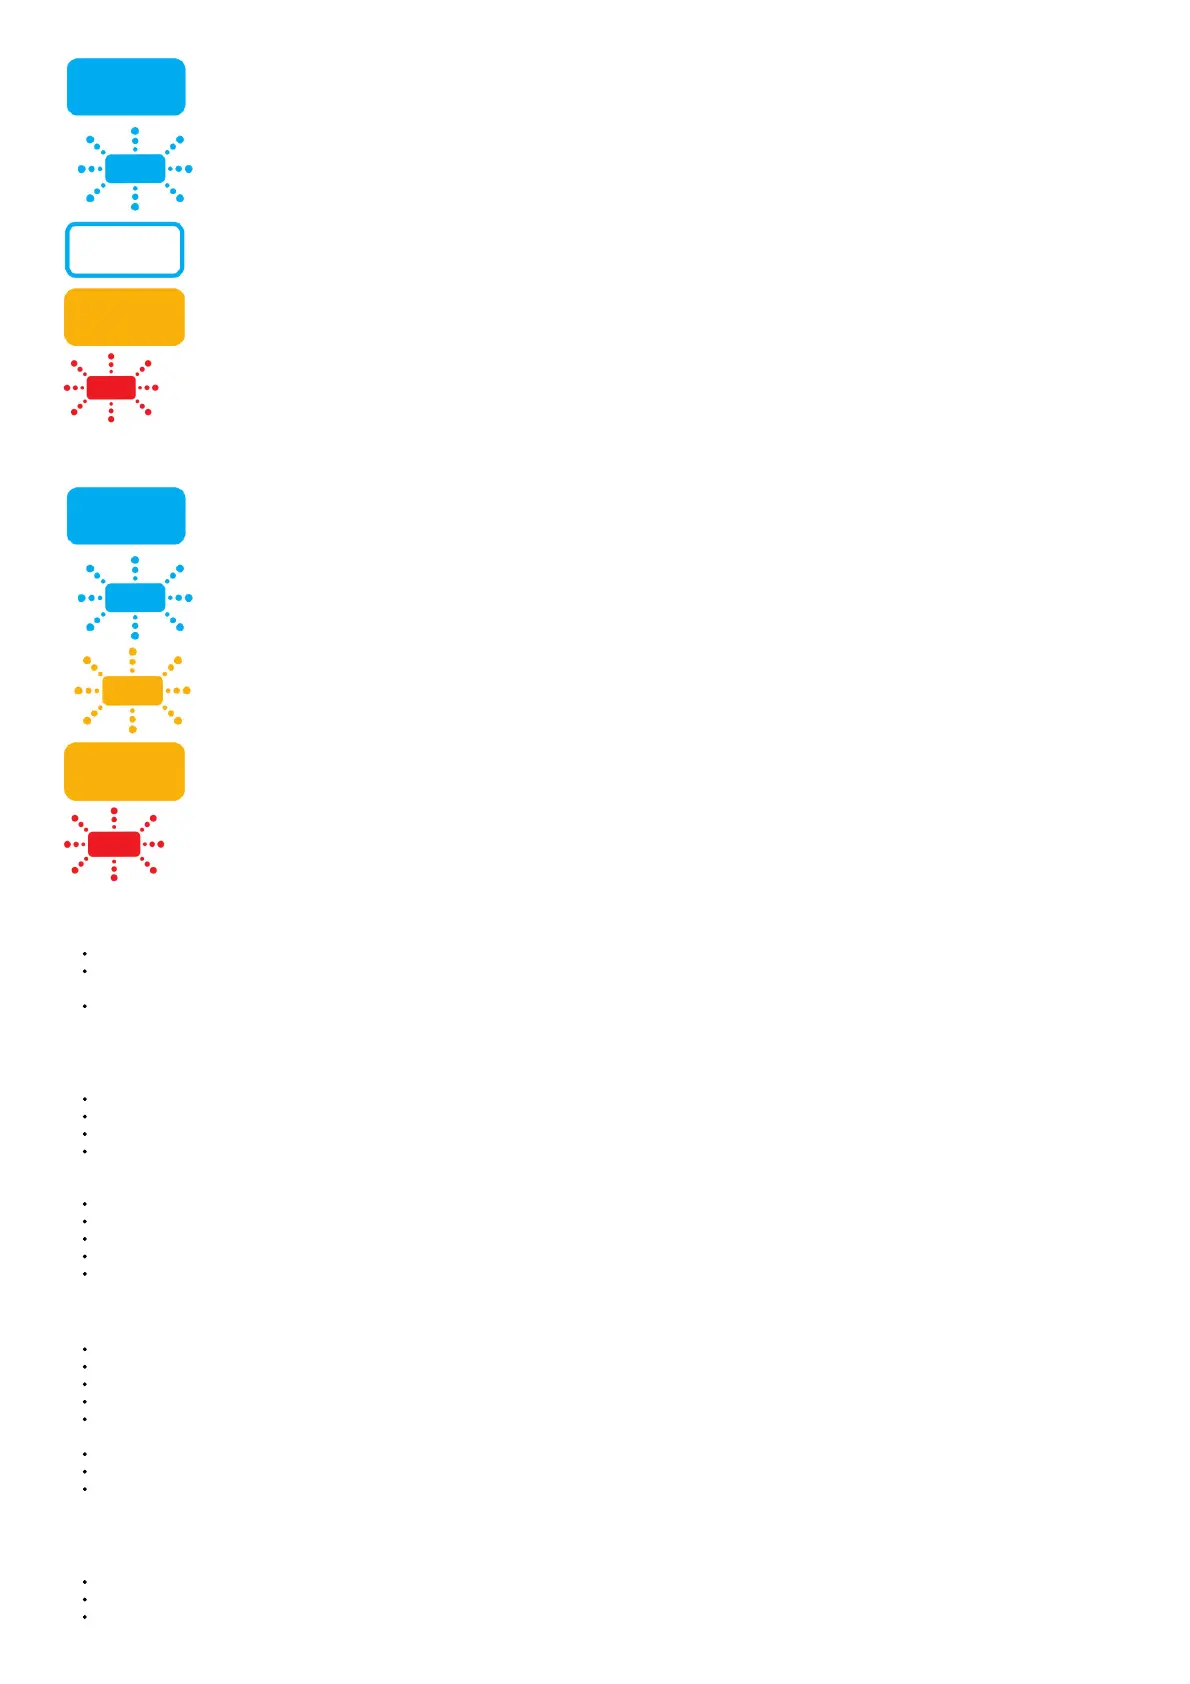
Solid blue: Charging.
Flashing blue – Not charging – Re-fit charger or try another socket. If the warning light persists, contact the Dyson Helpline.
Lights off: Charging complete.
Solid amber: Not charging, temporary faul(e.g. too hot/cold).
Flashing red: Fault (contact Dyson Helpline).
Diagnostics – during use
Solid blue: On.
Flashing blue: No power, charge battery.
Flashing amber: No power, temporary fault
(e.g. too hot/cold).
Solid amber: Fault – if this persists contact
the Dyson Helpline.
Flashing red: Fault (contact Dyson Helpline).
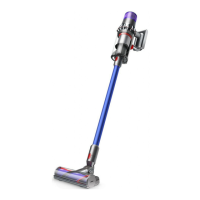
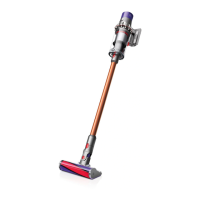
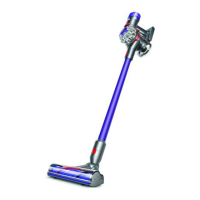
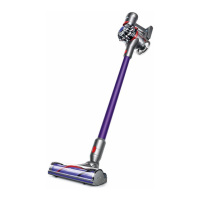
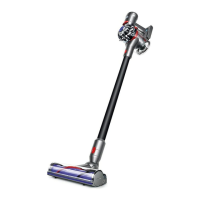
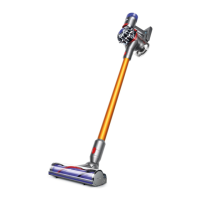
Carpets or hard floors
Before vacuuming your flooring, rugs, and carpets, check the manufacturer’s recommended cleaning instructions.
The brush bar on the appliance can damage certain carpet types and floors. Some carpets will fuzz if a rotating brush bar is used when vacuuming. If this happens, we
recommend vacuuming without the motorized floor tool and consulting with your flooring manufacturer.
Before vacuuming highly polished floors, such as wood or lino, first, check that the underside of the floor tool and its brushes are free from foreign objects that could cause
marking.
Vacuuming
Do not use without the clear bin and filters in place.
Fine dirt such as flour should only be vacuumed in very small amounts.
Do not use the appliance to pick up sharp hard objects, small toys, pins, paper clips, etc. They may damage the appliance.
When vacuuming, certain carpets may generate small static charges in the clear bin. These are harmless and are not associated with the mains electricity supply.
To minimize any effect from this, do not put your hand or insert any object into the clear bin unless you have first emptied it. Clean the clear bin with a damp cloth only.
(see ‘Cleaning the clear bin’).
Use extra care when cleaning on stairs.
Do not rest the appliance on chairs, tables, etc.
Do not press down on the nozzle with excessive force when using the appliance as this may cause damage.
Do not leave the cleaner head in one place on delicate floors.
On waxed floors, the movement of the cleaner head may create an uneven luster. If this happens, wipe with a damp cloth, polish the area with wax, and wait for it to dry.
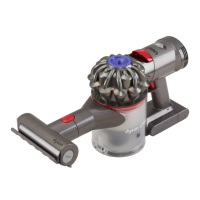
Emptying the clear bin
Empty as soon as the dirt reaches the level of the MAX mark – do not overfill.
Ensure the appliance is disconnected from the charger before emptying the clear bin. Be careful not to pull the ‘ON’ trigger.
To make emptying the clear bin easier, it is advisable to remove the floor tool.
To minimize dust contact when emptying, encase the clear bin tightly in a plastic bag and empty it.
To release the dirt, hold the appliance by the handle, pull the red lever back and lift upwards to release the cyclone. Continue until the bin base automatically opens and
releases the dirt.
Remove the clear bin carefully from the bag.
Seal the bag tightly, dispose of as normal.
To close, push the cyclone downwards until it is in the normal position and manually
close the base of the bin – the base will click when it is securely in place.
Cleaning the clear bin
Ensure the appliance is disconnected from the charger before removing the clear bin. Be careful not to pull the ‘ON’ trigger.
Remove the floor tool.
To remove the cyclone, hold the appliance by the handle, pull the red lever towards you and lift upwards until the bin opens, then push in the red button located behind the