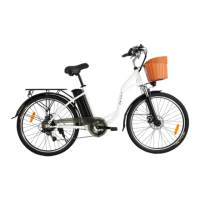
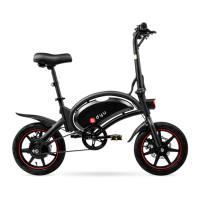
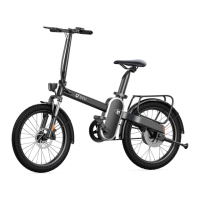
ASSEMBLING
1.Open the box, take out your eBike, and remove the packaging.
2.Assemble the front wheel: Mount the front wheel to the front fork, and tighten the quick release
at the front wheel.
3.Assemble the handlebar: Open the riser latch, fix the handlebar upon the riser, align the
handlebar, and fasten the screw.
4.Walk the eBike to ensure no abnormal sound from the turning wheels. Gently pull the brake
levers for a couple of times to ensure both the front and rear brakes function normally.
5.Adjust the seat tube to desired height, and lock the quick release.
6.Install the pedals and tighten up.
Please wear a helmet when riding the eBike.
CHARGING
Please use the original charger that comes with the eBike. Connect the DC jack of the charger to
the charging slot of your eBike, and then the AC plug to the mains. When the charging starts, the
red light on the charger turns on. The charger light turns from red to green when charging is
complete. (When the battery does not need charging, do not keep the AC plug connected to the
mains, and do not keep the charger connected to the battery. Do not charge indoors. When
charging outdoors, avoid rain or direct sun on the charger.)
The buttons may be pressed, pressed and held, individually or jointly.
When riding, press or to adjust the gear/speed.
When riding, press to switch the display of various data.
In general, pressing and holding a single button is for switching on and off. Pressing and holding
more than one button is for parameter setting.
BUTTONS
The buttons may be pressed, pressed and held,
individually or jointly.