6 | P a g e
Scan to Drive #1 (Output tab)
Click to save the green Crop Box image to the computer’s desktop. When clicked, the
scan is saved to the My Scans folder on the computer desktop. The software
automatically names the scans – ScanPro0000, ScanPro0001, etc.
If you save to the My Scans folder, you must move/copy/transfer the files to your USB drive
before ending your session.
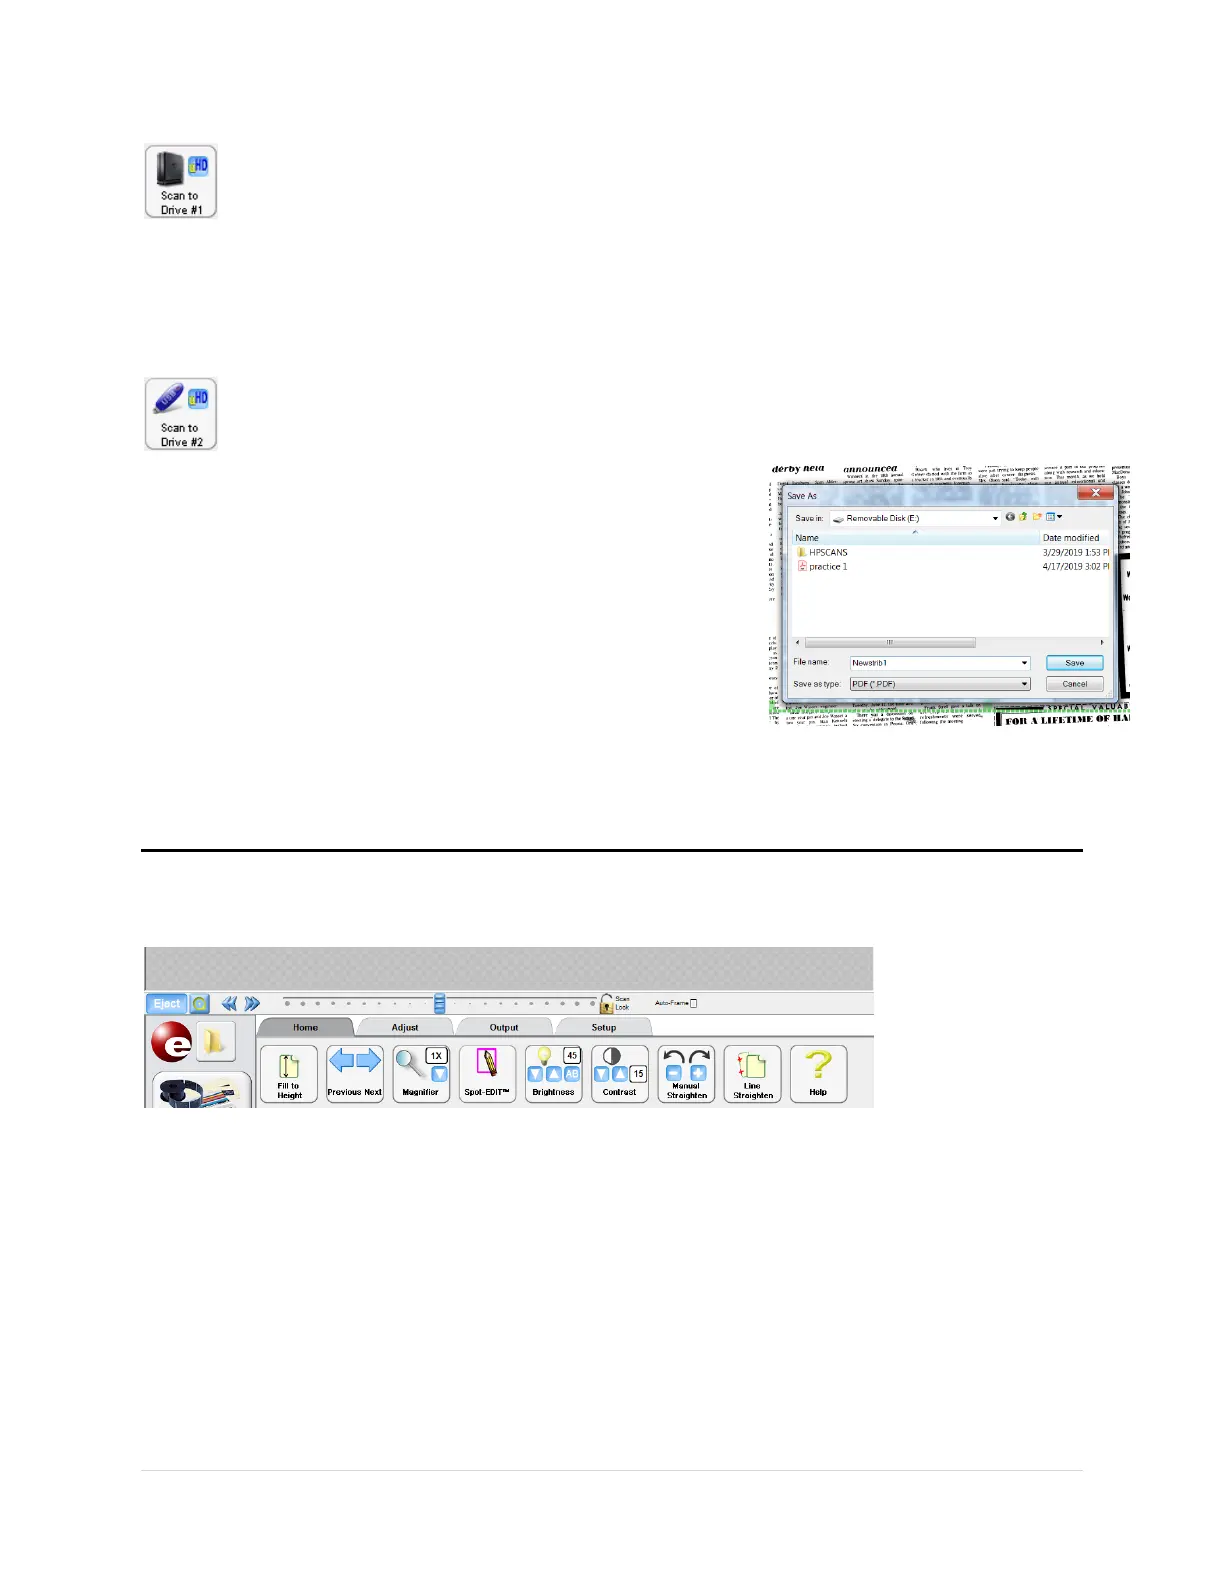
Scan to Drive #2 (Output tab)
Click to save the green Crop Box image directly to your USB drive
1. Insert your portable storage device into the USB port.
Give the computer a few seconds to recognize your
device.
2. Click Scan to Drive #2 from the ScanPro screen.
3. When the dialog box appears change Save In to your
removeable device.
4. Add your file name to the File Name box
5. Click Save
You may want to double check the scan was saved to your device before moving to the next
image.
Unloading the Film
1. Click the Eject button, the carrier moves forward.
2. Double click the Bullseye button, next to the Load/Eject button, the film rewinds to the
original reel – on the left spindle.
3. Pull the reel from the left spindle, returning to box and drawer.
At this point, load new reel using the Load the Microfilm directions.
Or if finished for the day, Click the Load button, the carrier reverses backwards. Close the
ScanPro 3000 program – the ScanPro 3000 machines goes to sleep. Remove any USB or
external drives.