
J
jennifer01Sep 9, 2025
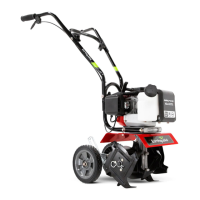
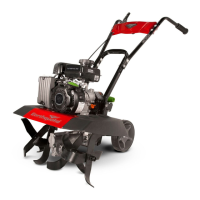
What to do if EarthQuake 7055 moves forward during starting?
- JJennifer PierceSep 9, 2025
If your EarthQuake Tiller moves forward during starting, ensure the drive safety control levers are released to the neutral position to start the engine.