EasyManua.ls Logo

Eastwood MIG 180 - User Manual

Eastwood MIG 180
24 pages
Print Icon
To Next Page IconTo Next Page
Loading...
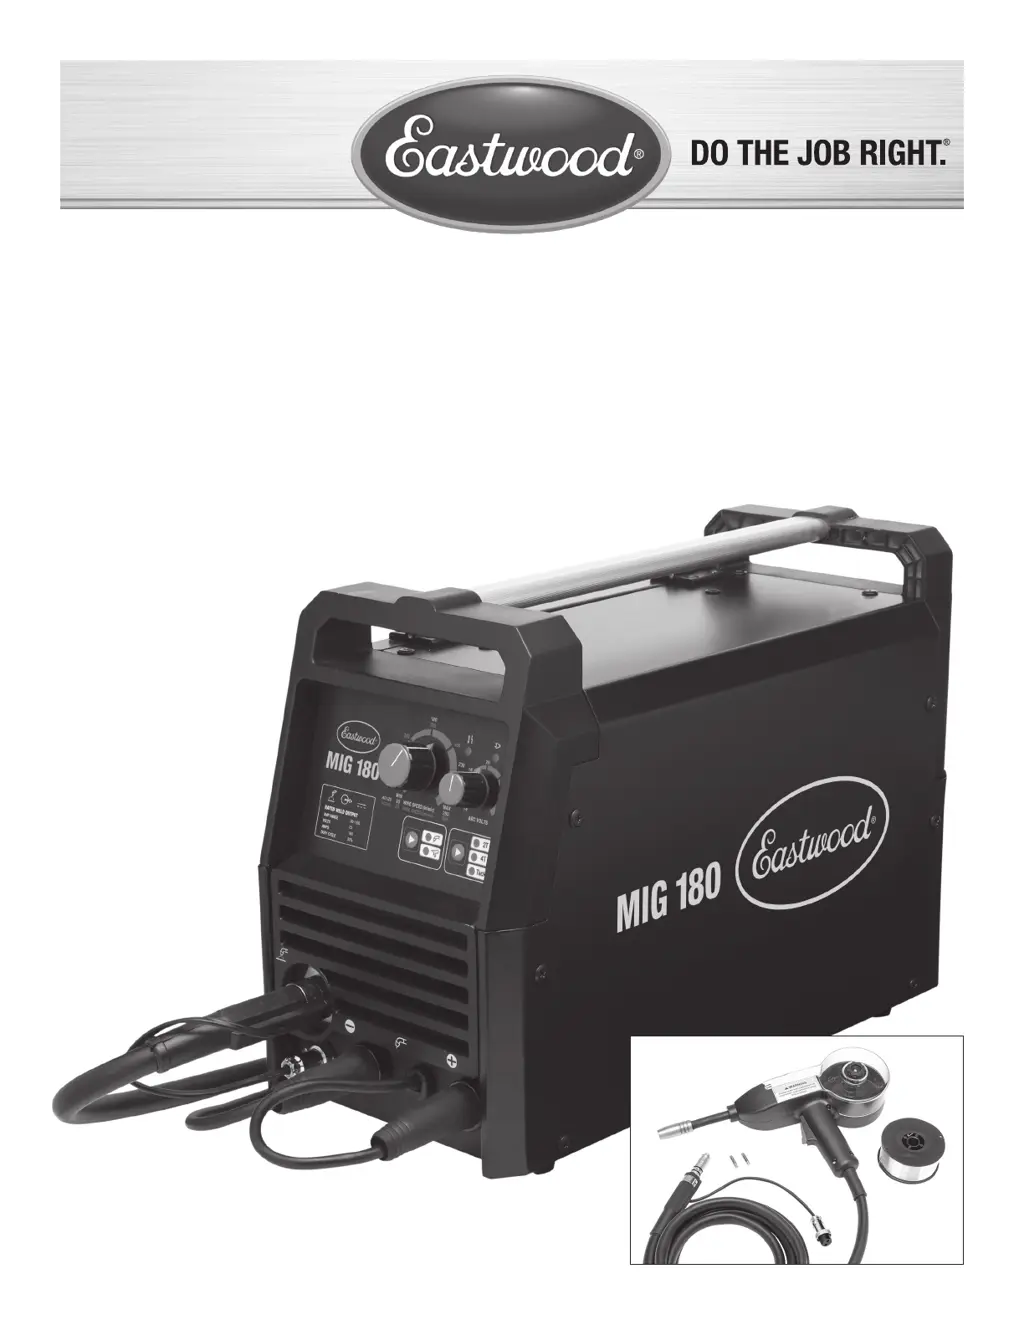
MIG 180 WELDER
WITH SPOOL GUN
ASSEMBLY AND OPERATING INSTRUCTIONS
Item #33990

Questions and Answers

  • J
    Jorge RichmondAug 13, 2025
    What to do if Eastwood MIG 180 Welding System wire is burning back to contact tip?
    • V
      velazquezginaAug 14, 2025
      If the Eastwood Welding System wire is burning back to the contact tip, increase the drive roller tensioner, as the drive motor wire tension may be insufficient. Adjust the wire speed setting to match the welding amperage setting, increasing or lowering as necessary. Ensure the wire “Stickout” from the end of the Contact Tip is 1/4".
  • J
    John HowardAug 17, 2025
    Why Eastwood Welding System welder will not produce an arc?
    • A
      andrea00Aug 17, 2025
      If your Eastwood Welding System welder will not produce an arc, first ensure the ground cable is securely attached to the metal being welded, and that the ground clamp is connected to a clean, non-rusty surface. Check that the ground cable connector is fully secured to the welder terminal and that you are using the correct welding ground from the welder. If the gun contact tip is excessively worn, replace it.
  • B
    Blake HillAug 21, 2025
    How to fix Eastwood MIG 180 wire that will not feed?
    • M
      Michael BensonAug 21, 2025
      If the Eastwood Welding System wire will not feed, make sure the MIG/Spool Gun Selector is set to the “MIG” position when using a standard MIG Gun, or to “Spool Gun” when using a Spool Gun. Tighten the drive roller tensioner to prevent slippage. If the RED Overtemp Indicator is illuminated, leave the power switch on, allowing the cooling fan to run for 15 minutes to cool the welder before retrying.
  • L
    Lauren WilliamsAug 25, 2025
    Why Eastwood Welding System has an intermittent welding arc?
    • J
      Jodi CarrollAug 26, 2025
      If you experience an intermittent welding arc with your Eastwood Welding System, verify that you're using the correct input voltage (120 Volt AC, 20 amp or 240 Volt 30 amp circuit). Check the drive roller size and replace if necessary to match the wire size being used. Ensure you have a clean ground connection. Tighten the drive roller tensioner if the wire is slipping, and replace the contact tip if it is worn or the wrong size.
  • Q
    qbrooksAug 28, 2025
    How to troubleshoot Eastwood Welding System welder that will not power up?
    • J
      Jeremiah RasmussenAug 28, 2025
      If your Eastwood Welding System welder will not power up, first ensure it's plugged into a properly grounded 120 Volt AC, 20 Amp or 240 Volt AC, 30 Amp power source. Check if the facility power source breaker or the welder breaker on the rear panel has tripped and reset it if necessary. Make sure the power switch is fully turned “ON”. If the RED Overtemp Indicator is illuminated due to exceeding the duty cycle, leave the power switch on to allow the cooling fan to run for 15 minutes until the indicator goes out, then try again.
  • N
    Nicole RussellSep 1, 2025
    What to do if shielding gas is not flowing out of Eastwood Welding System MIG gun?
    • S
      stephenhayesSep 1, 2025
      If the shielding gas is not flowing out of your Eastwood Welding System MIG gun, first, ensure the gas regulator is opened enough to allow sufficient gas flow. Check if the gas cylinder is empty and refill it if needed. Verify that the MIG Gun connector is fully inserted into the welder's socket and the hold-down wing nut is tightened. Inspect the MIG Gun O-rings for damage and replace them if necessary. Check for gas leaks in the hose or fittings, tightening them or replacing damaged parts. Finally, replace the gas diffuser if it's plugged with spatter.
  • T
    Tommy MichaelSep 5, 2025
    Why Eastwood MIG 180 Welding System goes into overload?
    • T
      Timothy CastroSep 5, 2025
      If your Eastwood Welding System goes into overload and the RED Overtemp Indicator is illuminated, it means the duty cycle has been exceeded and the welder has overheated. Leave the power switch on to allow the cooling fan to run for 15 minutes to cool the welder before retrying.
  • M
    Mr. Daniel MataSep 9, 2025
    How to stop Eastwood MIG 180 wire binding up ahead of drive feed rolls?
    • E
      Eddie FosterSep 9, 2025
      If the wire is binding up ahead of the drive feed rolls on your Eastwood Welding System, loosen the drive roller tension.

Summary

Specifications and Wire Capacity

General Safety Information

Critical Safety Hazards

Covers critical safety hazards including electric shock, fire, and explosion risks from welding operations.

Health and Environmental Hazards

Health and Environmental Hazards

Details health and environmental hazards like electromagnetic fields, arc rays, toxic fumes, gas buildup, and cylinder risks.

Physical Hazards, First Aid, and Power Connection

Physical Hazards and First Aid

Addresses physical hazards such as hot metal and flying chips, and provides basic first aid guidance.

Connecting the Welder to a Power Source

Specifies the required power voltage and amperage for connecting the Eastwood MIG 180 Welder.

Control Panel and Features

Front Upper Panel Controls

Describes the controls and indicators located on the front upper panel of the Eastwood MIG 180 Welder.

MIG 180 Welder Set-Up

Installing the Shielding Gas Supply

Gas Bottle and Regulator Installation

Covers placing the welder, securing the gas bottle, and connecting the regulator to the bottle.

Installing the Wire Spool

Threading Welding Wire

Wire Threading Procedure

Step-by-step guide on threading welding wire from the spool through the drive motor to the welding gun.

Setup for Flux Core Welding

Flux Core Setup Requirements

Outlines the three main changes required: polarity reversal, flux core wire, and drive roller positioning.

Positioning Drive Roller for Wire Size

Explains how to position the drive roller to accommodate different wire sizes for flux core welding.

Operating the MIG 180 Welder

Overload Protection and Reset

Explains the welder's overload protection feature, including the overtemp indicator and reset procedure.

Critical Safety Hazards During Operation

Reiterates critical safety hazards including electric shock, fire, and explosion risks during welder operation.

Health and Gas Flow Adjustment

Health and Environmental Hazards During Operation

Highlights health and environmental hazards like electromagnetic fields and arc rays during welding operations.

Additional Operational Hazards and Precautions

Covers additional hazards such as fumes, hot metal, and flying chips, along with necessary precautions.

Welding Techniques

Specific Welding Techniques

Setup and Welding with Spool Gun

Threading Wire and Spool Gun Operation

Threading Wire Through Spool Gun

Guides users on threading welding wire through the spool gun, including spool installation and tensioning.

Troubleshooting

Welder Power and Wire Feed Issues

Addresses problems with welder power-up, wire feeding, wire burning back, and arc production.

Arc and Gas Flow Issues

Eastwood MIG 180 Specifications

General IconGeneral
BrandEastwood
ModelMIG 180
CategoryWelding System
LanguageEnglish

Related product manuals