12 EATON EP Control for Heavy Duty Series 2 Piston Pumps Parts & Service 08-10-0002-EN-0901 September 2001
C. Start the prime mover.
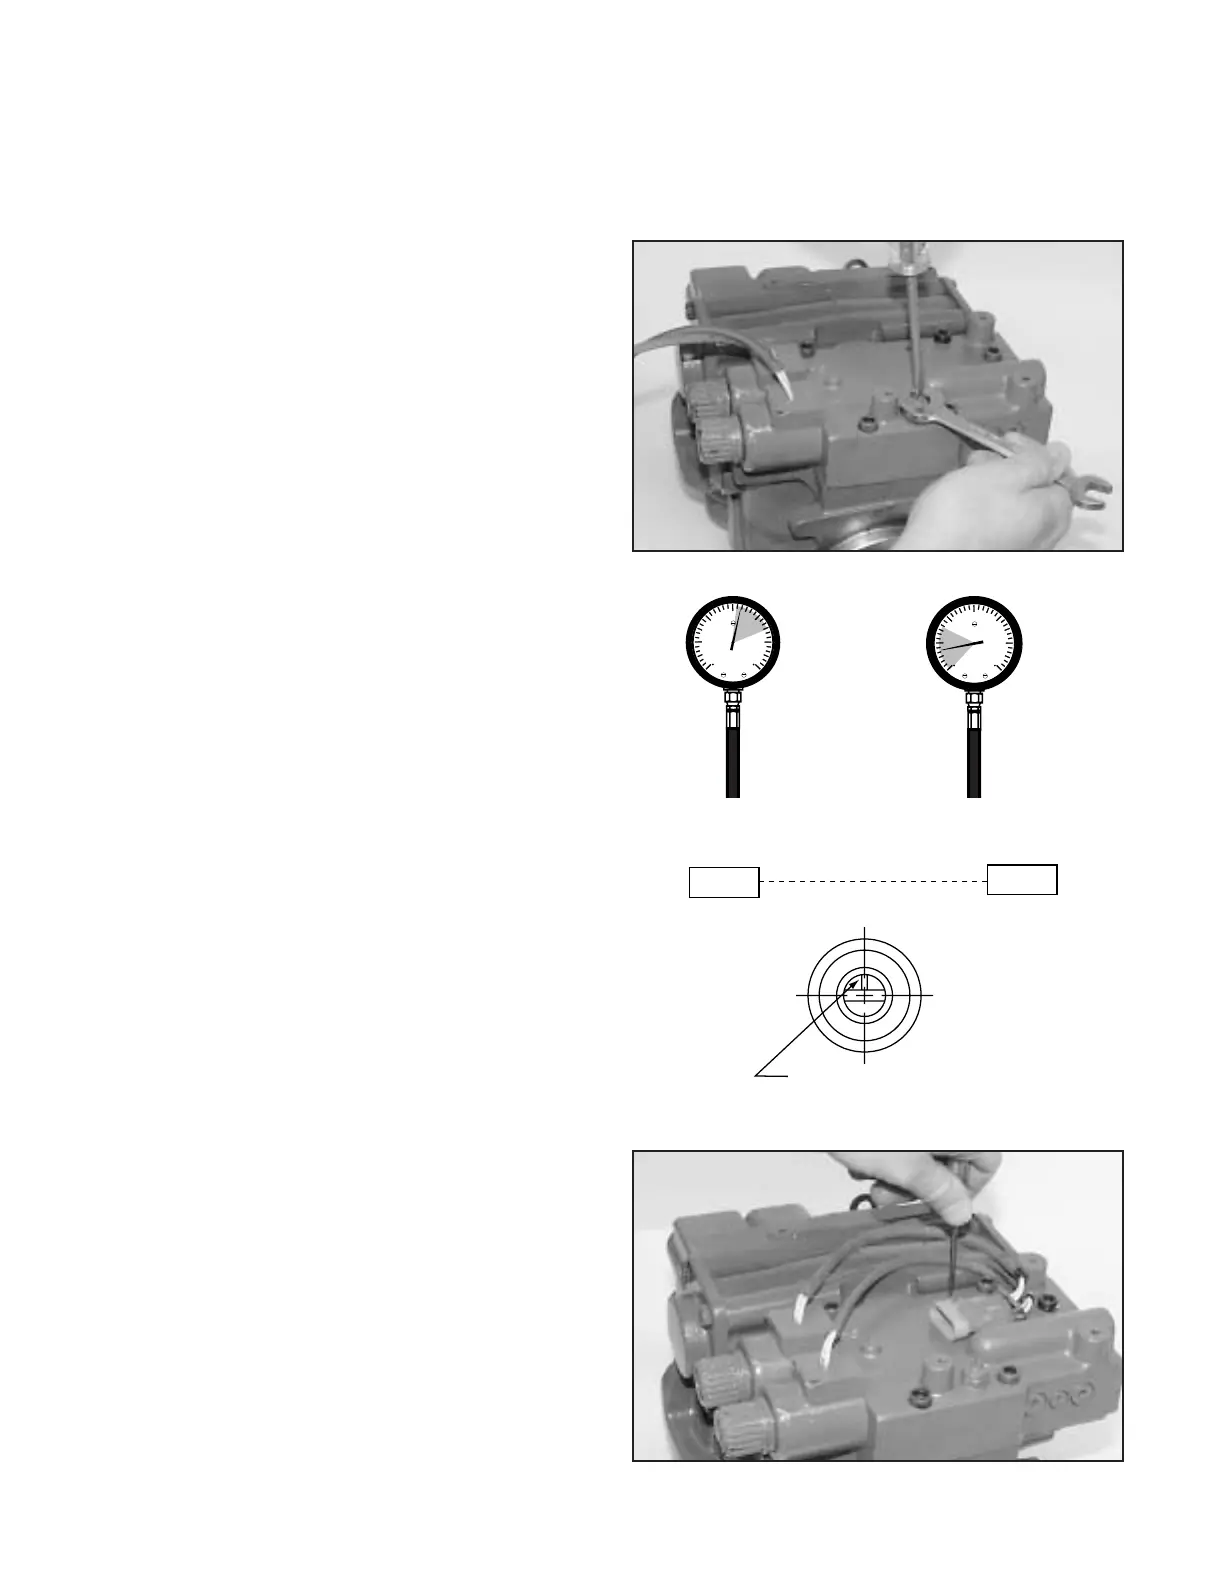
D. Loosen the locknut holding the
neutral adjustment screw until it
is just snug enough that the
threaded screw can be rotated.
Use a 9/16" end wrench to hold
the locking nut while rotating the
neutral adjustment screw.
E. Note the number stamped on
the cap of the low pressure relief
valve. -022 is 220 psig (15 bar), -
030 is 305 psig (21 bar), etc. This
will be the high setting. Settings
can vary from 220 psig (15 bar)
to 410 psig (28 bar).
F. Slowly rotate the neutral
adjustment screw clockwise until
charge pressure drops to its low
setting. Mark the neutral
adjustment screw location.
Note: The charge pressure low
setting is usually 40-60 psig
lower than the high setting.
G. Rotate the neutral adjustment
screw counterclockwise. The
charge pressure will rise.
Continue turning counterclock-
wise until the pressure drops
again to its low setting. Mark
the neutral adjustment screw
location.
H. Rotate the neutral adjustment
screw to the position between
the two marks.
I. Carefully hold adjustment screw
while torquing locknut. Torque
locknut to 10±1 lbf·ft. Neutral
adjustment is completed.
Step 20
Using a Phillips screwdriver, replace
the lockwasher and tighten the set
screw which hold the Metri-Pack
®
connector onto the valve assembly.