5OPERATION AND INSTALLATION INSTRUCTIONS MN280075EN July 2018
Form 6 microprocessor-based rack-mount recloser control
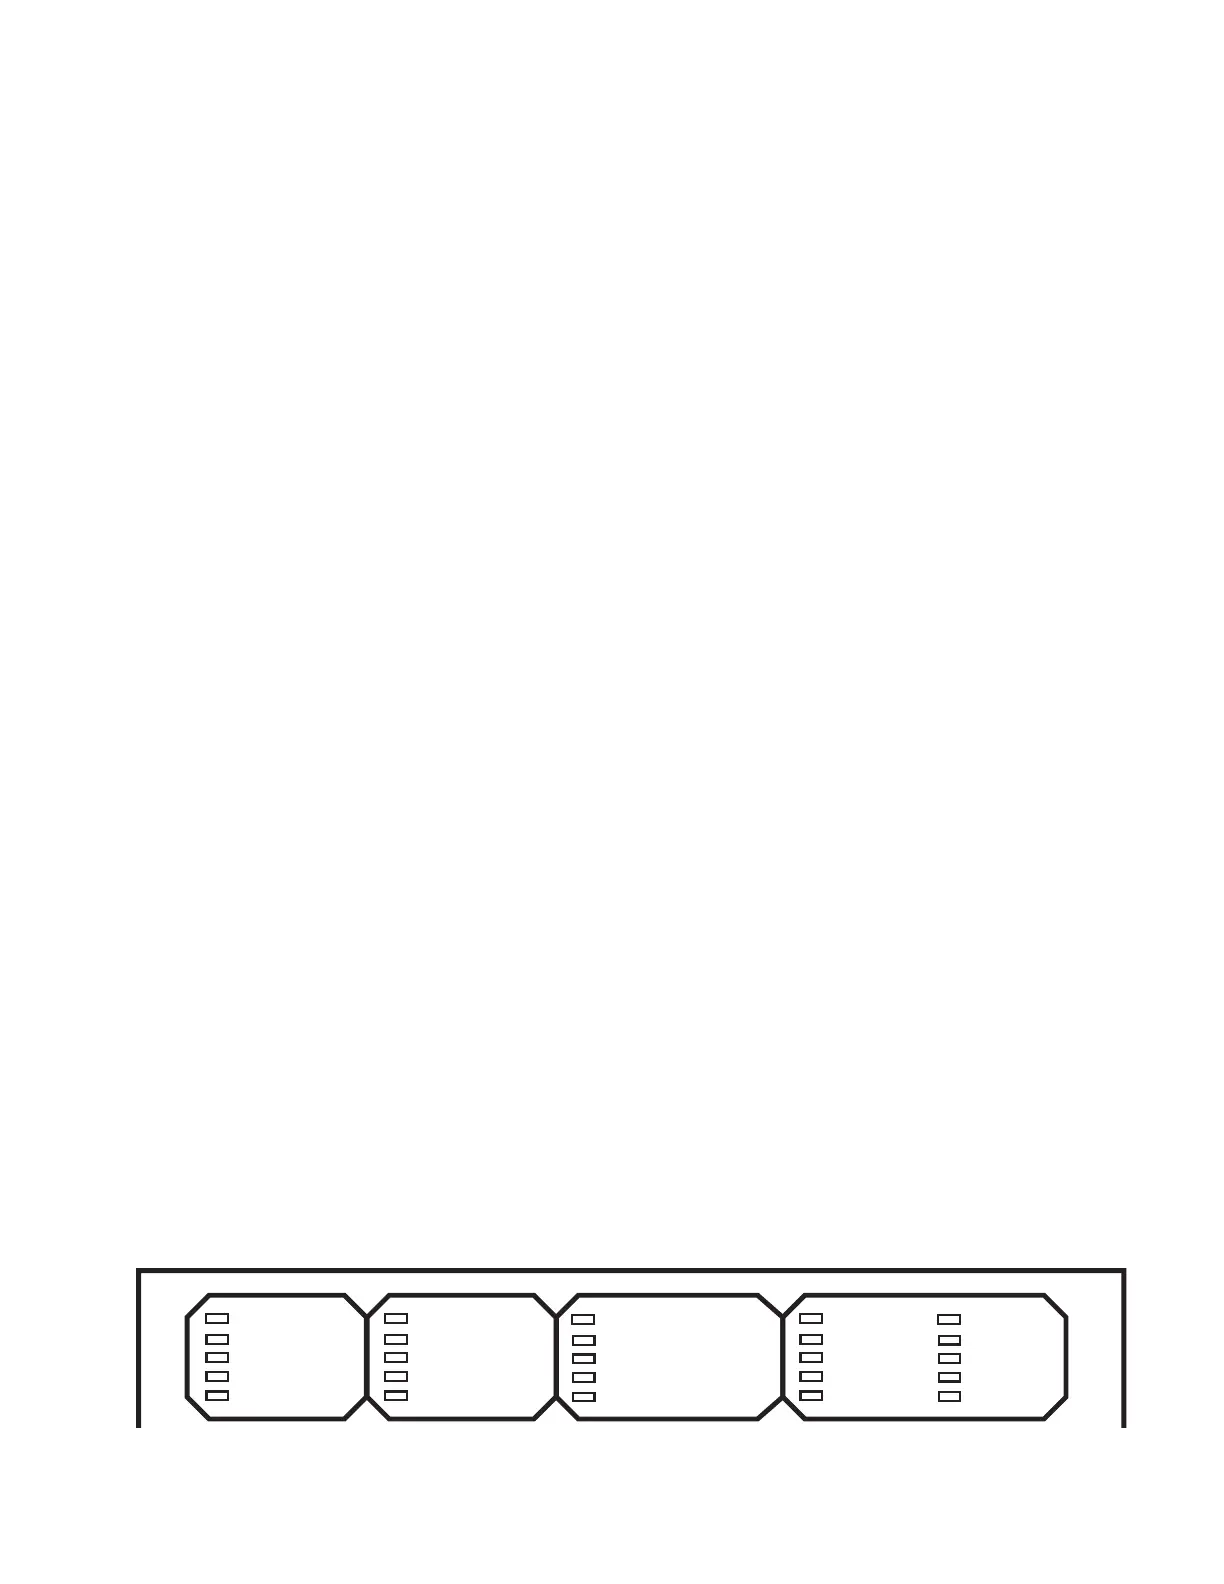
The label inserts can be user-customized. Refer to
Using removable inserts section of this manual for
additionalinformation.
CONTROL OK: The green LED indicates the control is
operating normally and not in an alarm state.
The CONTROL OK LED will not be illuminated during these
alarms (indicated by the red ALARM LED and displayed in
the alarm status log):
RAM Failure: This alarm indicates a failed RAM
memory test.
ROM Failure: This alarm indicates a failed ROM
memory test.
Power Supply Malf[unction]: This alarm indicates internal
control operation power was outside of its operating
tolerance for more than 20 seconds. This alarm resets
when the internal control operation power returns to
operation within its normal tolerances.
CONTROL POWER: The green LED indicates there is
adequate VTC voltage to trip the recloser. This LED does not
indicate the presence of AC or battery power.
CONTROL LOCKOUT: The green LED indicates the control
is in a locked out state, i.e. a reclosing sequence is not in
progress. This LED does not indicate that the recloser isopen.
RECLOSER OPEN: The green LED indicates the recloser is
in the open position.
RECLOSER CLOSED: The red LED indicates the recloser is
in the closed position.
ote:N There are several conditions that will cause the
alternate blinking of the CONTROL LOCKOUT,
RECLOSER OPEN, and RECLOSER CLOSED
LEDs: Failure to Trip, Failure to Close, Interrupter
Malfunction, and 52a/b Disagreement.
The LED blinking pattern for these conditions is the
CONTROL LOCKOUT green LED and RECLOSER
CLOSED red LED alternating with the RECLOSER
OPEN green LED.
In addition to the above LED blinking pattern,
the red ALARM LED will also be illuminated for
these alarms: Failure to Trip, Failure to Close, and
Interrupter Malfunction.
A PHASE FAULT, B PHASE FAULT, C PHASE FAULT: The red
LEDs indicate A, B, and/or C phase current was either the
maximum phase current or within 20% of the maximum
when a trip signal was issued.
GROUND FAULT, SENSITIVE GROUND FAULT: The red
LEDs indicate that a Ground and/or Sensitive Earth Fault
tripping function was asserted at the time the trip signal
wasasserted.
ALARM: The red LED indicates an alarm has been issued.
Review the alarm status and log on the LCD display for the
specific alarm.
ote:N If a Battery Alarm occurs, de-select the Pole
Mounted Control checkbox in the ProView application
software Configure>System Configuration dialog
box. Refer to Service Information S280-70-4 (ProView
4.X.X) or S280-70-21 (ProView 5.X.X) Form 6 Control
Programming Guide foradditional information.
ABOVE MINIMUM TRIP: The red LED indicates the current
exceeds the level set for minimum trip.
FREQUENCY TRIP: Indicates the recloser tripped due to an
under or over frequency condition.
VOLTAGE TRIP: Indicates the recloser tripped due to an
under or over voltage condition.
A PHASE VOLTAGE, B PHASE VOLTAGE, C PHASE
VOLTAGE: The red LED indicates a presence of voltage
on the respective phases. The Single-Phase Undervoltage
Pickup setting controls the voltage indication for the front
panel LEDs as defined in the Voltage setting dialog box for
the active setting profile. Refer to Settings - Voltage in the
Schemes section of S280-70-4 (ProView 4.X.X) or S280-70-21
(ProView 5.X.X) Form 6 Control ProgrammingGuide.
INDICATOR 1, INDICATOR 2, INDICATOR 3, INDICATOR4,
INDICATOR 5, INDICATOR 6, INDICATOR 7, INDICATOR8:
Customizable LEDs that are used with functions programmed
through the Idea Workbench. The LED indicators do not have
active default values. The LEDs are illuminated when the
status configured via the Idea Workbench is present.
Operating panel
The Operating section includes the following sections:
RS-232 configuration data port
The RS-232 connector (shown in Figure2) on the front
operating panel allows direct connection to a personal
computer without any special cables or connectors. This
port is used only for configuring the control with ProView
application software. All settings, metering, events, and
oscillography data are available from this port. The port is
Data Communication Equipment (DCE) wired for direct
connection to a personal computer.
A 9-pin RS-232 cable (Catalog Number KME5-66) to
connect from the PC to the RS-232 data port is available as
an accessory.
CONTROL POWER
CONTROL OK
CONTROL LOCKOUT
RECLOSER OPEN
RECLOSER CLOSED
A PHASE FAULT
B PHASE FAULT
C PHASE FAULT
GROUND FAULT
SENSITIVE GND
ALARM
ABOVE MIN TRIP
INDICATOR 1
INDICATOR 2
INDICATOR 3
A PHASE VOLTAGE
B PHASE VOLTAGE
C PHASE VOLTAGE
FREQUENCY TRIP
VOLTAGE TRIP
INDICATOR 4
INDICATOR 5
INDICATOR 6
INDICATOR 7
INDICATOR 8
Figure4. Status indicator LEDs
 Loading...


