34 OPERATION AND INSTALLATION INSTRUCTIONS MN280075EN July 2018
Form 6 microprocessor-based rack-mount recloser control
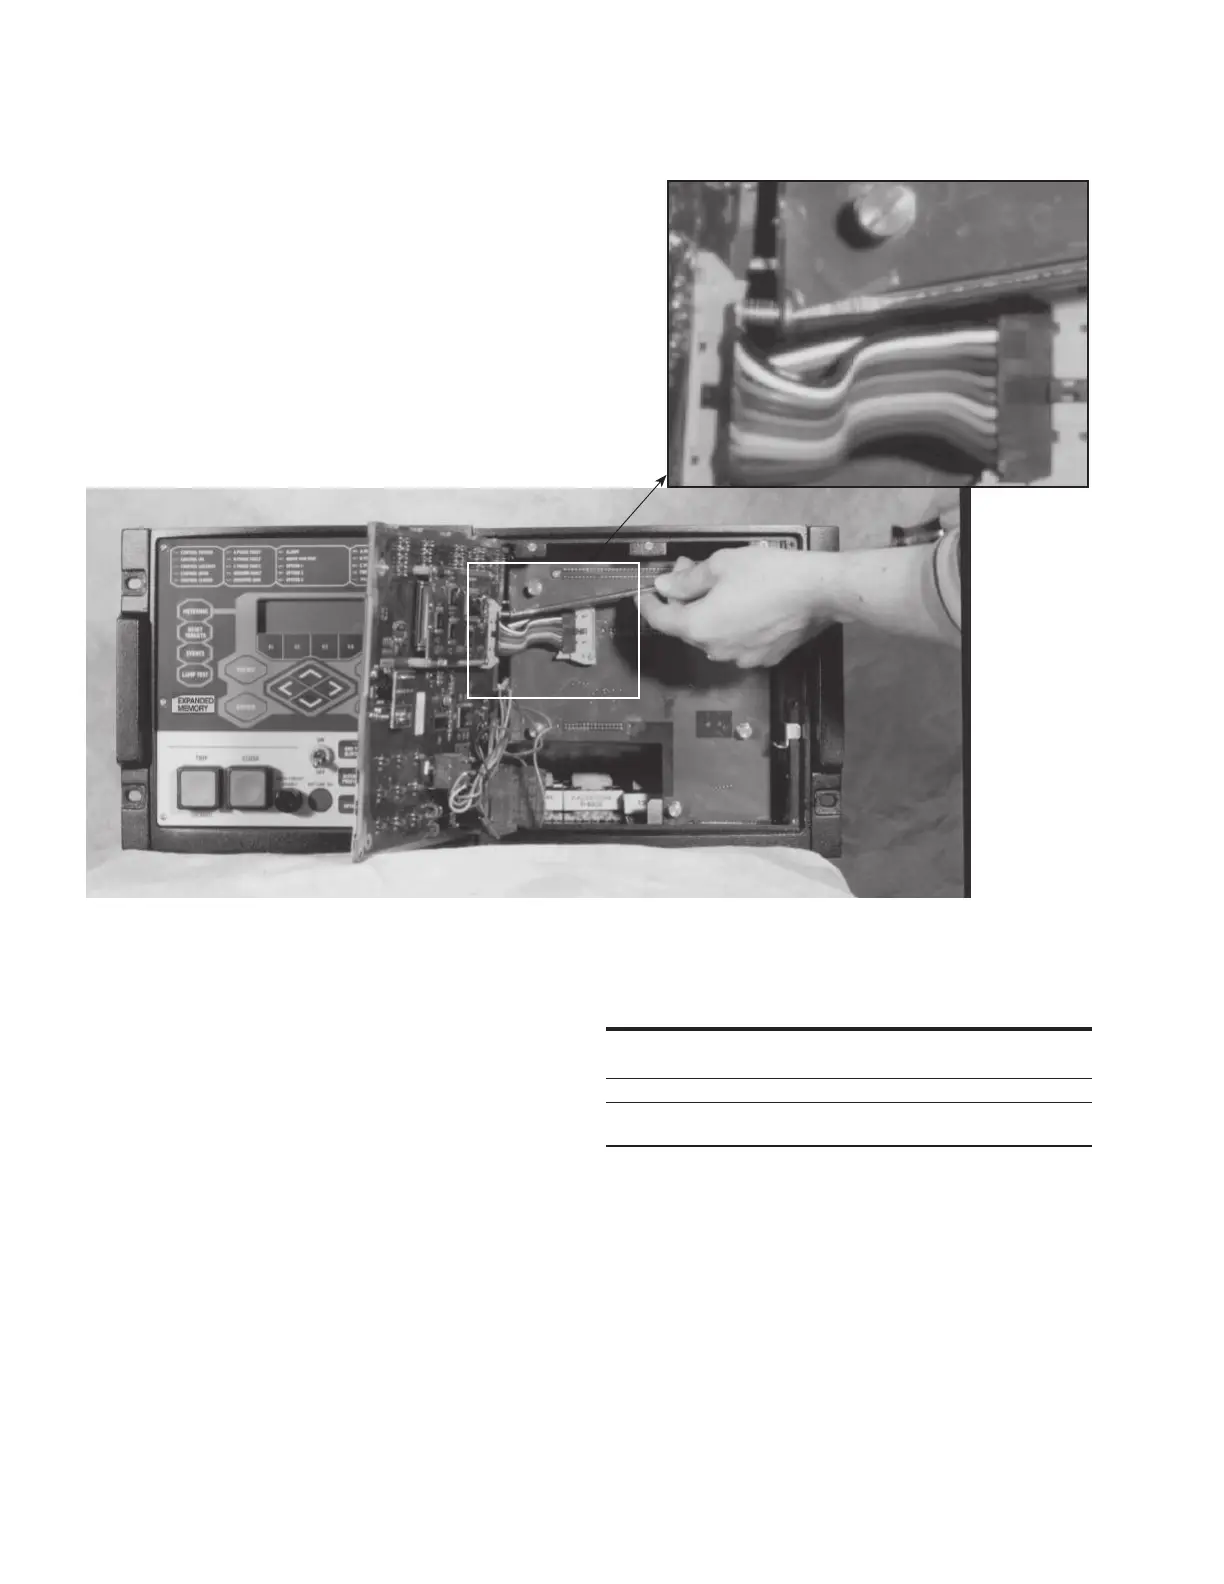
Figure29. Connect double rack mount controls with #10-24 screws
Single rack mount option handle attachment
instructions
These instructions apply to the attachment of the handles to
the Form 6 Single Rack Mount Recloser Control (Figure30).
The control is shipped without the handles attached. Follow
this procedure to attach the handles to both sides.
1. Orient the handles as illustrated in Figure30.
2. Attach the two handles (Item 2) to the control using six
#10-32 Flat Head Screws (Item 3).
ote:N Three screws will be used for each handle.
3. Tighten all hardware completely. Do not torque.
Table13. Form 6 Recloser Control Single Rack Mount
Accessory Handle Attachment Parts List (Figure30)
Item Description Part Number Quantity
1 Form 6 Rack Mount
Control 1
2 Form 6 Handle 6A00163901 2
3 #10-32 Flat Head
Screw 722915310050A 6

 Loading...


