4.5 INCH CHIPPER
19
CONTROLS & OPERATION
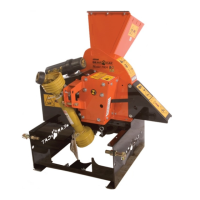
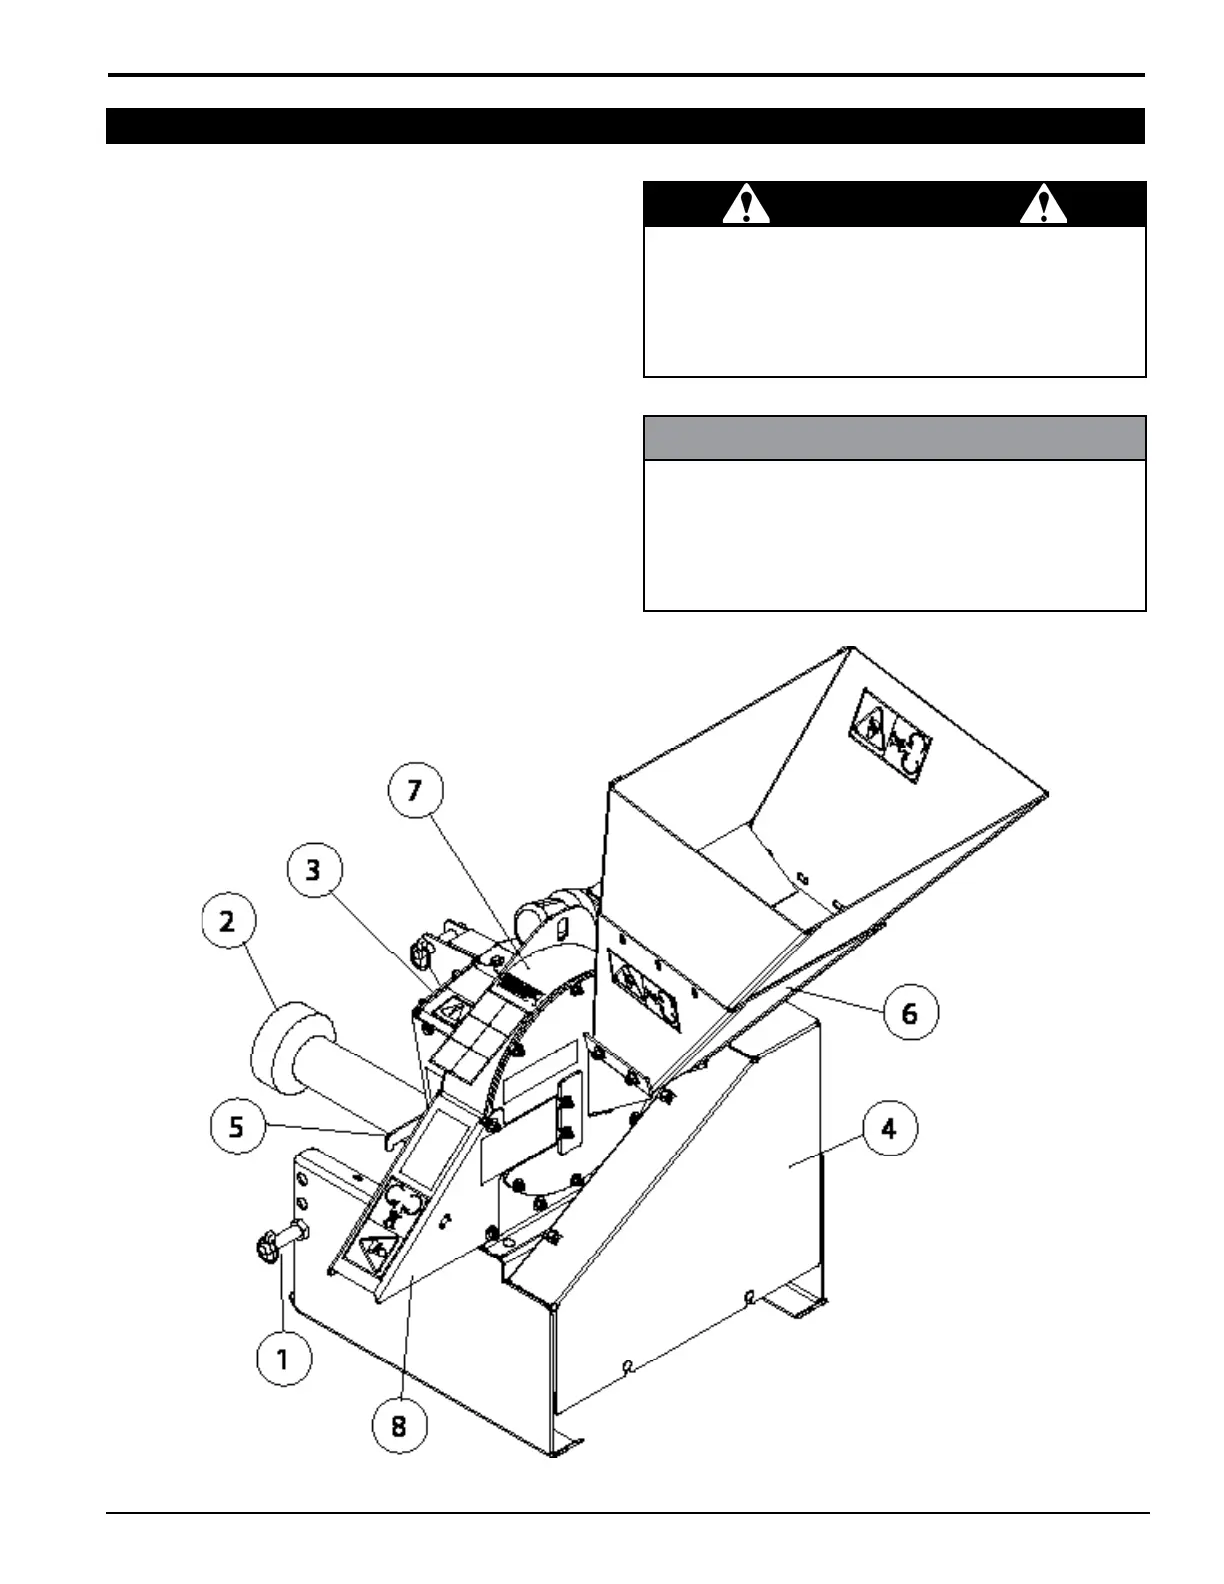
3.2 PTO MODEL CONTROLS
Three point hitch connection1. : Mounts chipper to
tractor three point hitch.
PTO shaft2. : Connects chipper to tractor PTO shaft.
Avoid driveline angles over 20 degrees on PTO shaft
when unit is in use. NOTE: Minimum and maximum
telescoping on the PTO shaft is 18.11" to 24.49". This
will leave a 6.43" overlap. See Section 2.4 for instruc-
tions on checking shaft length.
Forward belt shield3. : Covers the chipper drive pul-
ley.
Front belt shield:4. Covers the PTO driven pulley.
Belt engagement lever:5. Push the lever down for chip-
ping position. Pull the lever up for neutral position.
Chipper chute6. : Feed materials to be chipped through
the chipper chute.
Rotor access cover7. : Remove to expose chipper
blades.
Discharge cap8. : Chipped materials exit through the
discharge cap. A discharge tube is an available alter-
native.
CAUTION
Wear safety glasses at all times when operating the
machine. Do not wear loose tting clothing. The opera-
tor should always wear heavy boots, gloves, pants and
shirt. Use common sense and practice safety to protect
yourself from branches, sharp objects and other harm-
ful objects.
NOTE
The heavy rotor will continue to turn for some time after
the engine or tractor has been shut off. You can tell
that the rotor has stopped when no noise or machine
vibration is present. Inserting a branch into the chipper
chute to contact the blades will slow the rotor and shorten
stopping time.
Figure 21, Chipper controls (PTO models)