21.
1. Connect the charger to an electrical oulet. ‘Power’ light will
turn on.
2. Make sure the ignition key is removed and only then connect
the charger to the ECOPED. ‘Charging’ light will turn red.
3. Charge for 6 hours until the ‘Charging’ light turns green.
4. When the ‘Charging’ light turns green, detach the charger from
the outlet.
5. Detach the charger from the ECOPED.
2.8.4 REGULAR CHARGE
To perform a regular charge, you must either:
1. Remove the battery from its designated place in your ECOPED
and charge it by connecting it directly to the charger.
2. Connect the charger directly to the outlet on your ECOPED,
which is located just beneath the seat.
Charge your battery after every use as per the procedure outlined
above and do not allow it to fully discharge, as this may permanently
damage the battery). Avoid frequently removing the battery for charg-
ing, as unnecessary movement may damage the electrical connections
or agitate the chemicals inside.
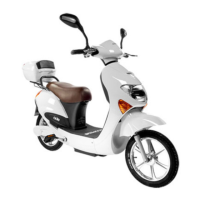
2.9 LIGHTING
Your ECOPED is equipped with front and rear lights in order to ensure
your visibility to other vehicles on the road. Every time you signal or
brake, an appropriate light turns on or begins to blink. When signalling
right or left, an orange light will begin to blink of the appropriate side of
your ECOPED. A sound will also be emitted in order to keep you in-
formed. When braking, a red light will go off on the back of the bicycle.
Headlights must be turned on, either low or high-beam mode, when
poor lighting conditions may hinder your visibility.