English
47
Once the steps above have been completed, please
connect the peripherals such as the keyboard,
mouse, monitor, etc. Then, connect the power and
turn on the system. Please install all the required
ƐŽŌǁĂre.
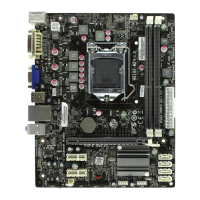
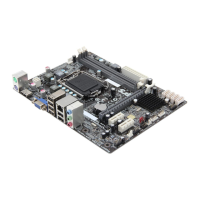
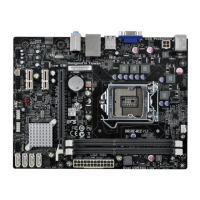
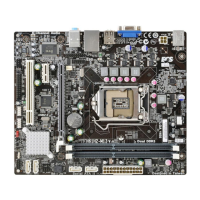
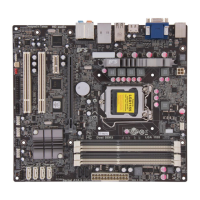
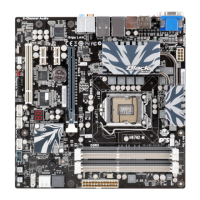
Step 8: ConnecƟŶg ports on the case:
Please install all peripheral devices.
8-1. Keyboard connecƟŽn
To prevent component damage, do not power up the system unƟů the
ŝŶƐƚĂůůĂƟŽŶ is ĐŽŵƉůete.
8-2. Printer ĐŽŶŶĞĐƟŽn
8-3. Monitor ĐŽŶŶĞĐƟŽn 8-4. Speaker ĐŽŶŶĞĐƟŽn
8-5. Power conneĐƟŽn 8-6. Mouse conneĐƟŽn
The sequence of ŝŶƐƚĂůůĂƟŽŶ may Ěŝīer depending on the type of case and
devices used.
BIOS NavŝŐĂƟon Keys
Scrolls through the items on a menu
Using BIOS
The BIOS (Basic Input and Output System) Setup hƟlity displays the system’s
cŽŶĮguƌĂƟon status and provides you opƟons to set system parameters. When
you power on the system, BIOS enters the Power-On Self Test (POST) rouƟnes,
please press <DEL> or F2 to enter setup. When powering on for the ĮƌƐƚ ƟŵĞ the
POST screen may show a “CMOS ^ĞƫŶŐƐ Wrong” message. Please enter BIOS and
choose “Load Default Seƫngs” to reset the default CMOS values. (Changes to
system hardware such as diīĞƌĞnt CPU, memories, etc. may also trigger this
message.)
KEY
+/- ModiĮes the selected Įeld’s values
F2 Previous Value
F3 KƉƟŵŝnjed Defaults
F1 General Help
ESC Exits the current menu
Enter Select
F4 Save & Exit
KEY FUNCTION
 Loading...