EasyManua.ls Logo

Eden Windsor Long Planter User Manual

Eden Windsor Long Planter
2 pages
To Next Page IconTo Next Page
Page #1 background imageLoading...
Page #1 background image
Check Box for These Contents
In the event of missing or defective parts please call our customer service dept. at
1 800 282 9346, ext #20
(Mon. to Fri. 8:00 AM to 4:00 PM EST).
1. Pre-Assembled Side Wall Panels (2)
2. Post Caps (4)
3. Floor Panel (1)
4.
Pre-Assembled Front & Back Wall Panels with Posts Connected
(2)
General Information
Read Instructions through carefully before beginning assembly.
When assembling components, place on a non-abrasive surface
(i.e. shipping box) to avoid scratching.
We recommend an area approx 4’x 8’ for unobstructed assembling.
You should not need to use excessive force when assembling components.
The Windsor Long Planter Box
Please read through before starting assembly.
ASSEMBLY INSTRUCTIONS
1
www.edenarbors.com
1
4
3
2
Ver 1/Sep 2010
11.5 in
15.5 in
34.75 in
41.75 in
15.5 in
18.38 in
Question and Answer IconNeed help?

Do you have a question about the Eden Windsor Long Planter and is the answer not in the manual?

Eden Windsor Long Planter Specifications

General IconGeneral
BrandEden
ModelWindsor Long Planter
CategoryLawn and Garden Equipment
LanguageEnglish

Summary

Check Box for Contents

General Information

STEP ONE: Connect Walls

Connect the Front & Back Wall to Side Wall Panels

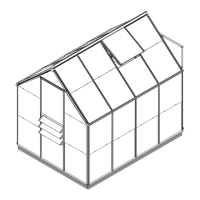
Assemble the front and back wall panels with the side wall panels by inserting them into routed holes and ensuring locking tabs snap.

STEP TWO: Insert Floor Panels & Post Caps

Insert Floor Panels and Post Caps

Pressure fit the floor panels into the planter box and install the four post caps by pushing them until the locking tabs snap into place.

Related product manuals