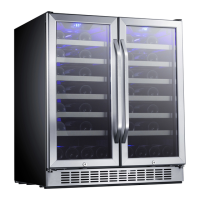
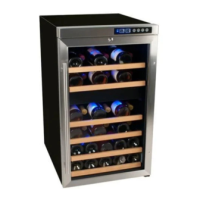
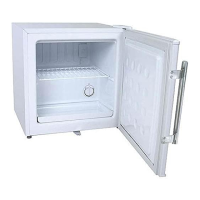
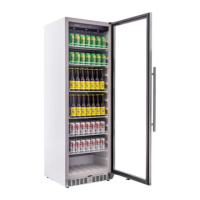
(Models: CWR1431TZ )
PCB boar
d for lower zone
1. Remove five screws from the air duct board (figure 57)
Screw
Figure 57
2. Pull out the air duct board cover
(figure 58)
Figure 58
3. Unplug all cable connectors. (figure 59)
Figure 59
4. The control board is like below. (figure 60)
Figure 60
5.Remove the six screws from Air duct board C(figure 61)
Figure 61
6.Loosen the display PCB board connector. Pull out the air
duct board C.Take out the front display PCB board cover from
left side(figure 62)
Figure 62
7. Loosen the display PCB board fixer and take out the PCB
board.(figure 63)
Figure 63
8. The display board is like below.
(figure 64)
Figure 64
Display PC
B board in upper zone
9. Remove the screws form air duct board (figure 65)
Figure 65
Screw
10. Pul
l out the air duct board cover
(figure 66)
Figure 66
Front cover
 Loading...
