Do you have a question about the EdgeStar KC3000 and is the answer not in the manual?
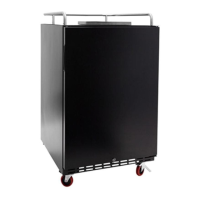
Attach casters to the bottom of the unit, using washers for the front two. Allow unit to stand upright for 24 hours before plugging in.
Carefully remove the tower plug from the top of the unit by pushing it through from the inside. A flat head screwdriver may be used as a prying tool.
Mount the tower gasket and thread the beer line through the top opening. Feed the beer line from the bottom of the tower.
Align the holes at the bottom of the tower with the unit and secure using four screws. Ensure the beer line is fed into the unit.
Screw the faucet handle to the beer faucet. Align the beer faucet to the tower shank and tighten the collar.
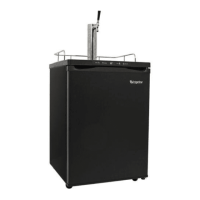
Slide the railing's feet into the pilot holes located on the top of the kegerator cabinet.
Screw the CO2 regulator onto the CO2 cylinder valve and tighten with pliers. The regulator has a built-in o-ring.
Ensure the regulator's shut-off valve is closed. Install the CO2 tube to the regulator's hose barb and secure with a hose clamp.
Mount the CO2 cylinder onto the step and inside the cylinder clip. Secure the tank using the long bolt and nut.
Attach the remaining end of the CO2 tube to the coupler's hose barb and secure with a hose clamp.
Insert a neoprene washer into the beer line hex nut. Screw the nut onto the top of the keg coupler hand-tight.
Ensure the keg coupler handle is up, insert into the keg valve, turn clockwise to lock. Pull tap handle out and push down until it clicks.
Adjust regulator screw clockwise for desired pressure (recommend 10-12psi). Release pressure if lowering. Open shut-off valve to allow gas flow.
Diagrams illustrating CO2 line and beer line configurations for twin tap and triple tap models.
| Brand | EdgeStar |
|---|---|
| Model | KC3000 |
| Type | Kegerator |
| Cooling System | Compressor-based |
| Voltage | 115V |
| Refrigerant | R600a |
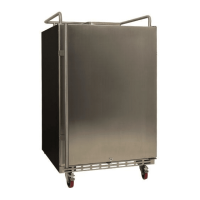
| Material | Stainless Steel |
| Included Components | CO2 tank |