13
14
Assembly Steps
At Egofit we strive to make our equipment easy to assemble and start
using.
The M2 model treadmill come completely assembled in the box and are
ready to operate immediately.
The M2T model treadmill come completely assembled in the box and are
ready to operate in just minutes.
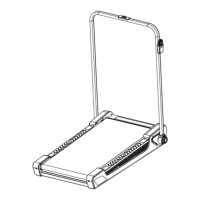
•Step 1: Remove Treadmill from Box
•Step 2: Remove Bag and Packaging Material from Treadmill.
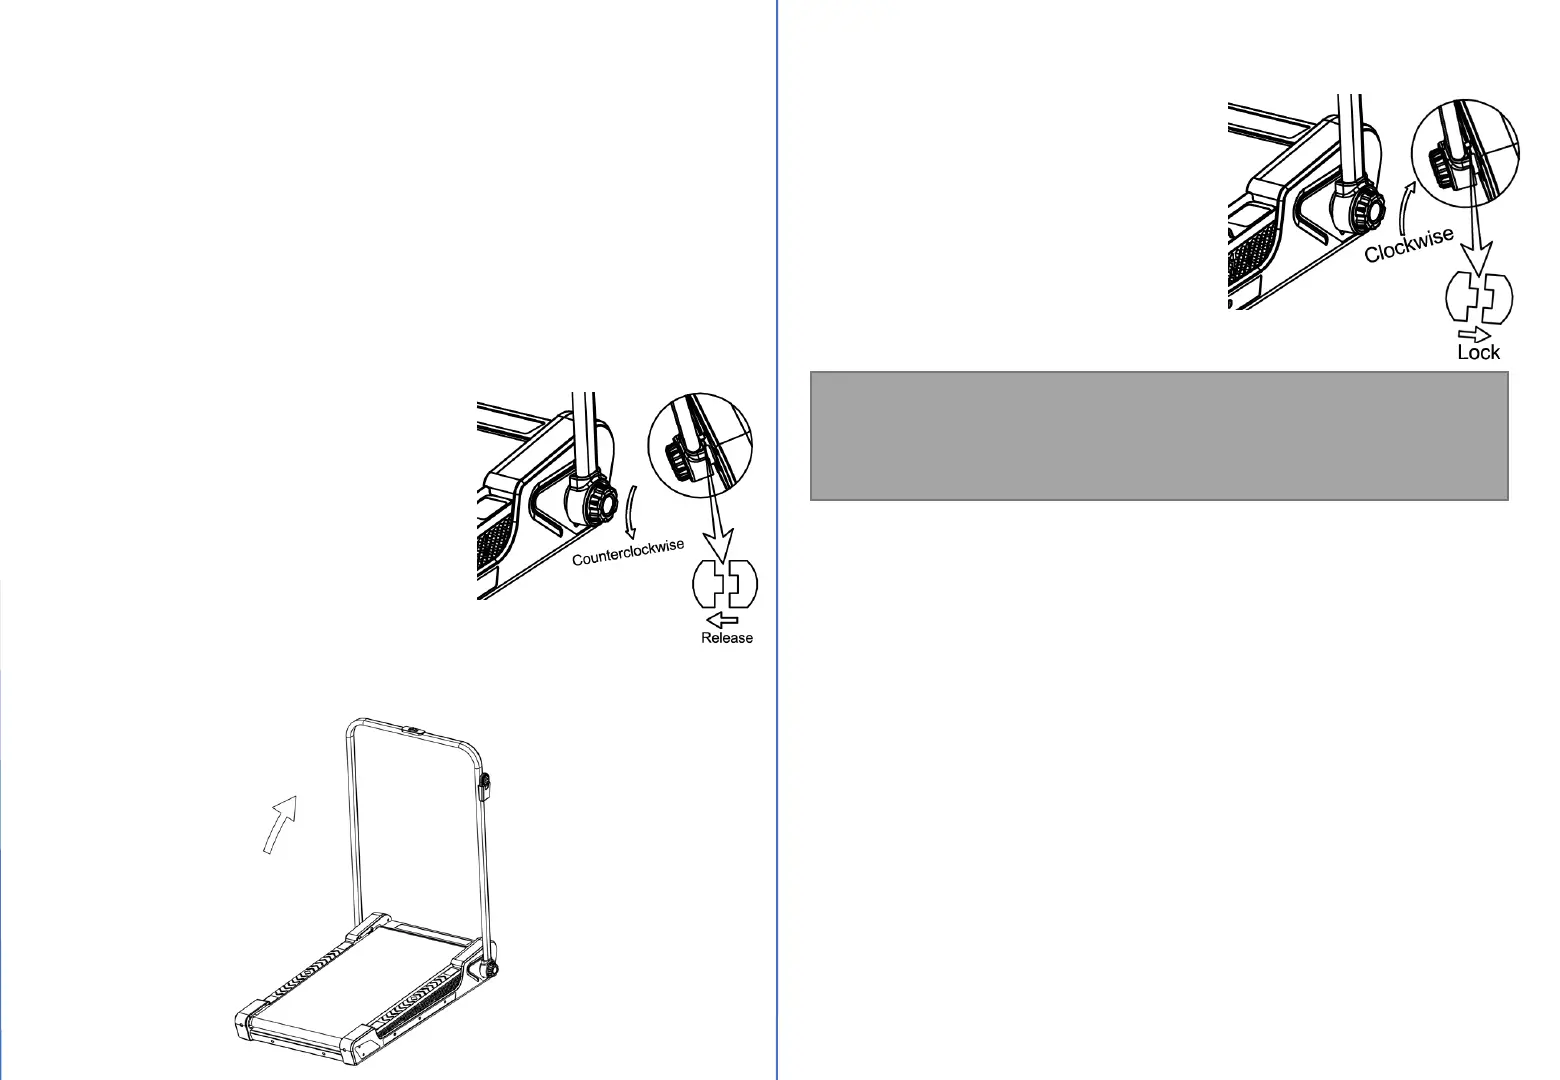
•Step 3: Stand up the handlebar.
A. Rotate the black round cap on each side
at the bottom of the handlebar 1 or 2 full turn
counterclockwise to release any pressure on
the locking mechanism.
B. Raise the handlebar to the upright position.
C. Turn the black round cap clockwise to
tighten and secure the joint. Repeat on
the opposite side.
Caution: Injury to the user could occur if black cap
is not pushed into the locked position and cap
is not securely tightened. This could result in
handlebar falling.
Leveling the Treadmill
For optimum performance the treadmill should be level, making sure
that the treadmill sits stable and even on the floor.
Adequate Space
Make sure you have room to lay the treadmill down. There needs to be
at least 2 feet of clearance on both sides and in the front of the
treadmill. There should be at least 4 feet of clearance on the back side of
the treadmill for safety reasons. lf the user were to fall this would give
adequate clearance to get off the treadmill.
Moving
The treadmill is equipped with transport wheels located in front. To
move, lift up on the back end of the frame. Relocate the treadmill by
rolling the treadmill on these wheels.