22
English
‧ the handles of the lter inserts are retracted
‧ the lter inserts are aligned and rest on top of each other
9. Push the lower lter insert with the blue lter mats as far as it will go into the lter container.
10. Push the upper lter insert with the SUBSTRAT lter medium into the lter container. Gently push
the lter insert down.
11. Place the white lter eece on the upper lter insert.
12. Type 2426 only: Insert the cover grid.
Checking the seal (⌦D)
13. Check whether the prole seal
⑦
in the top part of the lter is clean and is inserted in the groove
correctly.
Attaching the top part of the lter (⌦A)
14. Place the top part of the lter on the lter container. In the process, the pipe nozzle at the bottom
must be inserted into the pipe guide of the lter inserts.
15. Push the fastening clips down.
16. Close all four fastening clips.
Preparing the hose adapter
1. Flip the locking lever forwards and release the hose adapter (⌦E).
2. Pull the hose adapter from the top part of the lter.
3. Check whether the sealing rings are clean and are inserted in the grooves correctly (⌦F).
4. Lightly grease the sealing rings with EHEIM special grease.
5. Insert the hose adapter as far as it will go into the top part of the lter.
6. Flip the locking lever back and lock the hose adapter.
Preparing the suction pipe and nozzle pipe
1. Connect the suction cups to the clamping brackets (⌦C).
2. Connect the connection piece
⑨
to the suction basket
⑩
(⌦H).
3. Mount the suction basket on the suction pipe
⑧
.
4. Cut a piece of hose
⑫
(min. 1.5 cm) from the supplied hose.
5. Use the piece of hose to connect the outlet bend
⑪
and the nozzle pipe
⑬
.
6. Seal the nozzle pipe with the plug
⑭
.
7. Connect two suction cups to both the suction pipe and the nozzle pipe with the clamping brackets.
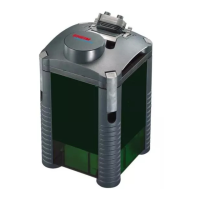
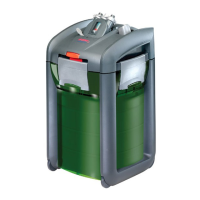
Assembly and installation
Installation site
CAUTION! Material damage.
▶ Only ever operate the external lter with it standing in an upright position!
▶ Make sure the installation height is correct. The top part of the lter must be positioned at least 10
cm below the surface of the water in the aquarium. The base of the lter must not be positioned
more than a maximum of 180 cm below the surface of the water in the aquarium (⌦J).
1. Position the external lter underneath the aquarium, e.g. in the base cabinet while observing the
minimum and maximum distances from the surface of the water.