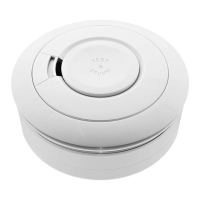
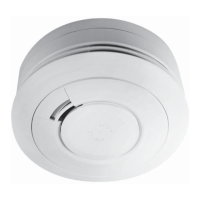
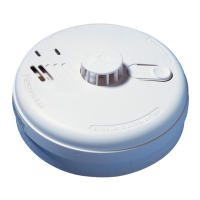
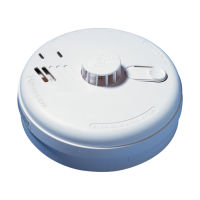
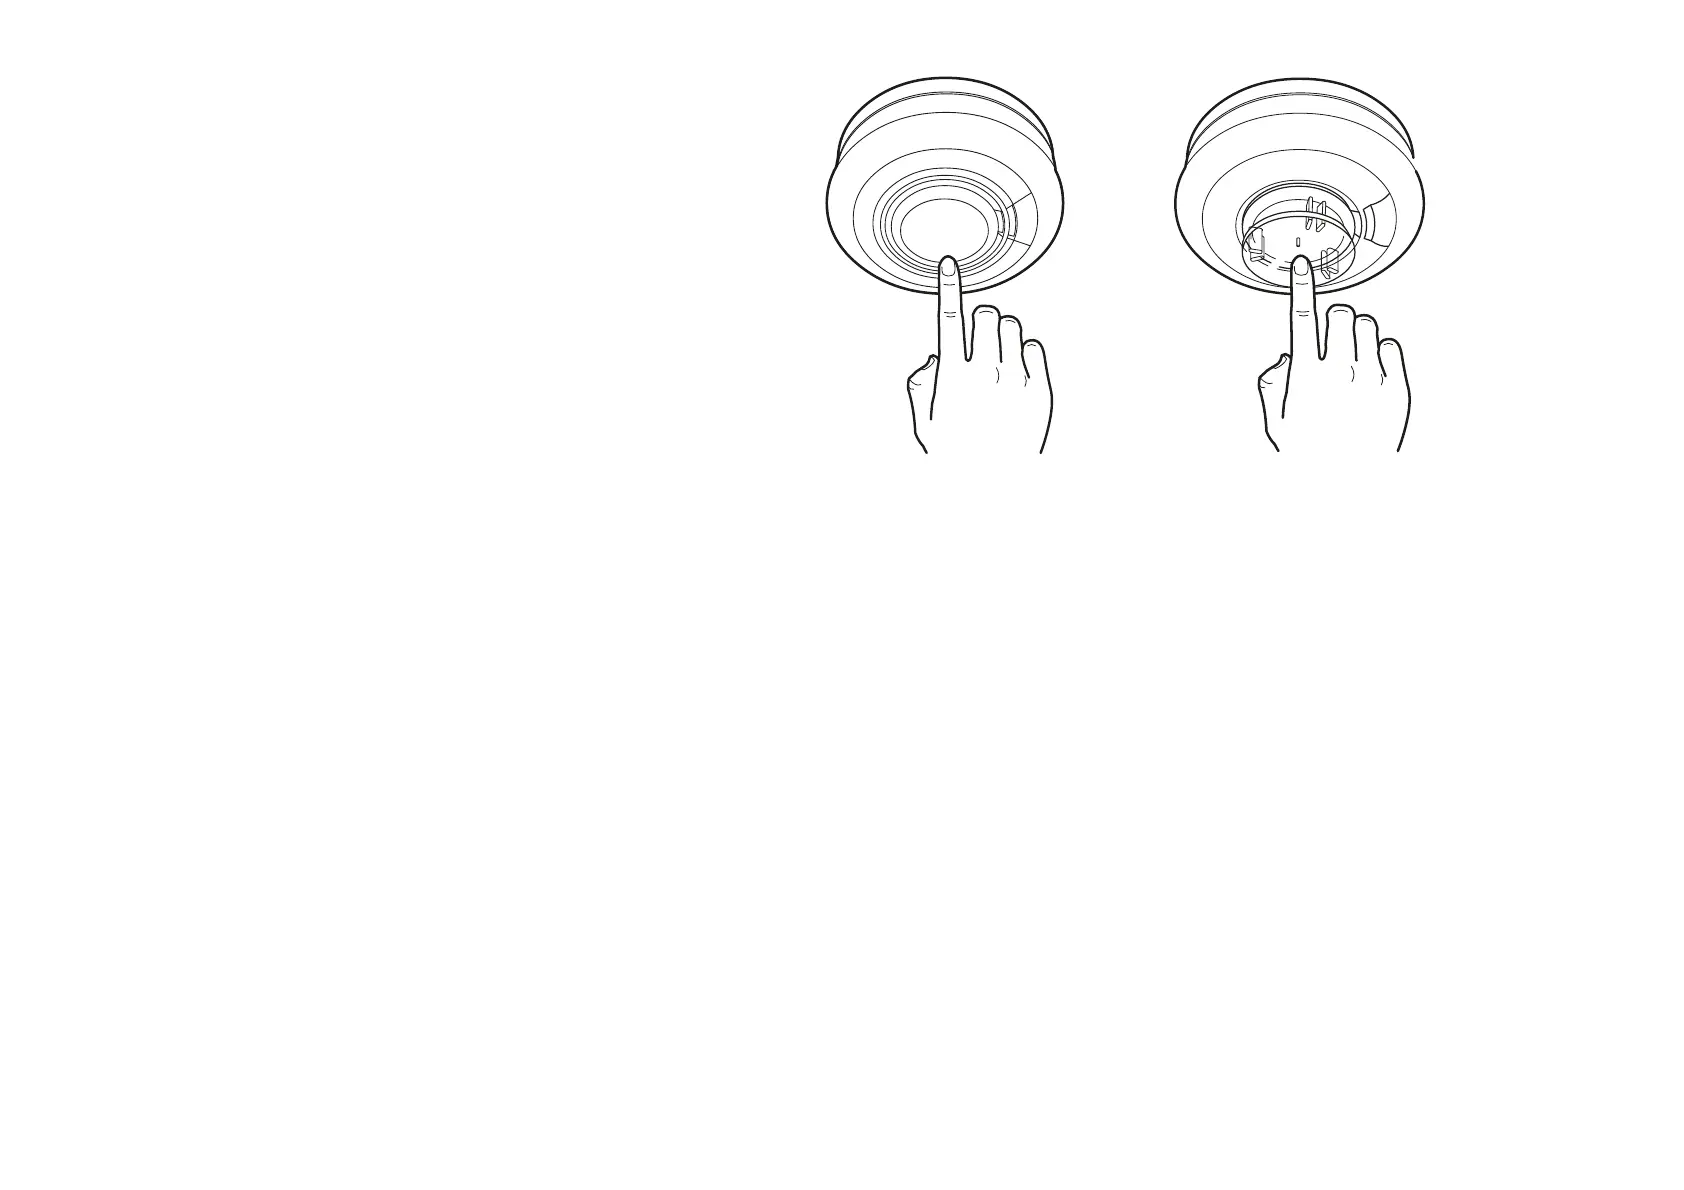
7a for Smoke Alarm & 7b for Heat
Alarm).
9. For hard-wired interconnected
Alarms, hold down the Test button on
each Alarm in turn and check that all
other interconnected Alarms sound.
10. If using RadioLINK
LQWHUFRQQHFWLRQ VHH ERRNOHW ¶5)
0RGXOHVIRU%DWWHU\3RZHUHG6PRNH
& Heat Alarms.
Install all the other Alarms similarly.
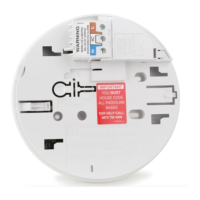
Tamperproofing the Alarms
The Alarm can be made tamperproof to prevent unauthorised removal of the Alarm.
%UHDNRIIWKHVPDOOSLOODURQWKHEDVHDVVKRZQLQILJXUHD
To remove the Alarm from the ceiling it is now necessary to use a small screwdriver,
to release the catch (push catch towards the ceiling) and then twist off the alarm
(see figure 8b).
If necessary it is possible to further secure the Alarm by using a No.2 or No.4 (2 to
3mm diameter - not supplied) self tapping screw 6 to 8mm long (see figure 8d), to
firmly lock the Alarm and its mounting plate together (see figure 8c).
Attach the Alarm to the mounting plate.
15
Figure 7a
Smoke Alarm
Figure 7b
Heat Alarm
 Loading...