This document provides comprehensive instructions for the safe and effective operation of your garden pump. It is crucial to read and understand all safety regulations and operating instructions before using the equipment to prevent injuries and damage. Keep this manual in a safe place for future reference, and ensure it is passed on to any other person who uses the equipment. The manufacturer disclaims liability for damage or accidents resulting from failure to follow these instructions.
Function Description
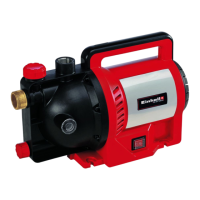
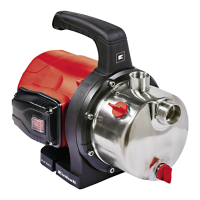
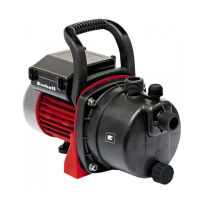
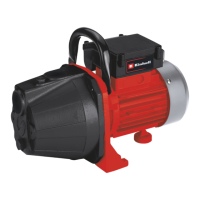
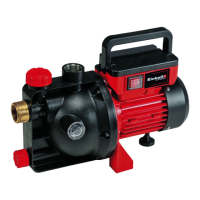
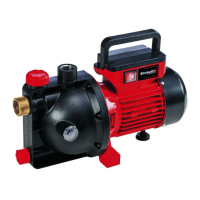
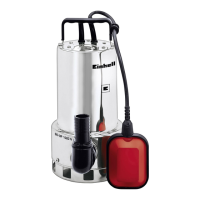
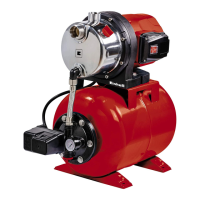
The garden pump is designed for various water transfer applications, primarily for irrigation and watering purposes. It is suitable for supplying water to green areas, vegetable beds, and gardens, as well as operating lawn sprinklers. The pump can draw water from diverse sources such as ponds, streams, rainwater butts, rainwater cisterns, and springs, making it versatile for service water supply.
The pump is engineered to handle clear water, including fresh water, rainwater, or light suds/service water. It is important to note that the maximum fluid temperature for continuous operation should not exceed +35°C. The equipment is not designed for pumping flammable, gassing, or explosive fluids. Similarly, aggressive liquids like acids, alkalis, or silo seepage, and liquids containing abrasive substances such as sand, must be avoided to prevent damage. This equipment is not intended for conveying drinking water.
The garden pump is designed for its prescribed purpose only. Any other use is considered misuse, and the user/operator, not the manufacturer, will be liable for any resulting damage or injuries. Please be aware that this equipment is not intended for commercial, trade, or industrial applications. Using the machine in such settings will void the warranty.
Usage Features
Before initial use, ensure the equipment is complete as specified in the scope of delivery. If any parts are missing, contact the service center or sales outlet within five working days of purchase, providing a valid bill of purchase.
Connecting the Intake Line:
Secure the suction hose (preferably a plastic hose with spiral reinforcement, at least approx. 19 mm (3/4") in diameter) to the suction connection (approx. 42 mm (1 1/4") AG) of the equipment. This can be done directly or via a threaded nipple. The suction hose should be equipped with an intake valve. If an intake valve is not used, a non-return valve must be installed in the intake line. Position the intake line so it rises from the water withdrawal point to the equipment, avoiding positions higher than the pump to prevent air bubbles and facilitate priming. Ensure the intake and discharge lines do not exert mechanical pressure on the equipment. The intake valve should be submerged deep enough to prevent the unit from running dry if the water level drops. A leaking intake line will draw in air, preventing water intake. To prevent foreign bodies like sand from entering, install a coarse filter if necessary.
Connecting the Discharge Line:
The discharge line (minimum 19 mm (3/4")) must be connected to the 33.3 mm (1") IG female thread discharge connector of the equipment, either directly or with a threaded nipple. With appropriate couplings, a 13 mm (1/2") delivery hose can also be used, though this will result in a lower delivery rate. During priming, fully open any shut-off mechanisms (e.g., spray nozzles, valves) in the pressure line to allow air to escape without obstruction.
Electrical Connections:
Connect the appliance to a 220-240 V ~ 50 Hz socket-outlet with an earthing contact. A minimum fuse of 10 amperes is required. The motor is protected by a built-in thermostat that prevents overloading and blocking. If overheating occurs, the pump will automatically switch off and restart after cooling.
Operation:
Install the equipment on a solid and level surface. Fill the pump housing with water via the water filler screw (4). Filling the intake line will accelerate the priming process. Ensure all shut-off devices in the discharge line (spray nozzle, valves, etc.) are fully opened during intake to allow all air to escape. Connect the mains cable. Switch on the equipment with the power switch (5). Water can be suctioned in for up to 5 minutes (maximum suction height). After completing the work, switch off the equipment with the power switch (5).
Maintenance Features
Replacing the Power Cable:
If the power cable is damaged, it must be replaced by the manufacturer, its after-sales service, or similarly trained personnel to avoid danger.
Cleaning and Ordering Spare Parts:
The equipment is almost completely maintenance-free. However, to ensure a long service life, regularly check and care for the product. Before performing any maintenance, disconnect the equipment from the power supply by pulling the power plug.
Servicing:
If the equipment becomes clogged, connect the discharge line to the water line and disconnect the suction hose. Open the water line and switch on the equipment several times for approximately two seconds. This should resolve most clog-related problems. There are no parts inside the equipment that require additional maintenance.
Ordering Replacement Parts:
When ordering replacement parts, provide the following information: type of machine, article number of the machine, identification number of the machine, and replacement part number. For current prices and information, visit www.isc-gmbh.info.
Disposal and Recycling:
The equipment is supplied in protective packaging. The raw materials in this packaging can be reused or recycled. The equipment and its accessories are made of various materials, including metal and plastic. Do not dispose of defective equipment in household refuse. It should be taken to a suitable collection center for proper disposal. Consult your local council offices for collection point locations. As an alternative to returning the equipment to the manufacturer, ensure the equipment is properly disposed of if you no longer wish to keep it. Old equipment can be returned to a suitable collection point that complies with national recycling and waste disposal regulations. This does not apply to accessories or aids without electrical components supplied with the old equipment.
Storage:
Store the equipment and accessories in a dark and dry place at above freezing temperature, ideally between 5 and 30°C. Store the electric tool in its original packaging. If the pump will not be used for a long time or needs to be stored for winter, rinse it out with water, empty it completely, and allow it to dry. The equipment must be completely drained before exposure to frost. After long periods of inactivity, ensure the rotor turns correctly by briefly switching the pump on and off.
Troubleshooting Guide:
A troubleshooting guide is provided to help diagnose and resolve common issues. For example, if the motor fails to start, check the mains voltage and ensure the pump rotor is not blocked. If there is no intake, verify the intake valve is in water, fill the pump chamber with water, ensure the intake line is airtight, and check for leaks or blockages in the intake valve or strainer. If the delivery rate is inadequate, check the suction height, clean the strainer, place the suction hose at a deeper level, and clean the pump if contaminants are present. If the thermostat switches the pump off, it indicates motor overload due to friction caused by foreign substances; dismantle and clean the pump, and prevent intake of foreign substances with a filter.