GB
- 8 -
•
Allow the tool to cool before carrying out any
maintenance work, adjustments, etc.
•
Never use the machine while other people
are nearby.
•
When inserting material take special care
to ensure that it does not contain any metal,
stones, bottles, cans or other foreign bodies.
•
Do not allow processed material to accumu-
late within the discharge area; this could pre-
vent the machine being able to discharge cor-
rectly and result in material recoiling through
the infeed opening.
•
When servicing the cutting tool, remember
that it may still be moving due to the starting
mechanism, even if the motor is not running
because of the cover interlock.
•
Children must not be permitted to use the
machine.
•
Wear ear protectors and safety goggles. Wear
these throughout the time the machine is in
operation.
•
Before starting the machine, check all screws,
nuts, bolts and other fastening materials to
ensure that they are secure and that all co-
vers and guards are in position. Damaged or
illegible labels must be replaced.
•
Connect the equipment to the power supply
only via an earth-leakage circuit breaker with
max. 30mA tripping current.
Description of the warning sign (see Figure
16) on the machine
1: Important! Read the operating instructions
and follow the warnings and safety instruc-
tions
2: Take care when the blades are rotating. Do
not put your hands or feet into openings when
the machine is running.
3: Important! Keep other persons and animals
away from the danger zone.
4: Important! Protect the machine from the
damp and never expose it to rain.
5: Important! Always wear safety goggles, ear
muff s, protective gloves and heavy-duty work
clothes!
6: Always set the ON/OFF switch to OFF and
pull the power plug out of the socket-outlet
before doing any work on the shredder, e.g.
cleaning the shredder and making adjust-
ments, or if
the power cable becomes damaged.
7: Explanation of the safety switch on the deb-
ris box: The switch is in the “Lock is closed”
position: The shredded material debris box is
locked. The shredder can be switched on. The
switch is in the “Lock is open” position: The
shredded material debris box is not locked
and can be removed. The shredder cannot be
switched on.
8: Explanation of the lever for adjusting the
counter blade:
Turning clockwise reduces the distance bet-
ween the cutting unit and the counter blade.
Turning counter-clockwise increases the
distance between the cutting unit and the
counter blade.
9. Changeover switch: For a description of the
changeover switch see point 6.4
10. Wait until all parts of the machine have come
to a complete stop before touching them.
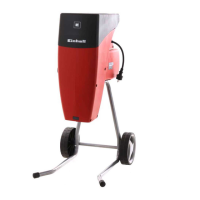
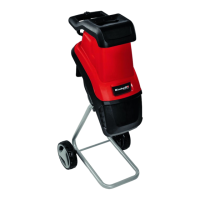
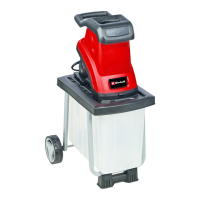
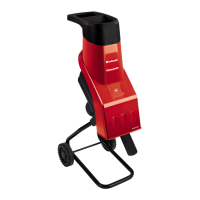
2. Layout and items supplied
2.1 Layout (Fig. 1-3)
1. Motor unit
2. Shredded material debris box
3. Base frame
4. Wheels
5. Wheel caps
6. Knob for setting the counter blade
7. Power plug
8. Transport handle
9. Reverse running switch
10. ON/OFF switch
11. 2x screws (short) for fi tting the motor unit
12. 2x screws (long) for fi tting the motor unit
13. 4x washers for fi tting the motor unit
14. 2x sets of screws for fi tting the wheels (inclu-
ding wheel sleeves, washers and nuts)
15. Feet
16. 2x screws for fi tting the feet
17. 2x nuts for fi tting the feet
2.2 Items supplied
Please check that the article is complete as
specifi ed in the scope of delivery. If parts are
missing, please contact our service center or the
sales outlet where you made your purchase at
the latest within 5 working days after purchasing
the product and upon presentation of a valid bill
of purchase. Also, refer to the warranty table in
the service information at the end of the operating
instructions.
•
Open the packaging and take out the equip-
ment with care.
•
Remove the packaging material and any
packaging and/or transportation braces (if
available).
Anl_GC_RS_60_CB_GB_Korea.indb 8Anl_GC_RS_60_CB_GB_Korea.indb 8 07.02.2023 09:17:4607.02.2023 09:17:46