17
3.3. Announcing Tone Selection
It is possible for the microphone base to issue an audio signal that indicates the
beginning of an intercom transmission (first tone) and another to indicate its end (end
tone).
Key 902 followed by pressing the PRG
button.
Define the type of audio signal
(0=none, 1, 2, 3).
Press the PRG button to confirm.
Key 901 followed by pressing
the PRG button.
Key the desired sound level
between the values of 0
(minimum) and 50 (maximum).
Press the PRG button to confirm.
Key 903 followed by pressing the
PRG button.
Define the type of audio signal
(0=none, 1, 2, 3).
Press the PRG button to confirm.
FIRST TONE
2
9
2
2
0
END TONE
2
9
2
3
0
TONE LEVEL
29
9
9
2
0
1
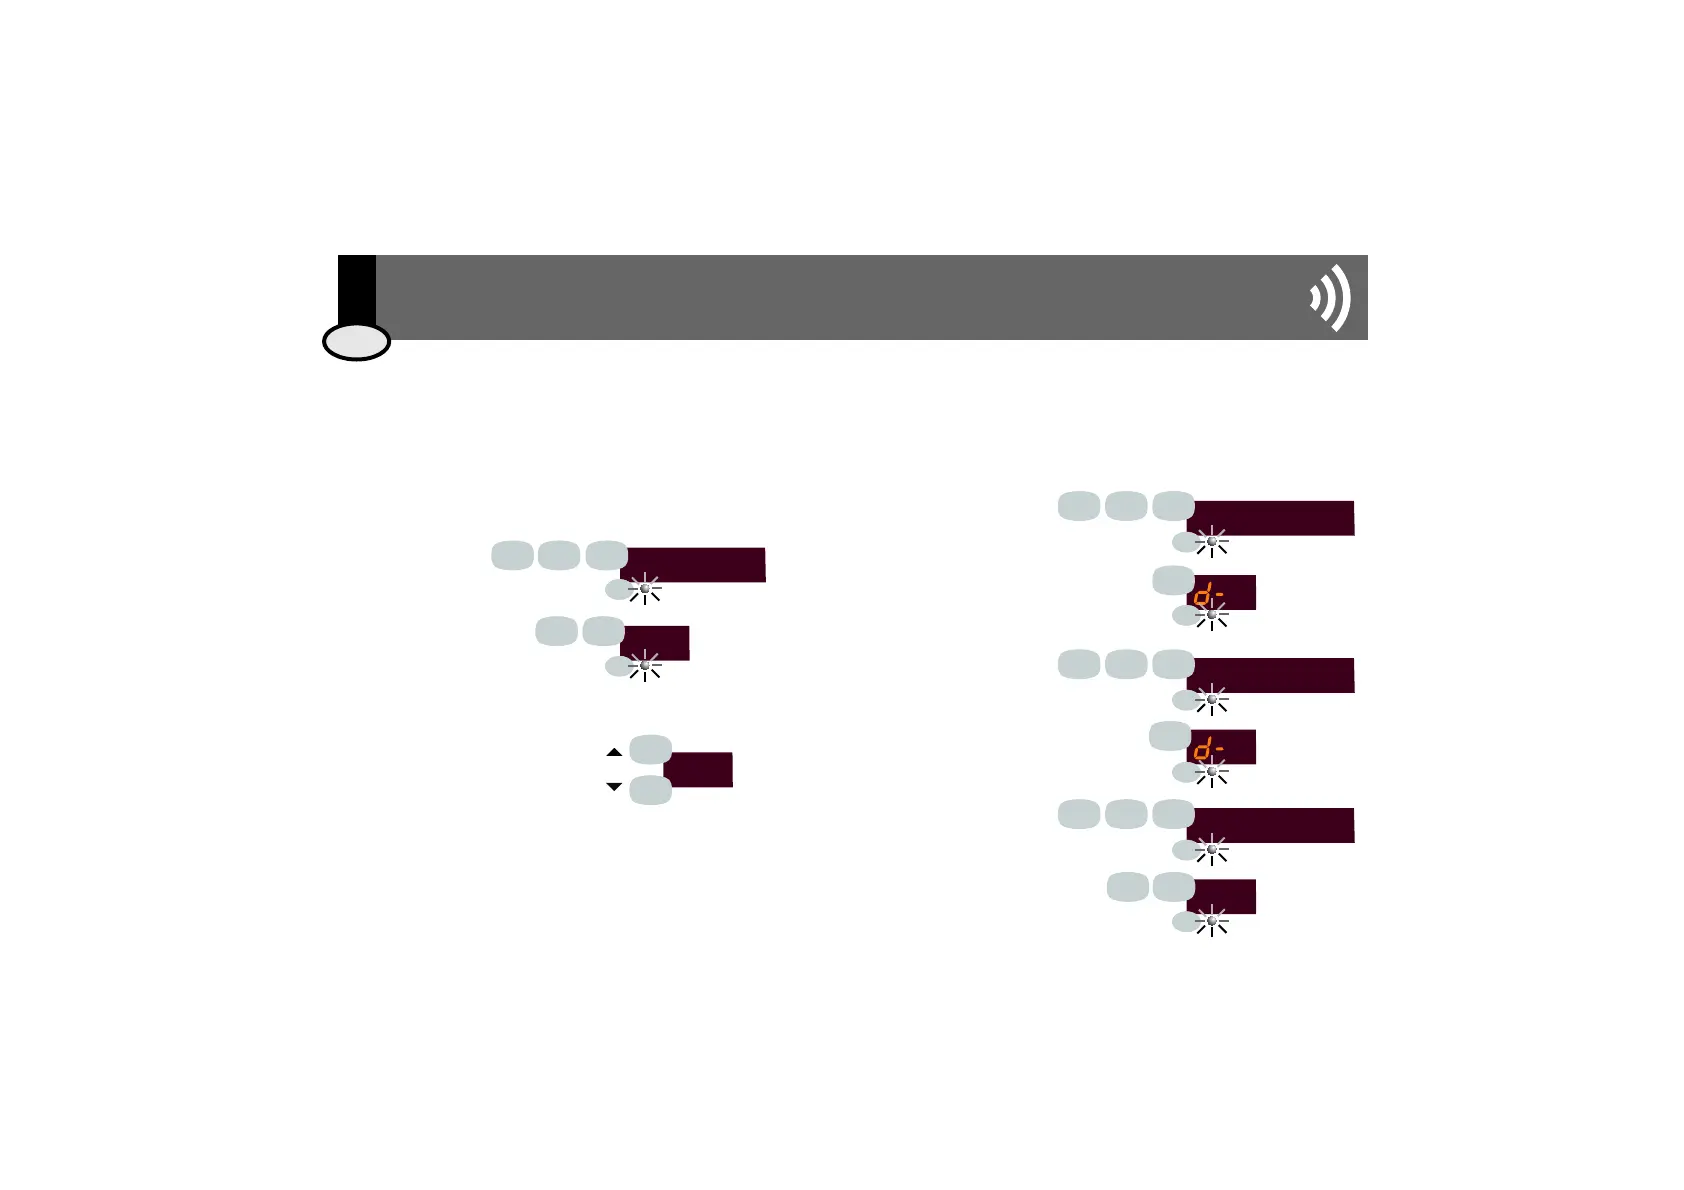
3.2. Adjusting the Microphone
Signal Level
There are two alternate ways to adjust the microphone signal
level used by the base to transmit to the control units connected
to the installation.
Key 911 followed by
pressing the PRG
button.
Key the desired level
between 0 (minimum)
and 99 (maximum).
Press the PRG button
to confirm.
The microphone's output level
signal can be adjusted while
intercom transmission is taking
place (see 3.1.1., 3.1.2., 3.1.3.)
by using the INC and DEC buttons
while the spoken message is being
transmitted.
Once the transmission concludes, the transmission level
will be saved into the program memory of the
microphone base.
MIC LEVEL
52
59
9
1 1
2
5
1
4
3.2.1. Programming Option
3.3.1. First tone
3.3.2. End tone
3.3.3. Adjusting Announcing
Tone Volume Level
3.2.2. On-line Adjustment
EIS
PRG
PRG
PRG
PRG
PRG
PRG
PRG
PRG
PRG
PRG
PRG
PRG
PRG
PRG
PRG
PRG
ENG
3. User Manual