6
Automatic electrical ignition (only certain versions, see fig. 5, ref. AC)
The command of lighting is integrated in the control knob. Press and turn counterclockwise the knob corresponding
to the burner you wish to use, until it reaches to the “Full on” position (fig.1). Automatically the ignition spark shoots;
keep the knob pressed until to happened lighting. Matches can be used to light the burners in a blackout.
Lighting of burners equipped with safety thermocouples (only certain versions, see fig. 5, ref. TC)
In the case of burners equipped with safety thermocouples you have to press and turn counterclockwise to the “Full
on “ position , the knob corresponding to the burner you wish to use, and repeat the operations described
previously. Once lit, keep the knob pressed for about 10 seconds to allow the safety thermocouples to warm up. If, at
the end of this time, the burner fails to light, it means that the safety thermocouple is not heated to sufficiency.
Repeat the operation.
Optimum use of the burners
To get the maximum yield with the minimum consumption of gas it is handy to keep the following points in mind:
• Once the burner has been lit, adjust the flame according to your needs.
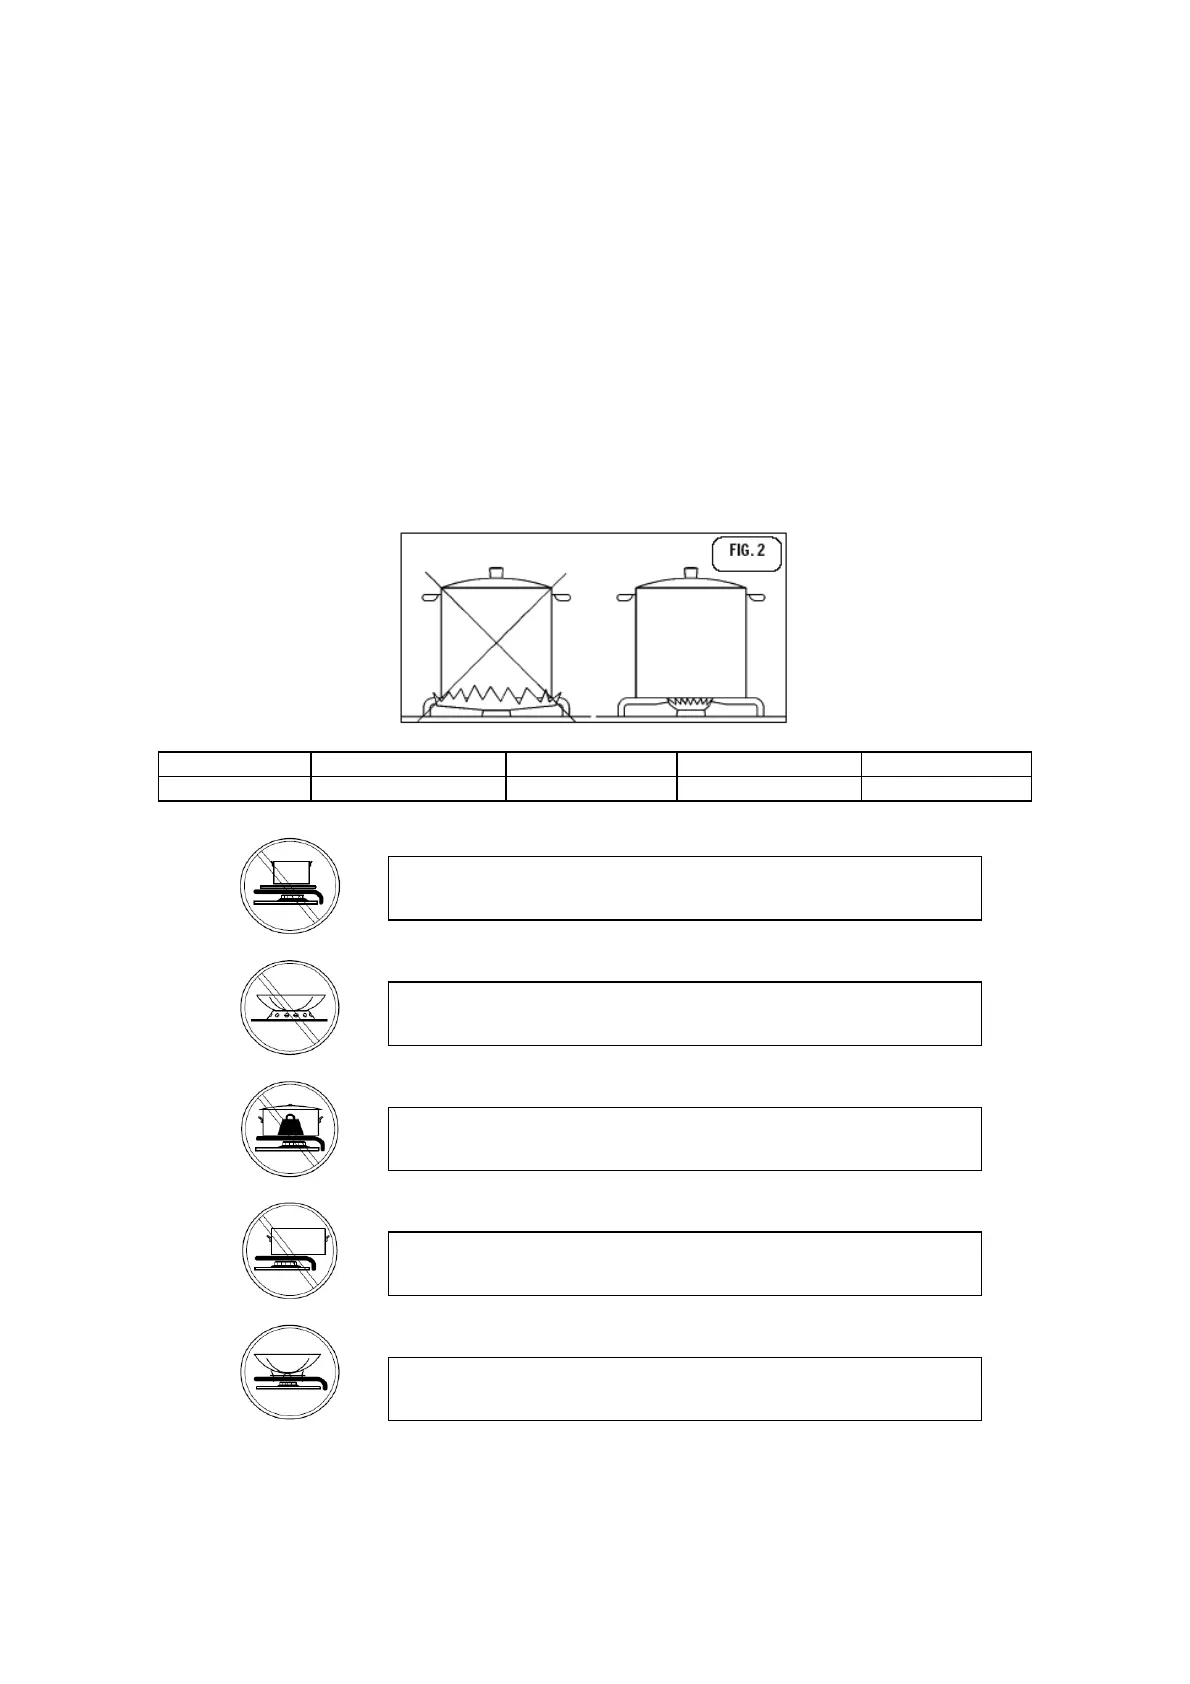
• Use an appropriately sized pan and with flat bottom for each burner (see the table below and fig. 2).
• When the content of the pan start to boil, turn the knob down to “Reduced rate position” (small flame).
• Always put a lid on the pan.
Do not place anything, eg. flame tamer, asbestos mat, between pan
and pan support as serious damage to the appliance may result.