5 of 13
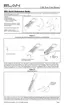
17. Click OK to close the dialog box and remove the USB cable. The remote will display “Configuring
Radio” then connect to the access point and finally the system controller. Once connected to the
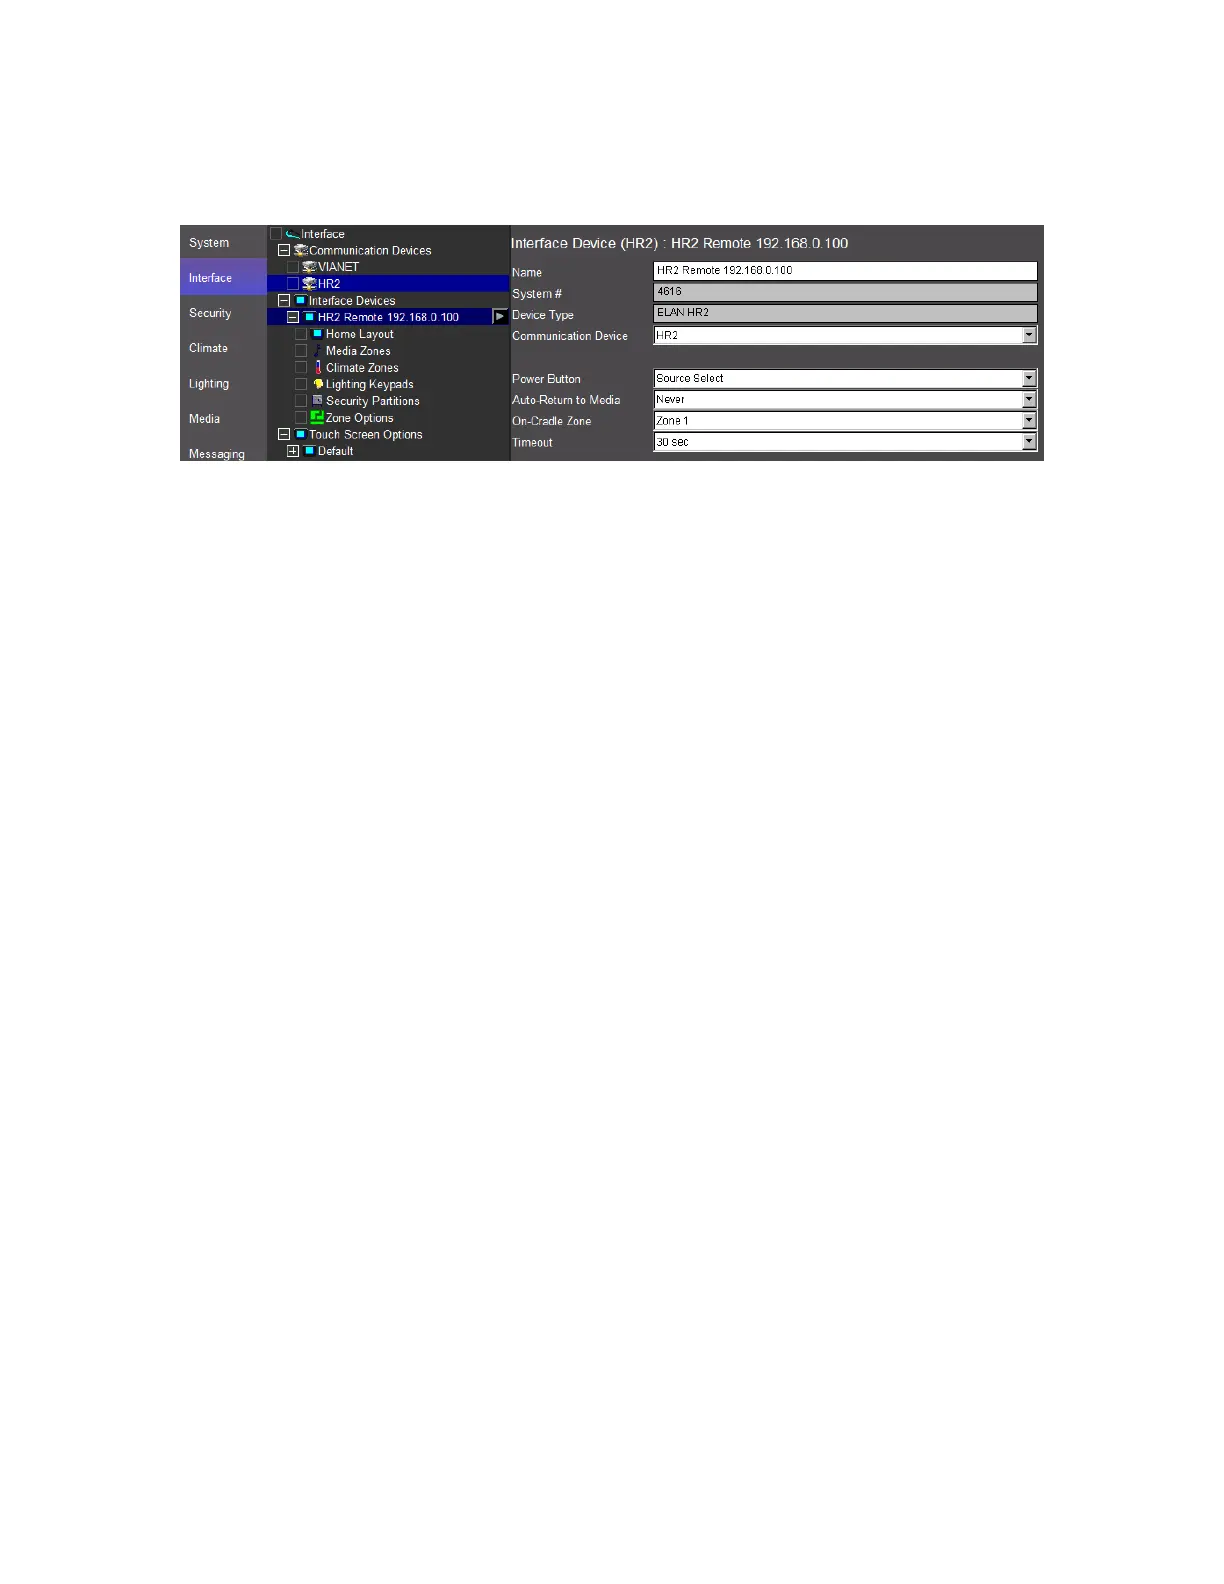
system controller it will automatically log an entry under Interface Devices as shown below.
18. Click + next to the remote to expand its options and configure the remote’s display for each
subsystem. The choices include selecting subsystem visibility, hidden or shown, and a zone map to
define default subsystems based on the currently selected media source. Refer to the Configurator
Training Guide and/or the Online Help (F1) for details on configuration.
19. Once the remote is online and associated you can check the remotes name by pressing the Menu
and Info button at the same time. The HR2 Screen will display the name as it is in the configurator on
the interface tab. This is useful to identify which remote you are working on if you have multiple
remotes in one install.