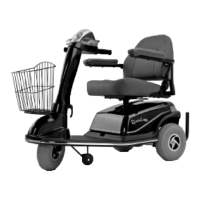
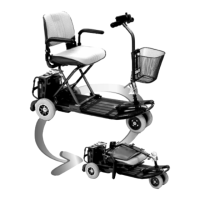
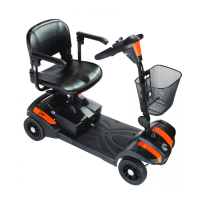
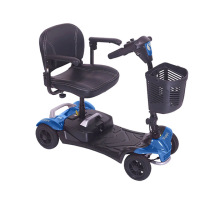
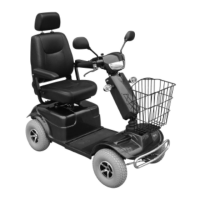
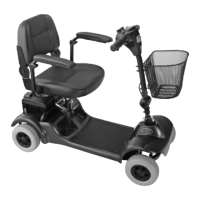
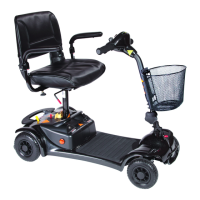
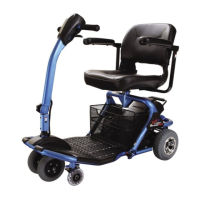
8 Liteway Balance & Liteway Balance Plus Scooters Owner's Manual and Service Record
Controls
Before driving your vehicle it is important to familiarise yourself with the controls. Do not attempt to drive the
vehicle before reading the rest of this Handbook.
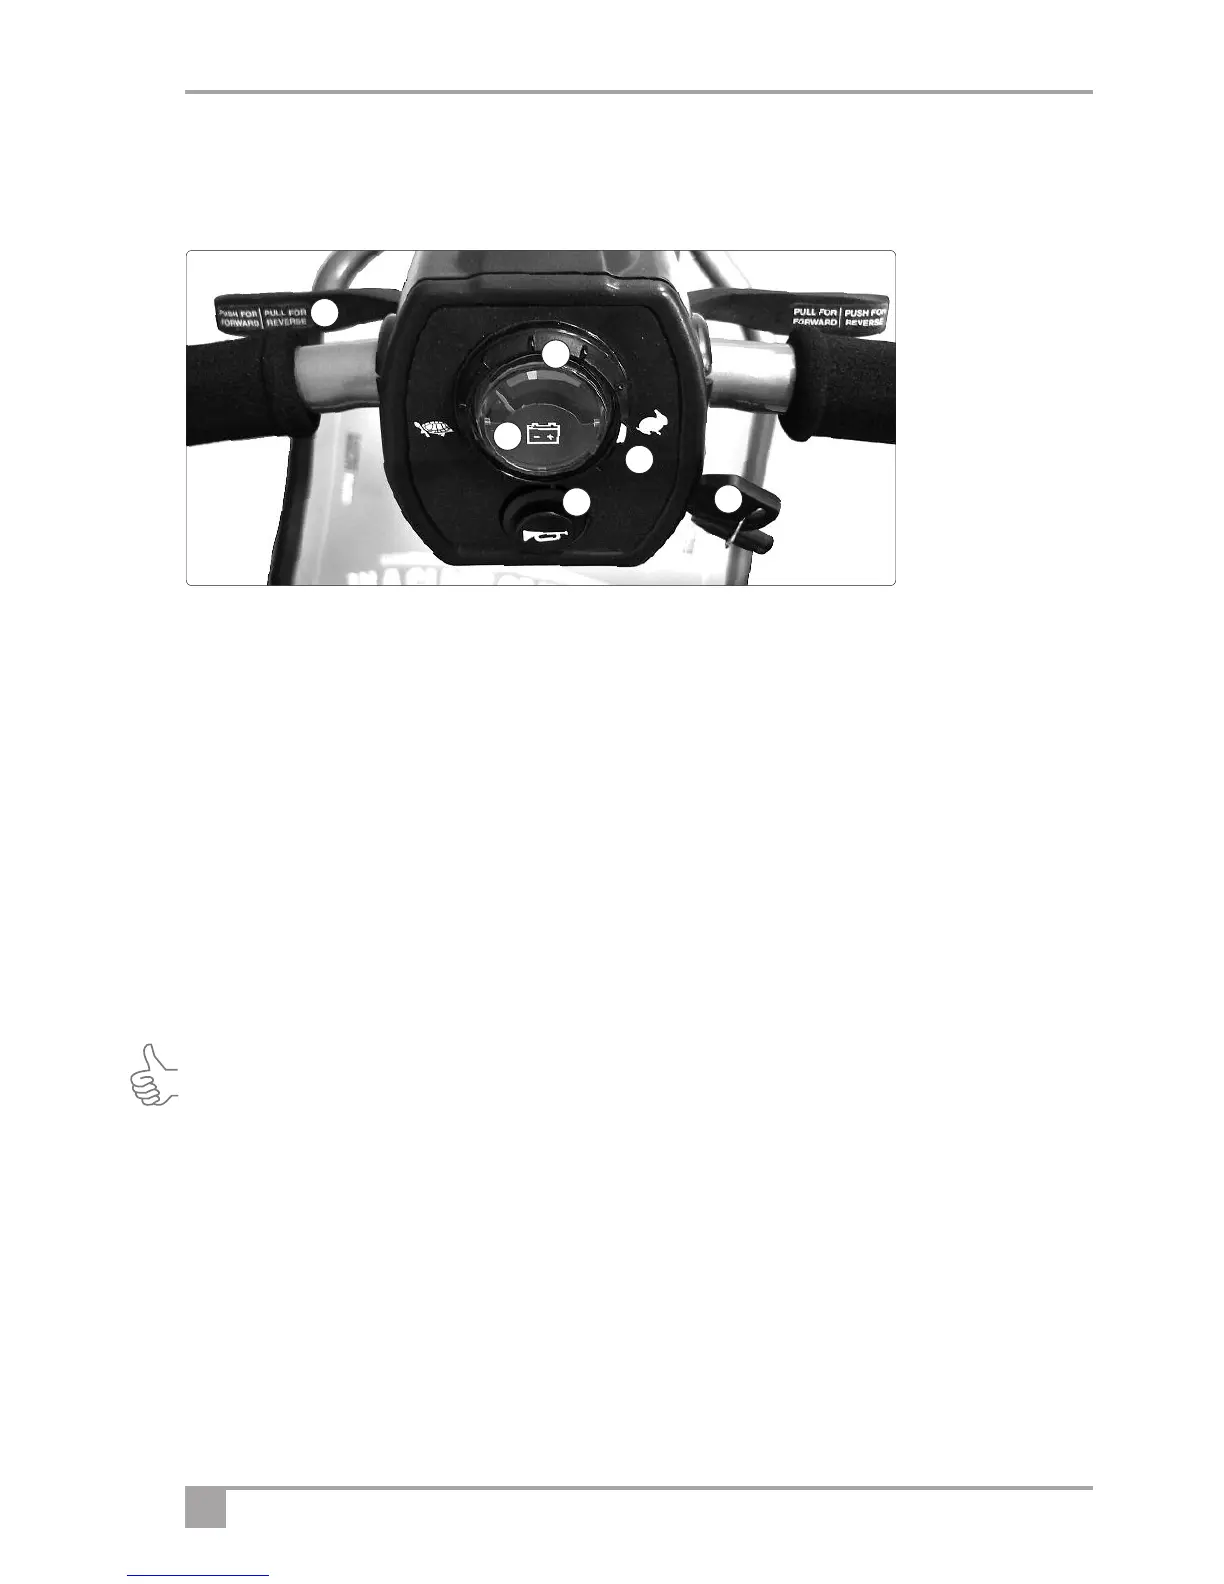
Dashboard Description
1. Battery Indicator: This instrument shows the level of charge in the batteries. When in the green area the
batteries are fully charged. When in the yellow area the batteries need recharging and when in the red area
the batteries urgently need recharging. Note: When the vehicle is climbing a steep incline or starting off, the
level may drop momentarily; this is normal.
2. Speed Control: This controls the top speed of your scooter. When the knob is turned anticlockwise to the
left, this is its slowest speed, marked by a tortoise. As the knob is turned to the right the speed will increase
to a maximum, marked by a hare. Set the speed before you move off. Do not adjust the speed control dial
when the vehicle is moving.
3. Power On Indicator / Status LED: This indicator shows the status of the scooter – either on or off. A solid
red light indicates that the scooter is on and ready to use and no light means that the scooter is off or totally
discharged. Note. The controller has a diagnostic mode: If the LED flashes, this indicates that the controller
has detected an error or fault. If this happens refer to the diagnostic table at the back of this manual for a
solution.
Tip: One of the most common “faults” is that the scooter has been switched on with the free-wheel function
enabled– Just turn the power on/off key to the off position, position the freewheel lever in drive and turn the
ignition key back to the ON position.
4. Horn: Press the button on the lower left hand side and the horn will sound, if power is on. Release and the
horn will cease.
5. Ignition Key: The ignition key has to be pushed in before you can turn the vehicle on or off. Remember to remove
the key when not in use. Do not leave the ignition on when not in use, especially when charging the vehicle.
6. Finger control: To operate, turn on the ignition. Pull the right hand lever towards you and the machine
moves forward. The more you pull the lever the faster the scooter goes. To brake, release the lever. Again
the faster the lever is released the quicker you will stop. To reverse, pull the left lever towards you. Do not
pull both levers at once. Note. The controls can be changed for customers with a left-hand bias. Please
contact your local dealer for information.
1
2
3
4
5
6