10.
A.
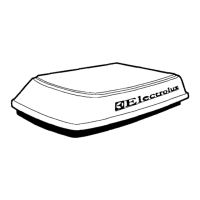
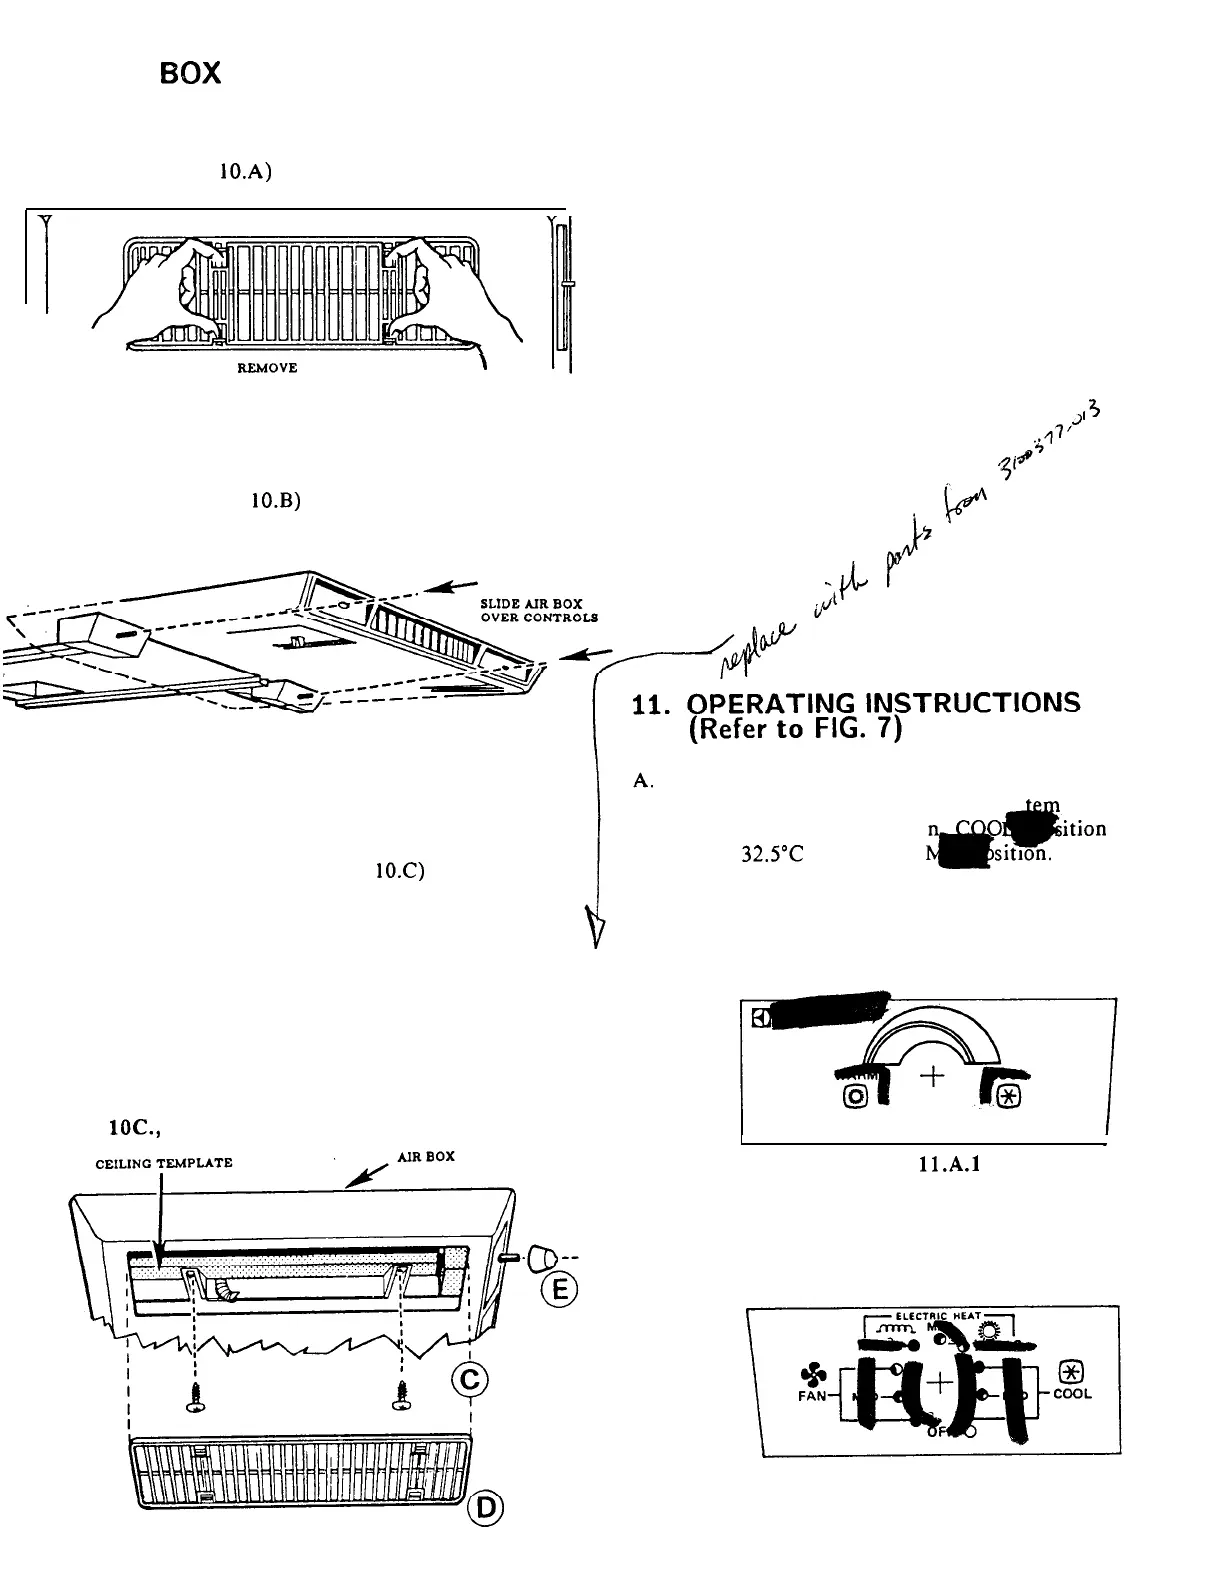
AIR BQX INSTALLATION
Remove the two return air grills and
filters which are shipped loose in the air
box. (FIG.
10.A)
FIG. 10.A.
REMOVE
GRILLES
\
F.
The power supply to the air conditioner
may now be turned ON.
G.
Your air conditioner is now installed and
ready for operation. Please read the
following instructions before attempting to
run the unit.
B.
Slide the front end of the air box over
the shafts of the thermostats and selector
switch. (FIG.
10.B)
FIG. 10.B.
C.
D.
E.
Install the four screws through legs in air
box into the prepunched holes in the
ceiling template.
NOTE: There are three
optional
mounting holes for which no
screws are provided. (FIG.
1O.C)
Install the return air grills and filters by
simply pushing them into place.
(FIG.
10.D)
Install the two knobs provided on the ends
of
the
thermostat
and
selector switch
shafts.
FIG. lOC., D., E.
10
CONTROLS
1.
The Thermostat has
a
perature
range of 185°C i
w
*
ition
to
32.5”C
in WAR
sitron.
The
thermostat
controls the
unit
compressor ON and OFF cycle in the
cooling mode and the electric heater
ON and OFF cycle in the heating
mode.
-
FIG.
11.A.l
2.
The Selector Switch controls the unit
fan speeds,
and the heating, cooling
and fan modes of operation.
FIG. ll.A.2
 Loading...