4
Installation
Leveling
It is extremely important that the unit is level for
maximum protection.
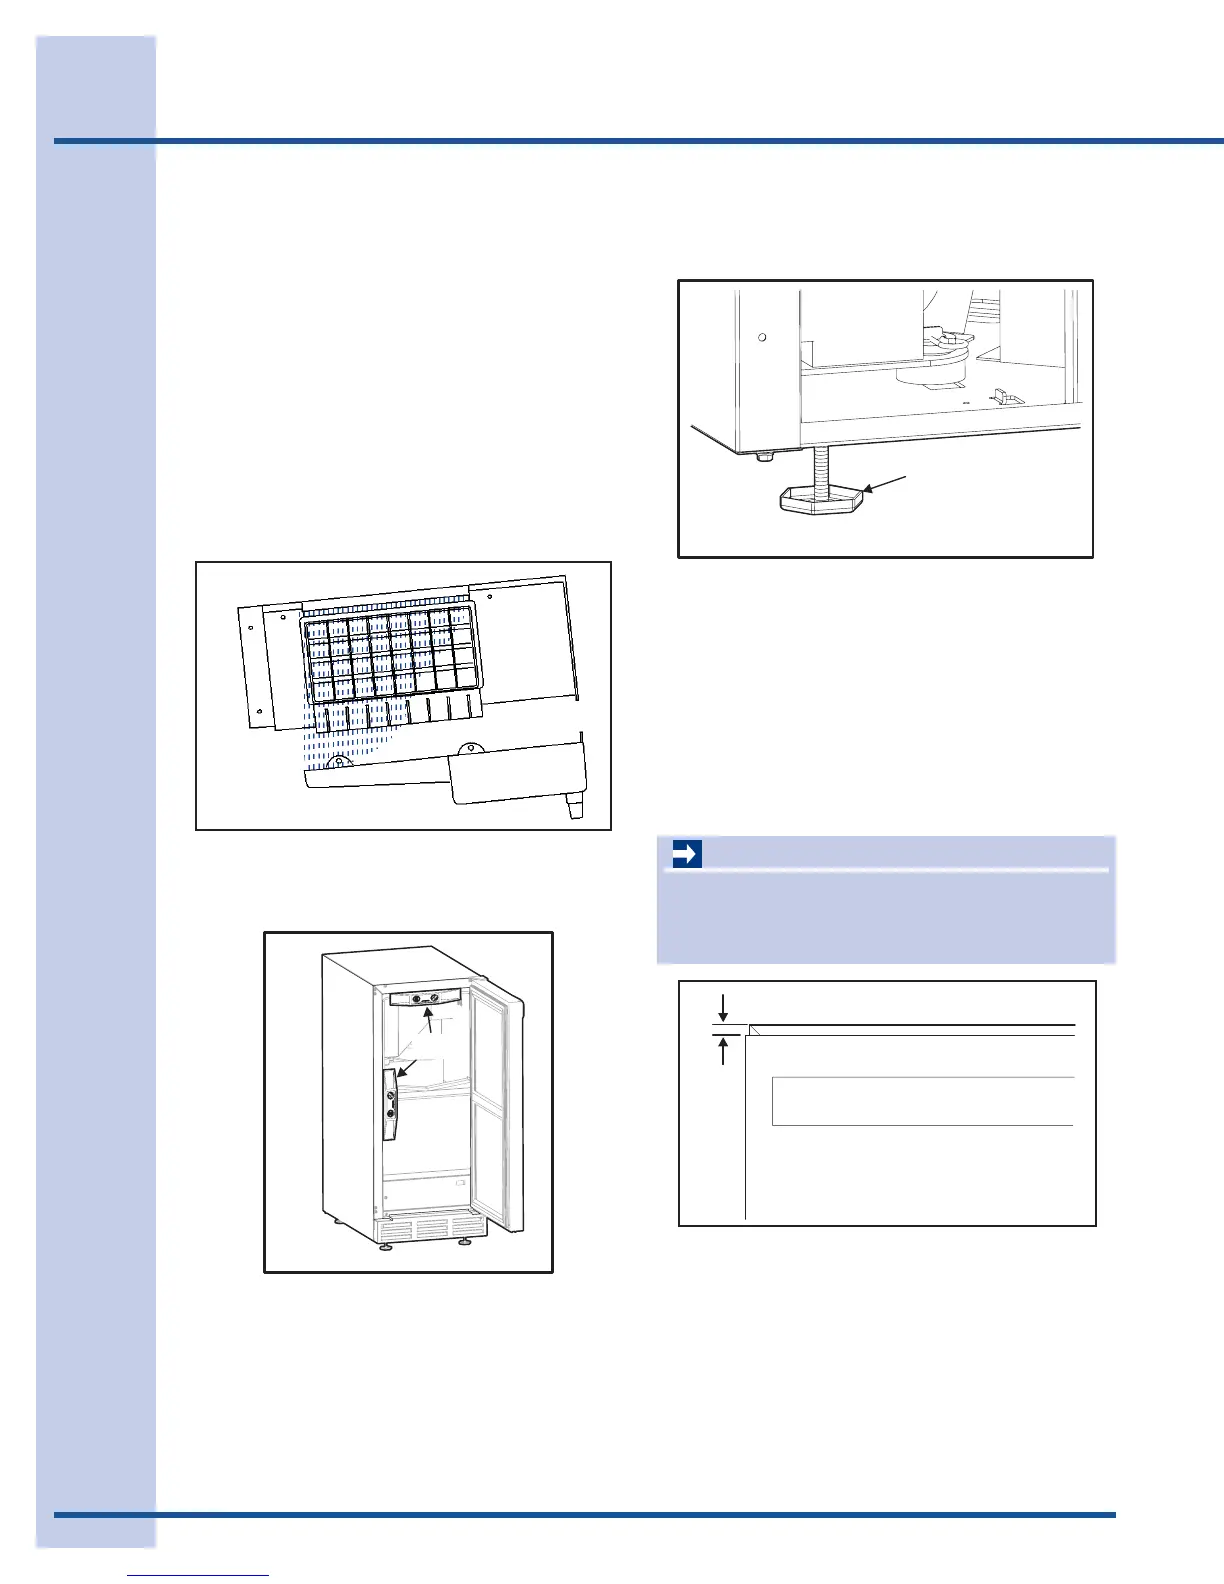
If it is not:
• Doorsand/ordrawerswillnotworkproperly.
• Unevensizedcubeswillbeformed.Ice
productionwillbereducedandwaterspilling
intothestorageareacanoccur,causing
theiceinthebintomeltprematurely.See
Figure1.
Remember,oorssurroundingadrainhavea
tendencytoslopetowardthedrain.
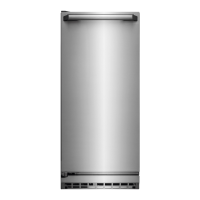
IMPORTANT
Properlyaligned,thedoorshouldbe1/8”below
thetopoftheunit’scabinet,NOTushwiththe
top.See Figure 4.
Adjusting Door
Checking Door Alignmemt
Theunit’sdoorisalignedatthefoctorybefore
shipment.However,itsalignmentcouldhavebeen
disturbedduringshipmentorduringdoorpanel
installation.
1 Comparethetopedgeofthedoortothetop
edgeofthecabinet.
2 Ifthedooredgeis1/8inchbelowand
paralleltothetopofthecabinet,itisadjusted
correctly.Ifitisnot,notewhethertheside
opositethehingeneedstobemovedUPor
DOWN,andusethefollowingprocedure:
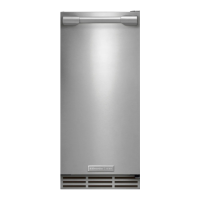
1. Usealeveltochecktheunitfromfrontto
backandfromsidetoside.See Figure 2.
Figure 1
Figure 2
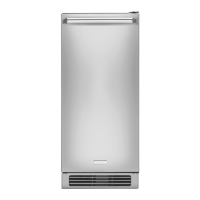
Figure 3
2. Iftheunitisnotlevel,adjustthefeetonthe
cornerasnecessary.See Figure 3.Rotating
thefeetclockwiseraisestheunit.
3. Checkaftereachadjustment.Repeatthe
previousstepsasnecessaryuntiltheunitis
level.
Figure 4