7. CLOCK FUNCTIONS
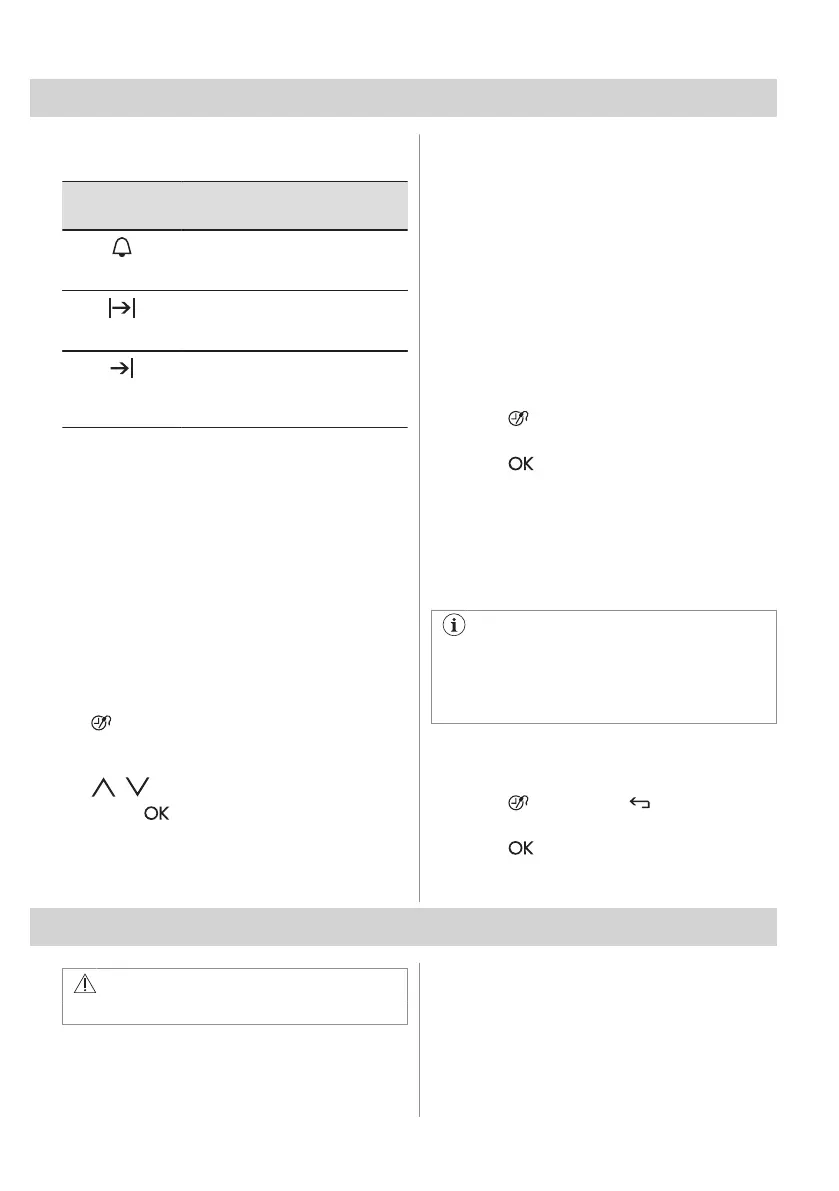
7.1 Clock functions table
Clock func‐
tion
Application
Minute Minder
To set a countdown (max. 2 h 30
min). This function has no effect
on the operation of the appliance.
Duration
To set how long the appliance
works (max. 23 h 59 min). It is not
available for: Food Sensor.
End Time
To set the switch-off time for a
heating function (max. 23 h 59
min). It is not available for: Food
Sensor.
If you set the time for a clock function, the
time starts to count down after 5 sec.
Duration, End Time - before you use the
functions, you must set a heating function
and temperature. The appliance turns off
automatically.
Duration , End Time - you can use the
functions at the same time if you want to
automatically turn on and turn off the
appliance on a given time later.
7.2 Setting the clock functions
1. Set a heating function.
2. - press repeatedly until the display
shows the necessary clock function and
the related symbol.
3. , - press to set the time.
4. Press: .
When the time ends, the signal sounds. The
oven turns off. Press any sensor field to stop
the signal.
7.3 Heat + Hold
Conditions for the function:
• The set temperature is more than 80 °C.
• The function: Duration is set.
The function: Heat + Hold keeps prepared
food warm at 80 °C for 30 minutes. It turns on
after the baking or roasting procedure ends.
You can turn on or turn off the function in the
menu: Basic Settings.
1. Turn on the oven.
2. Select the heating function.
3. Set the temperature above 80 °C.
4. Press
again and again until the display
shows: Heat + Hold.
5. Press to confirm.
When the function ends, a signal sounds.
7.4 Time Extension
The function: Time Extension makes the
heating function continue after the end of
Duration.
Applicable to all heating functions with
Duration or Weight Automatic.
Not applicable to heating functions with
the food sensor.
1. When the cooking time ends, a signal
sounds. Press any symbol.
The display shows the message.
2. Press to turn on or to cancel.
3. Set the length of the function.
4. Press .
8. AUTOMATIC PROGRAMMES
WARNING!
Refer to Safety chapters.
8.1 Recipes with Recipe Automatic
This oven has a set of recipes you can use.
The recipes are fixed and you cannot change
them.
1. Turn on the oven.
16 ENGLISH