12
BEFORE SETTING OVEN CONTROLS
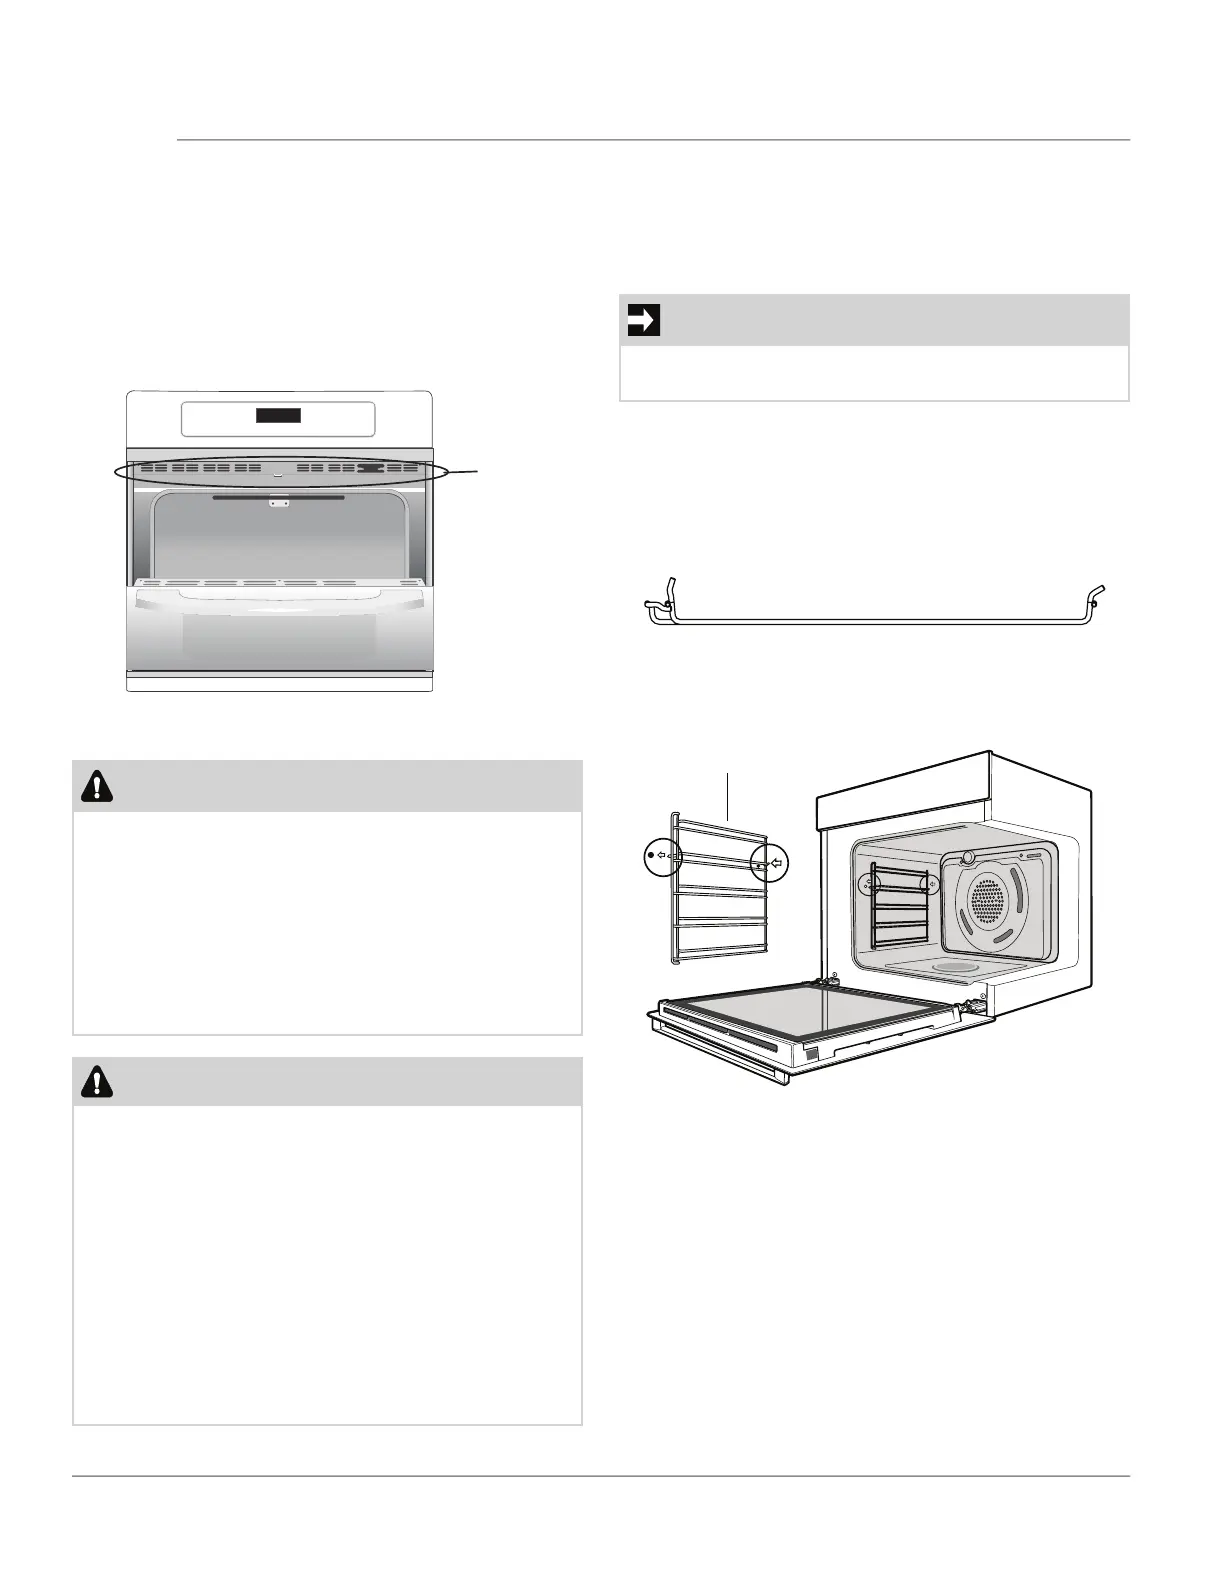
Oven Vent Location
The oven is vented as shown below. When the oven is
on, warm air is released through the vent. This venting
is necessary for proper air circulation in the oven and
good baking results. Do not block oven vent. Never
close off the openings with aluminium foil or any other
material. Steam or moisture may appear near the oven
vent. This is normal.
location
WARNING
Protective Liners — Do not use aluminum foil or any
other material or liners to line the oven bottom,
walls, racks or any other part of the range. Doing so
will alter the heat distribution, produce poor baking
results, and possibly cause permanent damage to
the oven interior. Improper installation of these liners
may result in risk of electric shock or fire. During self
clean, temperatures in the oven will be hot enough
to melt foil.
CAUTION
Always use pot holders or oven mitts when using the
oven. When cooking, the oven interior, oven exterior,
oven racks, and cooktop will become very hot which
can cause burns.
Remove all oven racks before starting a self clean
cycle. If oven racks are left inside the oven during a
cleaning cycle, the slide ability of the oven racks may
be damaged and all of the oven racks will lose their
shiny finish.
To prevent possible damage to the oven, do not at-
tempt to close the oven door until all the oven racks
are fully positioned back inside the oven cavity.
Figure 1: Oven Vent
Oven Rack Support
The oven rack support attach to each side of the oven.
There is a left hand and right hand version (figure 2).
Oven rack support installation:
IMPORTANT
Always install the oven rack support before turning
on the oven (when the oven is cool)
1. Insert the rear peg into the rear access hole pro-
vided, ensuring that the peg is fully inserted.
2. Then locate the front peg into the front access hole
and push in firmly.
Front Peg Rear Peg
Figure 2: Pegs on Oven Rack Support
Figure 3: Oven Rack Support Installation
Oven Rack Support