5. BEFORE FIRST USE
WARNING!
Refer to Safety chapters.
5.1 Using the display
• Only the backlit symbols can be used.
• To activate a given option, touch the
relevant symbol on the display.
• The selected function is activated
when you remove the finger from the
display.
• To scroll the available options, use a
quick gesture or drag your finger
across the display. The speed of the
gesture determines how fast the
screen moves.
• The scrolling can stop by itself or you
can stop it immediately if you touch
the display.
• You can change most of the
parameters shown on the display
when you touch the relevant symbols.
• To select the required function or time
you can scroll through the list and / or
touch the option you want to choose.
• When the hob is activated and some
of the symbols disappear from the
display, touch it again. All the symbols
come back on.
• For certain functions, when you start
them, a pop-up window with additional
information appears. To deactivate
the pop-up window permanently,
check
before you activate the
function.
• Select a zone first to activate the timer
functions.
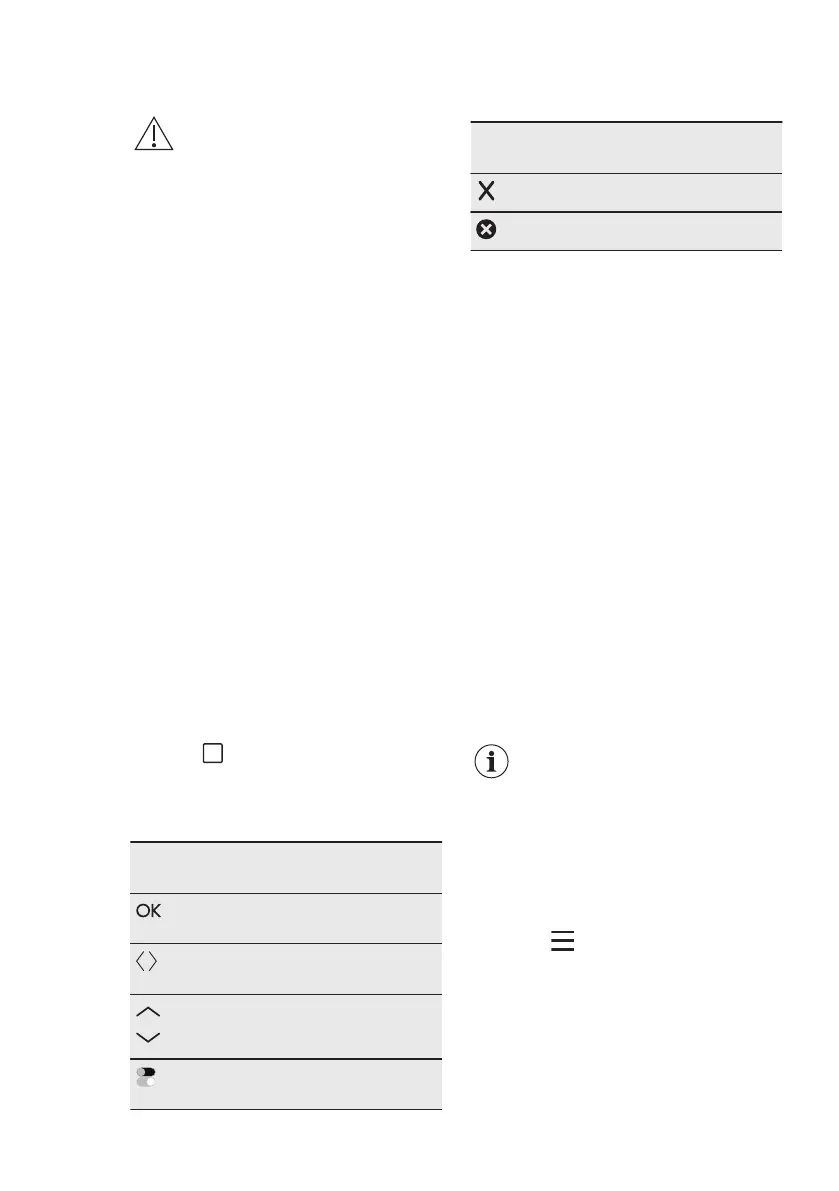
Symbols useful for display naviga‐
tion
To confirm the selection or set‐
ting.
To go back / forwards one level in
the Menu.
To scroll up / down the instruc‐
tions on the display.
To activate / deactivate the op‐
tions.
Symbols useful for display naviga‐
tion
To close the pop-up window.
To cancel a setting.
5.2 First connection to the
mains
When you connect the hob to the mains
you have to set Language, Display
Brightness and Buzzer Volume.
You can change the setting in Menu >
Settings > Setup. Refer to "Daily use".
5.3 Food Sensor calibration
Before you start using the Food Sensor
you need to calibrate it, to ensure that
the temperature readings are correct.
Once the Food Sensor is calibrated
properly, it measures the temperature at
the boiling point with the tolerance range
of + / - 2 °C.
Follow the procedure when:
• you install the hob for the first time;
• you move the hob to a different
location (change of altitude);
• you replace the Food Sensor.
Use a pot with the bottom
diameter of 180 mm and fill it
with 1 - 1,5 l of water.
1. To calibrate or re-calibrate the
function, put the Food Sensor on the
rim of a pot. Fill the pot with cold
water, at least up to the minimum
level mark, and place it on the left
front cooking zone.
2. Touch .
Select Settings > Food Sensor >
Calibration from the list.
Follow the instructions on the screen.
3. Touch Start next to the cooking zone.
An info pop-up window appears once the
procedure is complete.
ENGLISH 11