After approximately five seconds, the
flashing stops and the display shows the
time of day you set.
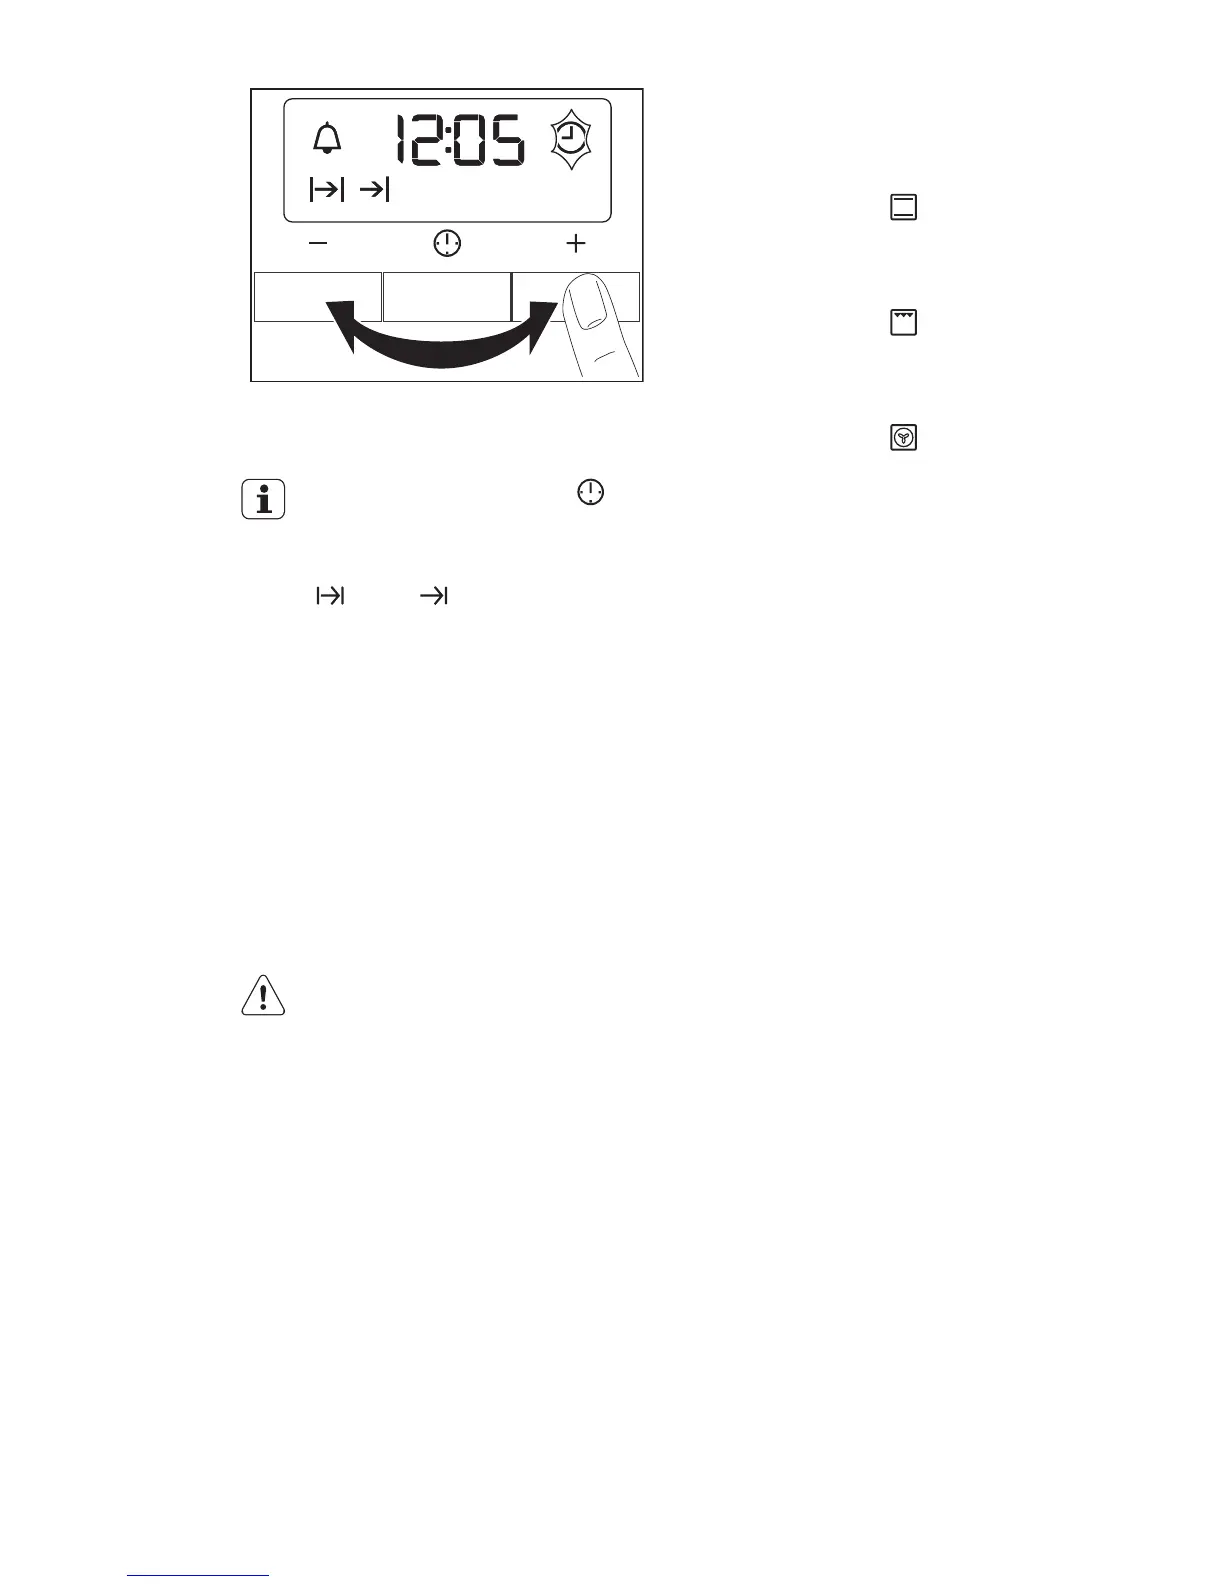
To change the time, press
again and again until the indicator
for the Time of Day function flash-
es. You must not set the Duration
or End function at the same
time.
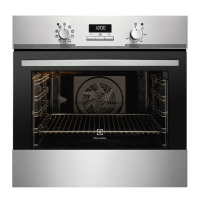
To use the appliance, push the knob. The
knob comes out.
4.3 Preheating
Preheat the empty appliance to burn off
the remaining grease.
Preheat the two ovens. Heat up one oven
at a time.
Set the functions listed below, if applica-
ble.
1.
Set the function and the maximum
temperature.
2.
Let the appliance operate for one
hour.
3.
Set the function and the maximum
temperature.
4.
Let the appliance operate for ten mi-
nutes.
5.
Set the function and the maximum
temperature.
6.
Let the appliance operate for ten mi-
nutes.
Accessories can become hotter than usu-
ally. The appliance can emit an odour and
smoke. This is normal. Make sure that the
airflow is sufficient.
5. DAILY USE
WARNING!
Refer to the Safety chapters.
5.1 Cooling fan
When the appliance operates, the cooling
fan switches on automatically. If you
switch off the appliance, the cooling fan
continues to operate until the appliance
cools down.
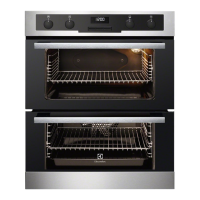
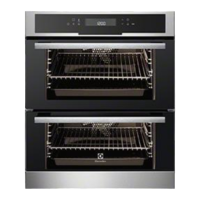
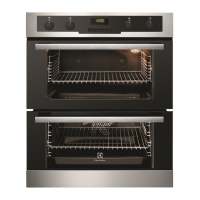
5.2 Activating and deactivating
the top oven
1.
Turn the knob for the top oven func-
tions to an oven function.
2.
Turn the knob for the top oven tem-
perature to a temperature.
The power indicator comes on while
the appliance operates.
The temperature indicator comes on
while the temperature in the appliance
increases.
3.
To deactivate the appliance, turn the
knob for the top oven functions and
the knob for the top oven tempera-
ture to the Off position.
5.3 Activating and deactivating
the main oven
1.
Turn the knob for the main oven func-
tions to an oven function.
2.
Turn the knob for the main oven tem-
perature to a temperature.
The power indicator comes on while
the appliance operates.
The temperature indicator comes on
while the temperature in the appliance
increases.
ENGLISH 7